Canon cameras that support bluetooth remote control work great with Camerama. There are two modes of operation. More recent cameras (particularly the mirrorless types) operate in either smartphone mode or emulation of Canon’s BR-E1 physical button remote. All models that are compatible with the BR-E1 remote should work with Camerama.
This post will show how to configure an EOS R7 in smartphone mode, and the next post will cover the button remote configuration.
Prerequisites:
A Canon camera with smartphone bluetooth remote capability, eg EOS R7, R50. iPhone or iPad running iOS 17.0 or later.
To start from a “clean” state, if the camera has previously been paired with the camera, remove that from the iOS operating system by navigating to Settings > Bluetooth.
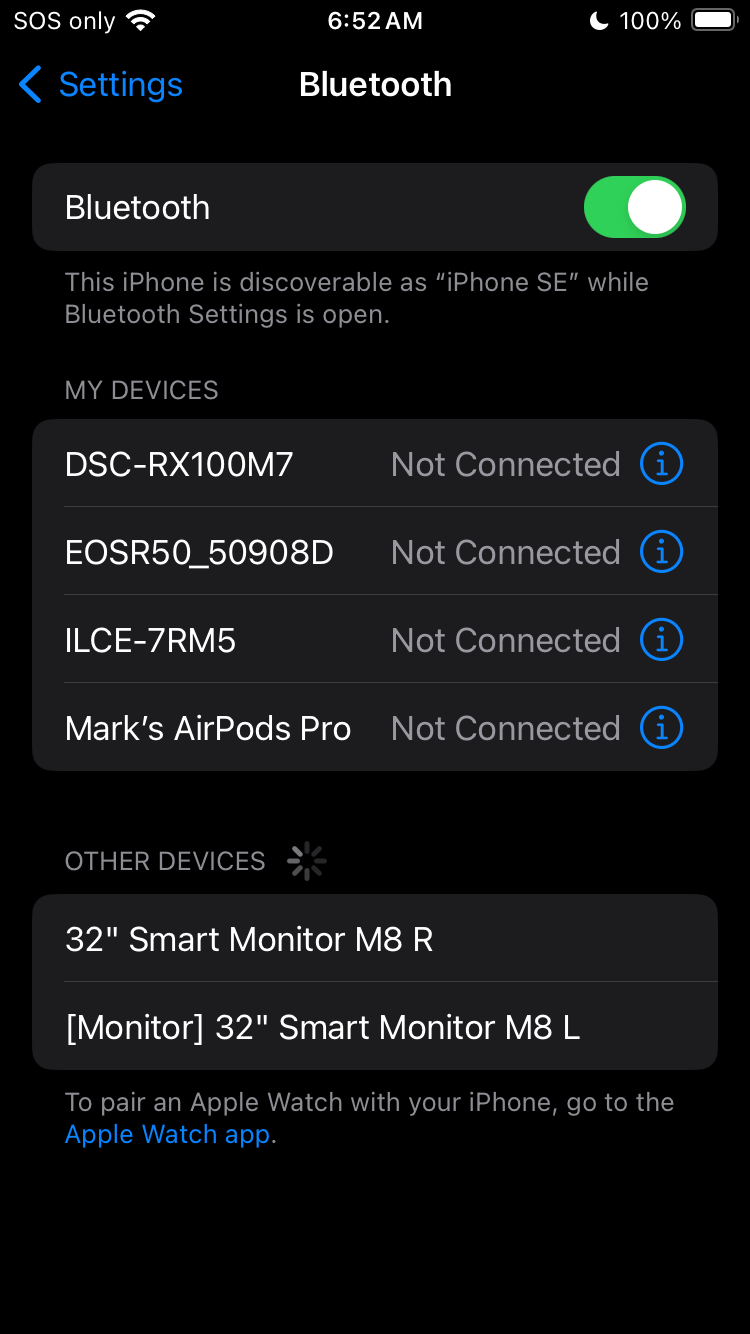
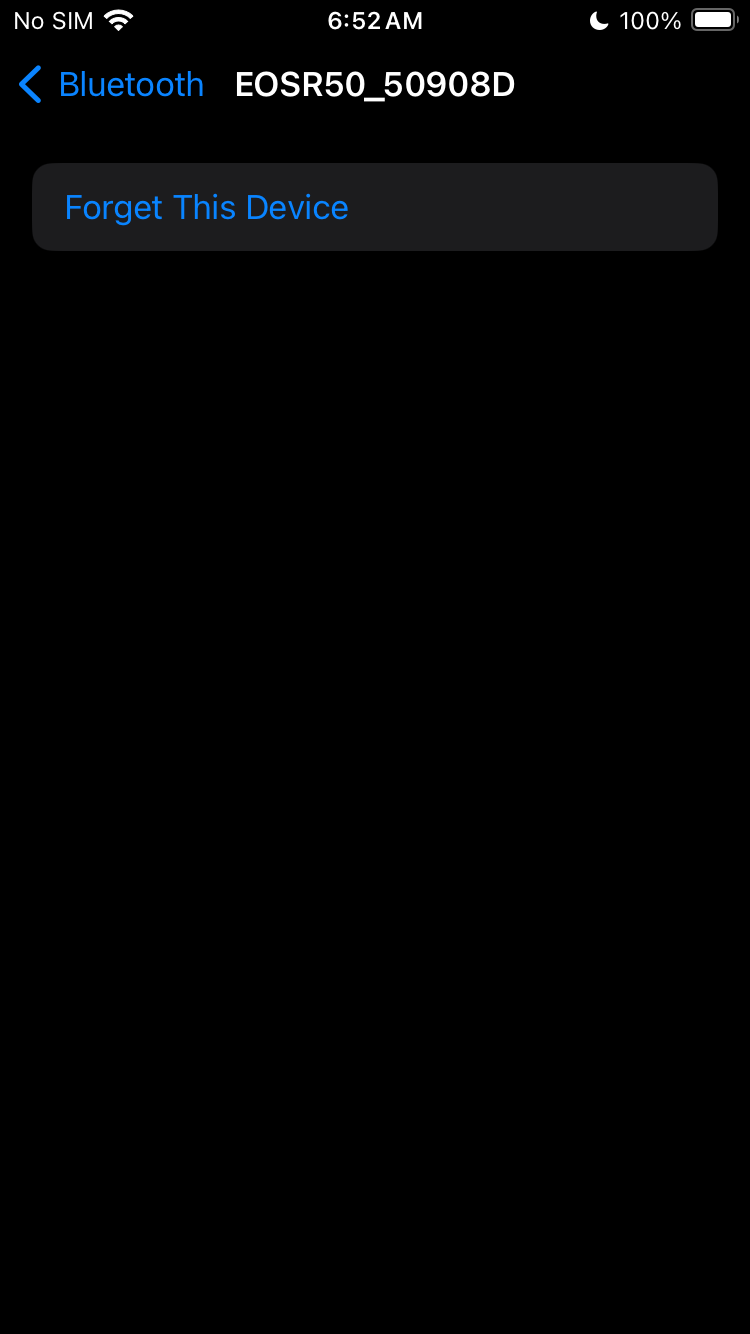
If the camera appears in the list, tap the information icon. That will open the next screen, and tap “Forget This Device”. This step is not necessary if the camera has never been paired with your iPhone or iPad.
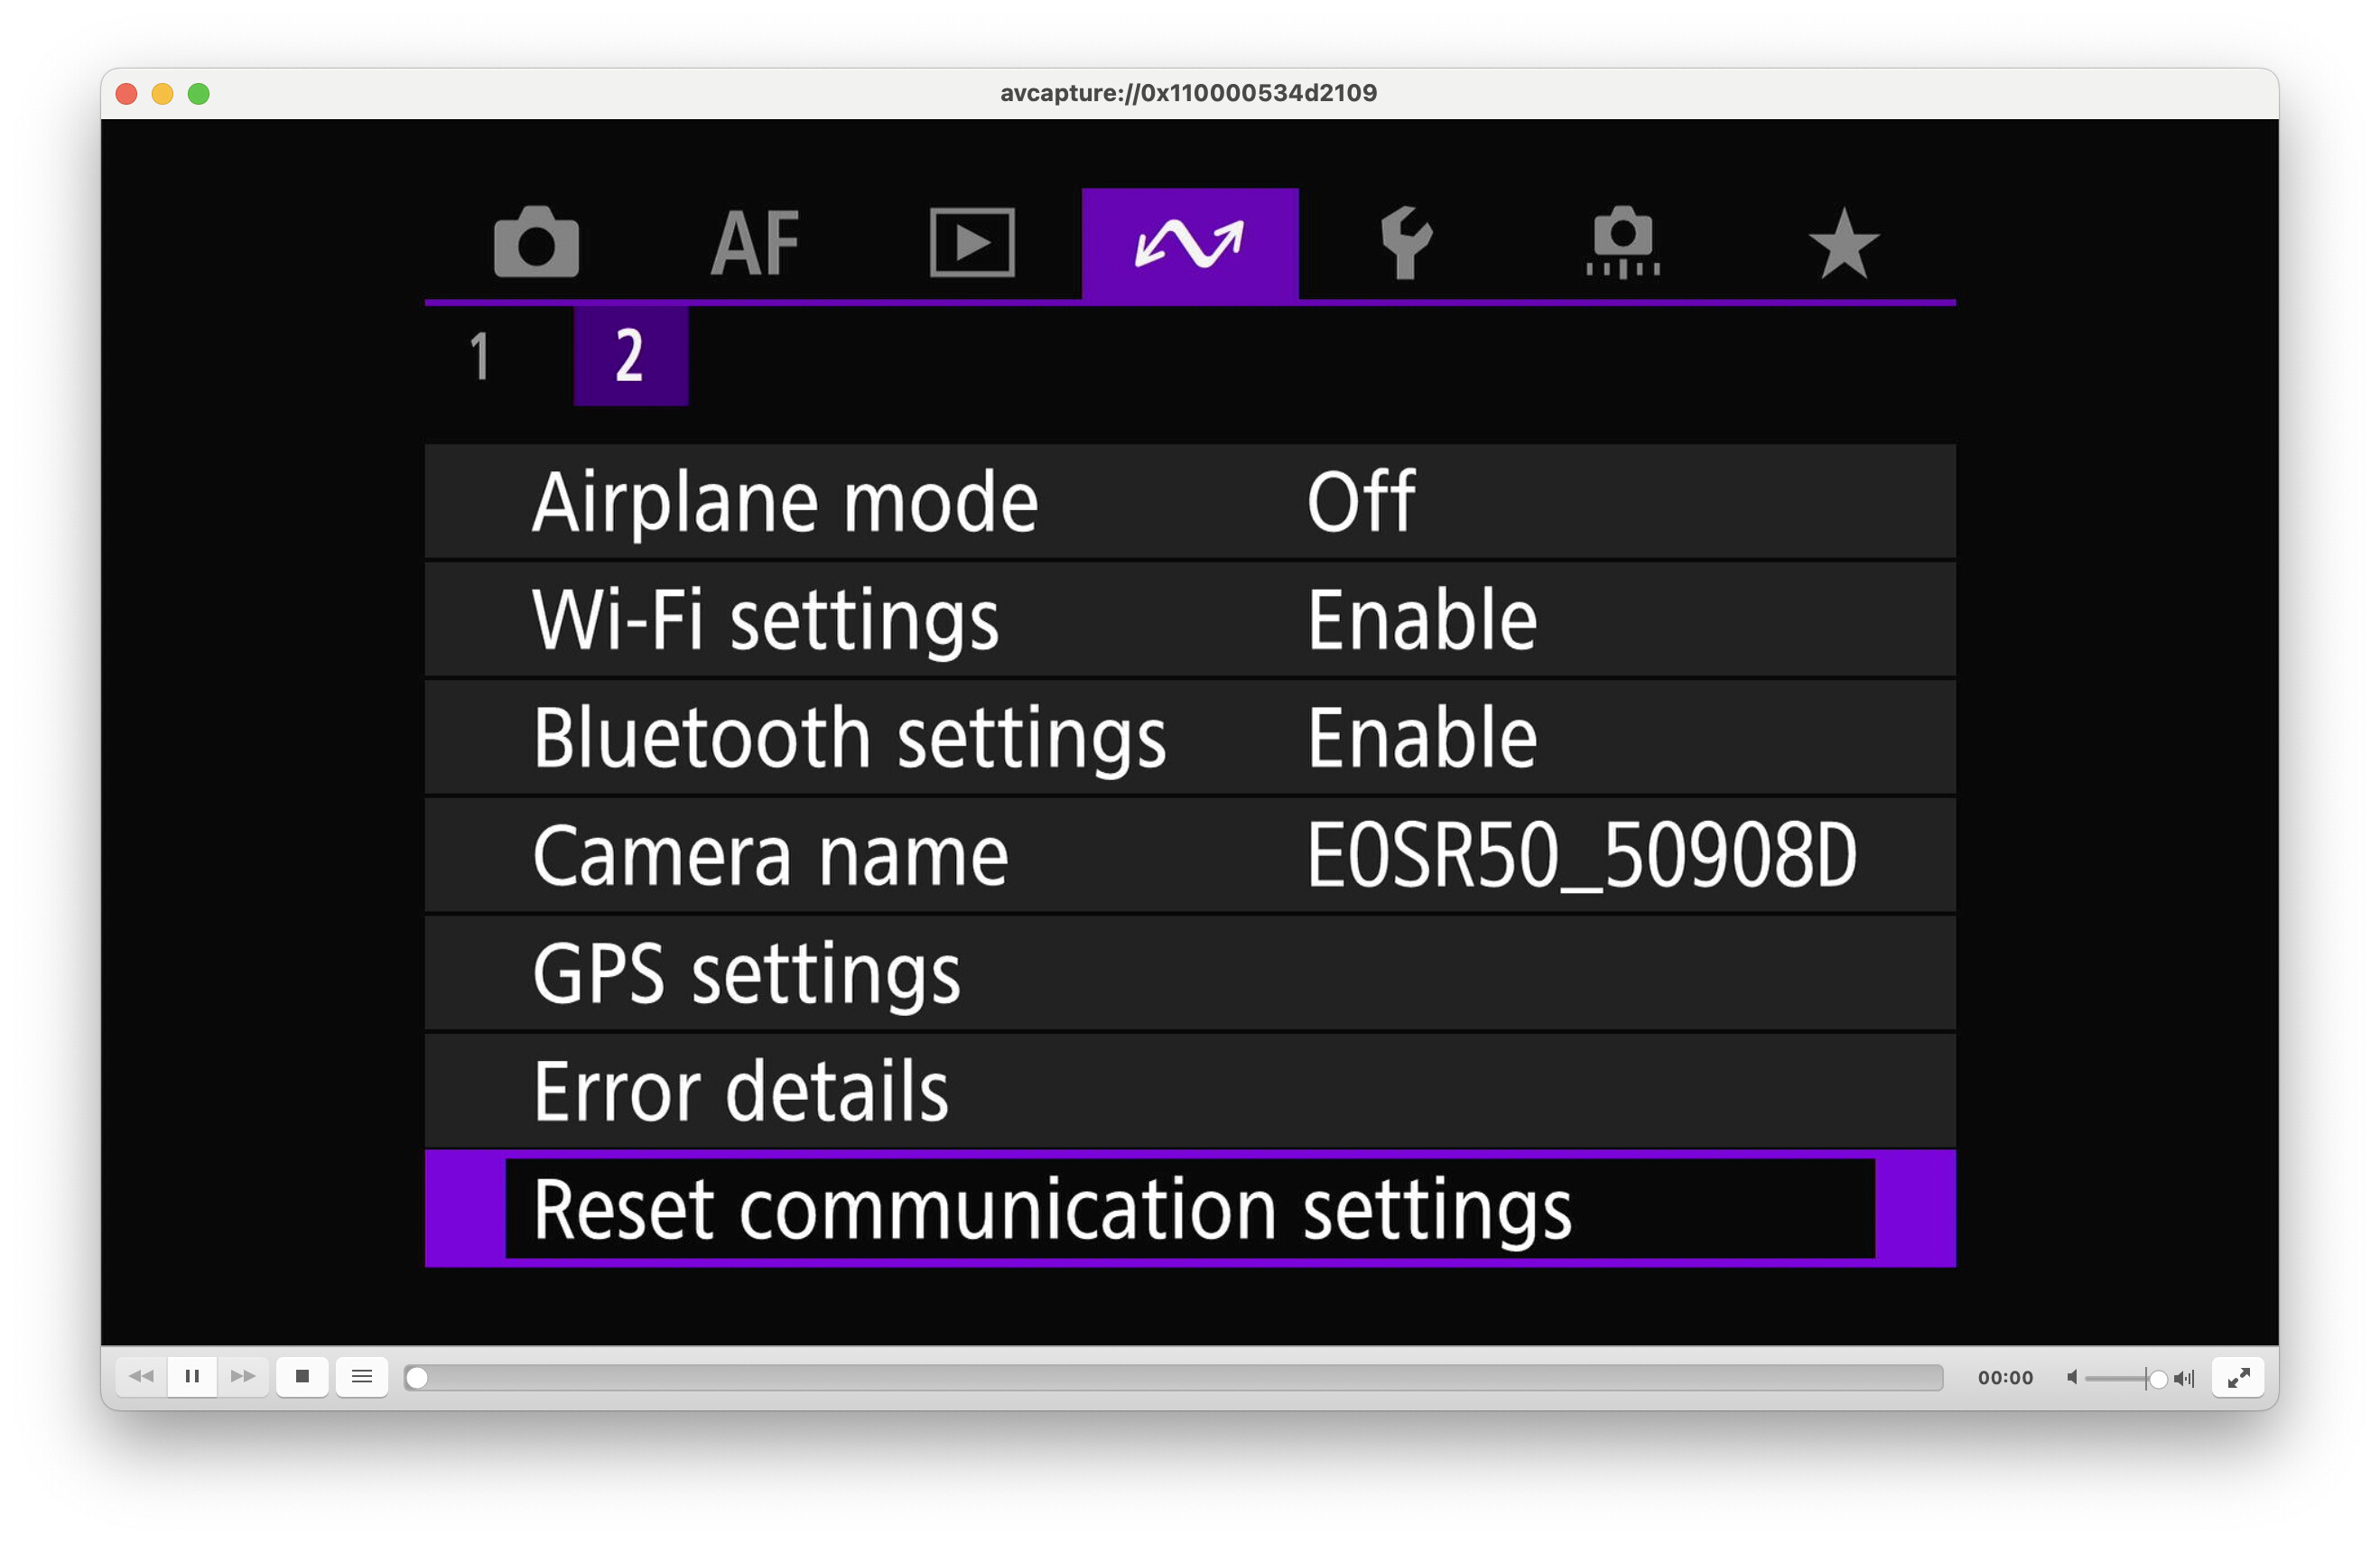
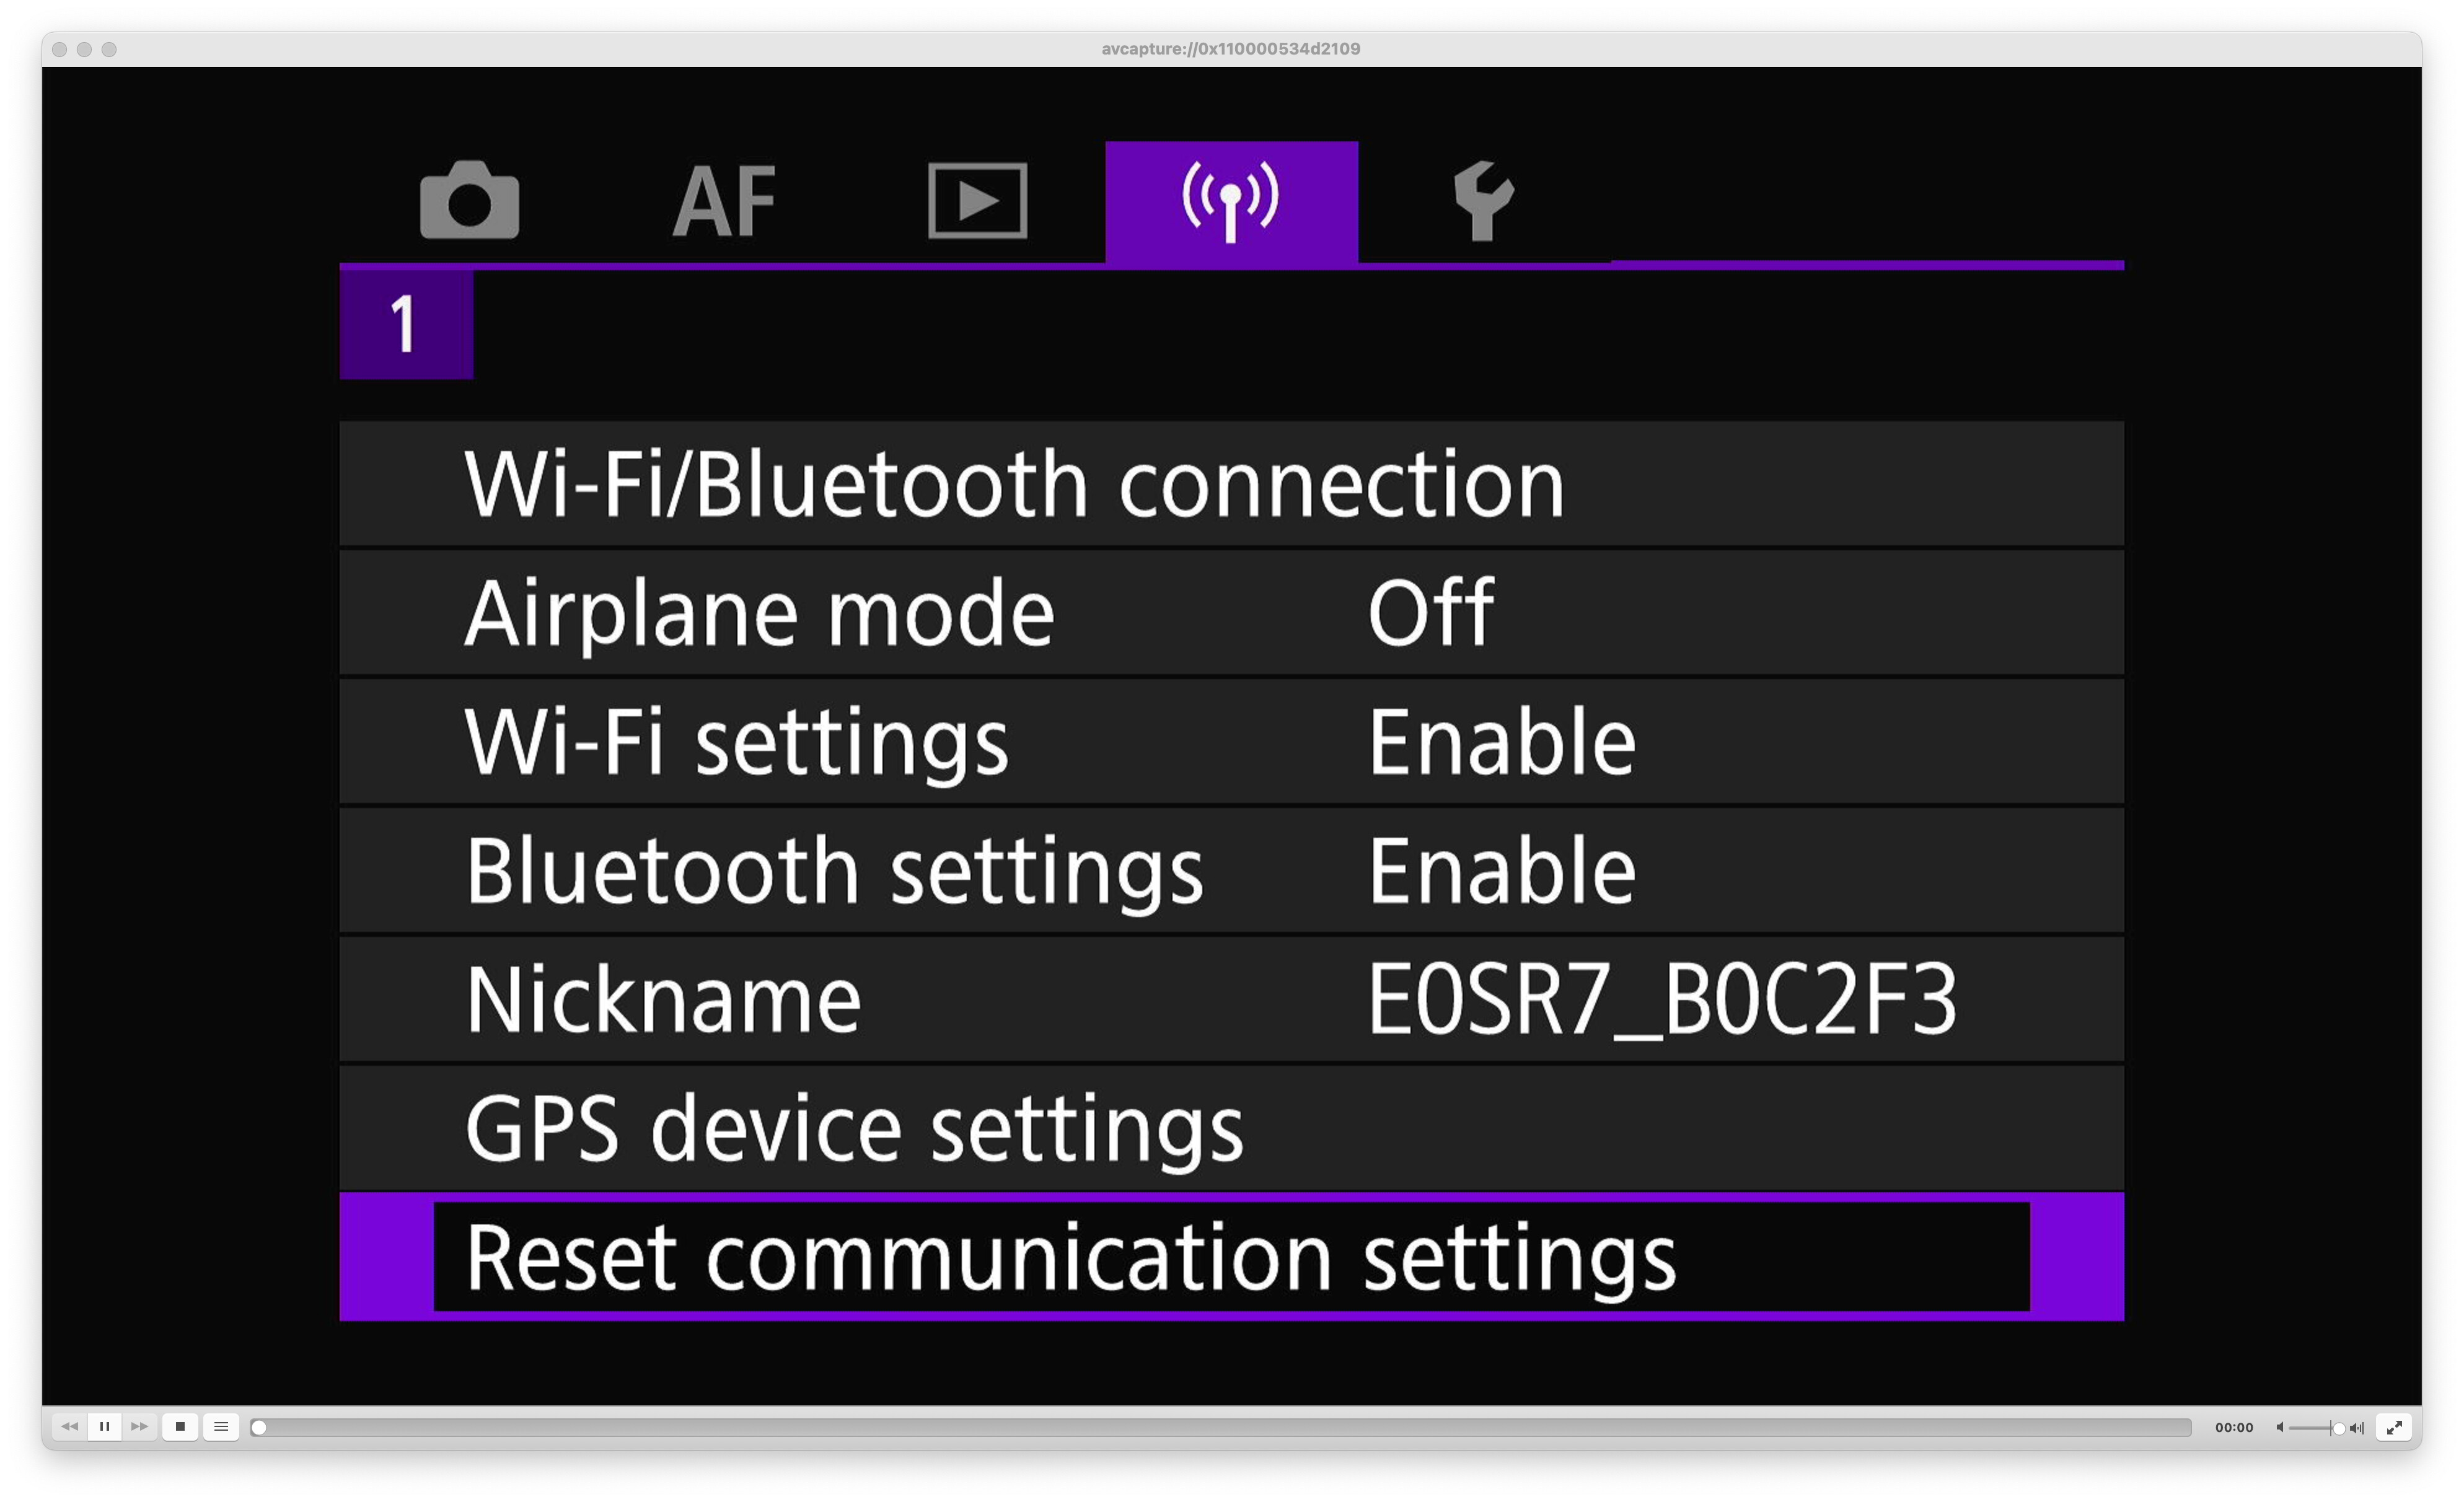
Next we will reset the camera’s network settings so we start with a clean slate. Press the Menu button and navigate to the Network Settings (Purple menu page, Wifi icon at the top). Select “Reset communication settings”.
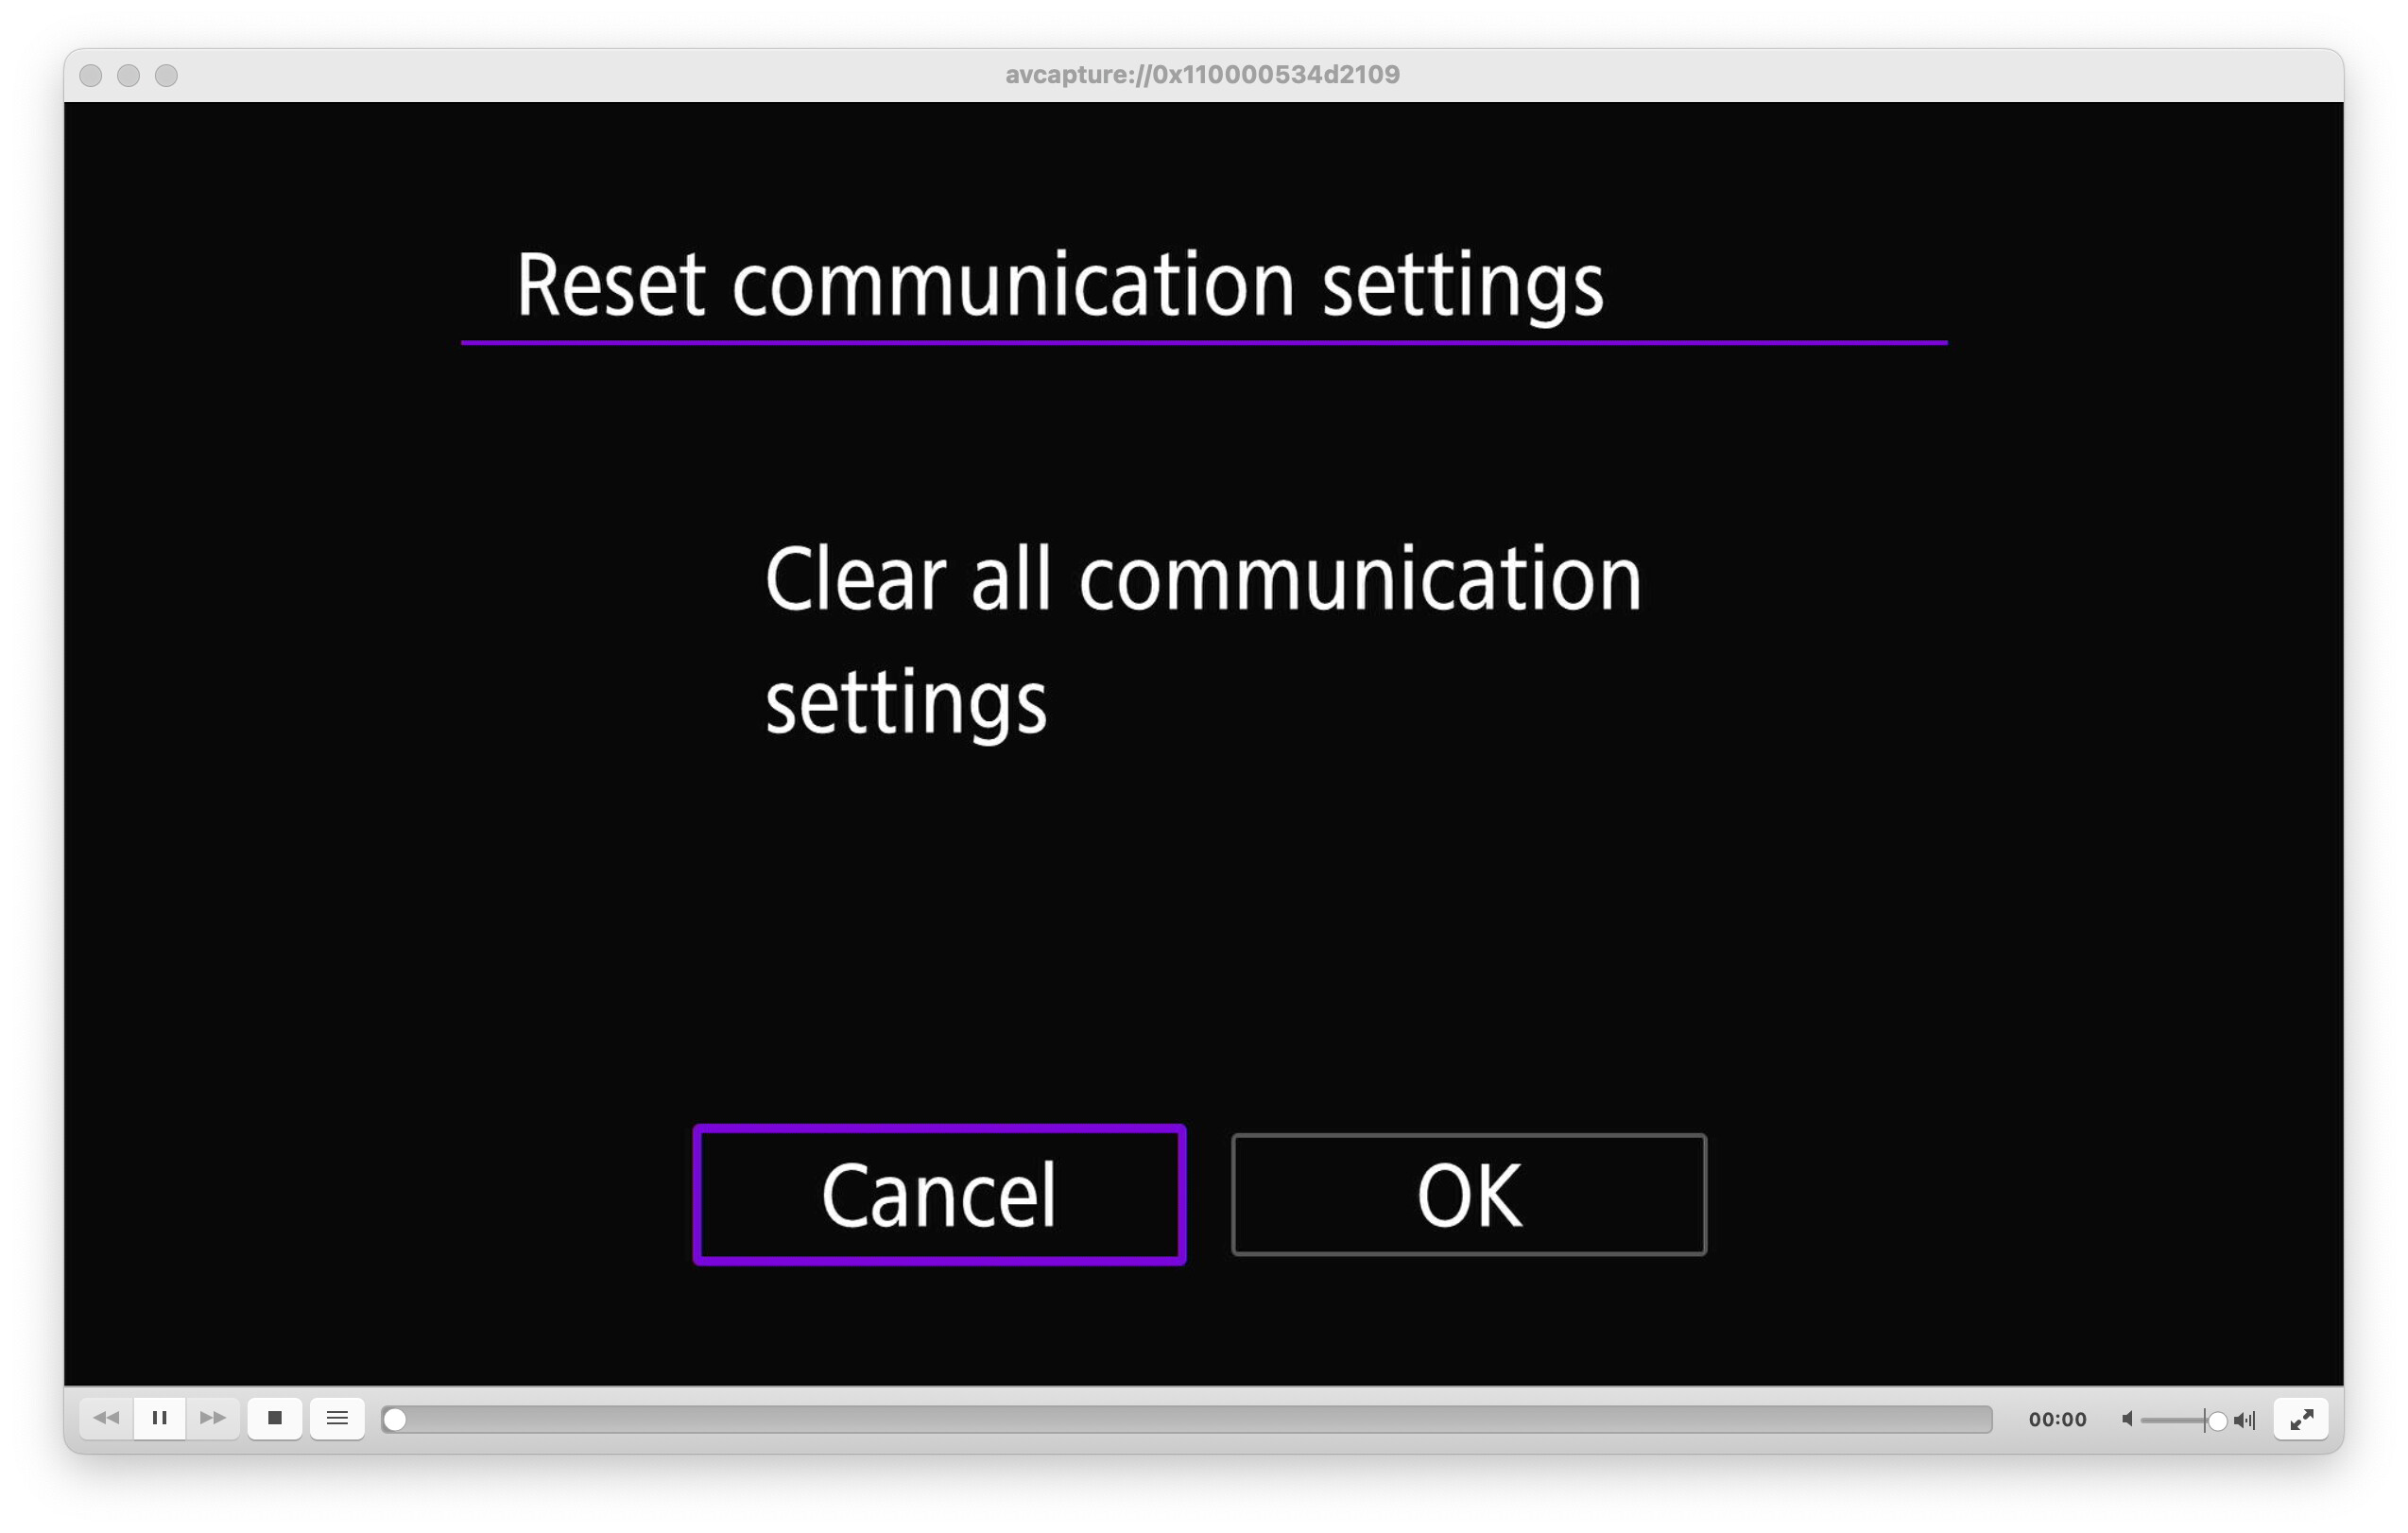
The camera will then show a confirmation dialog.
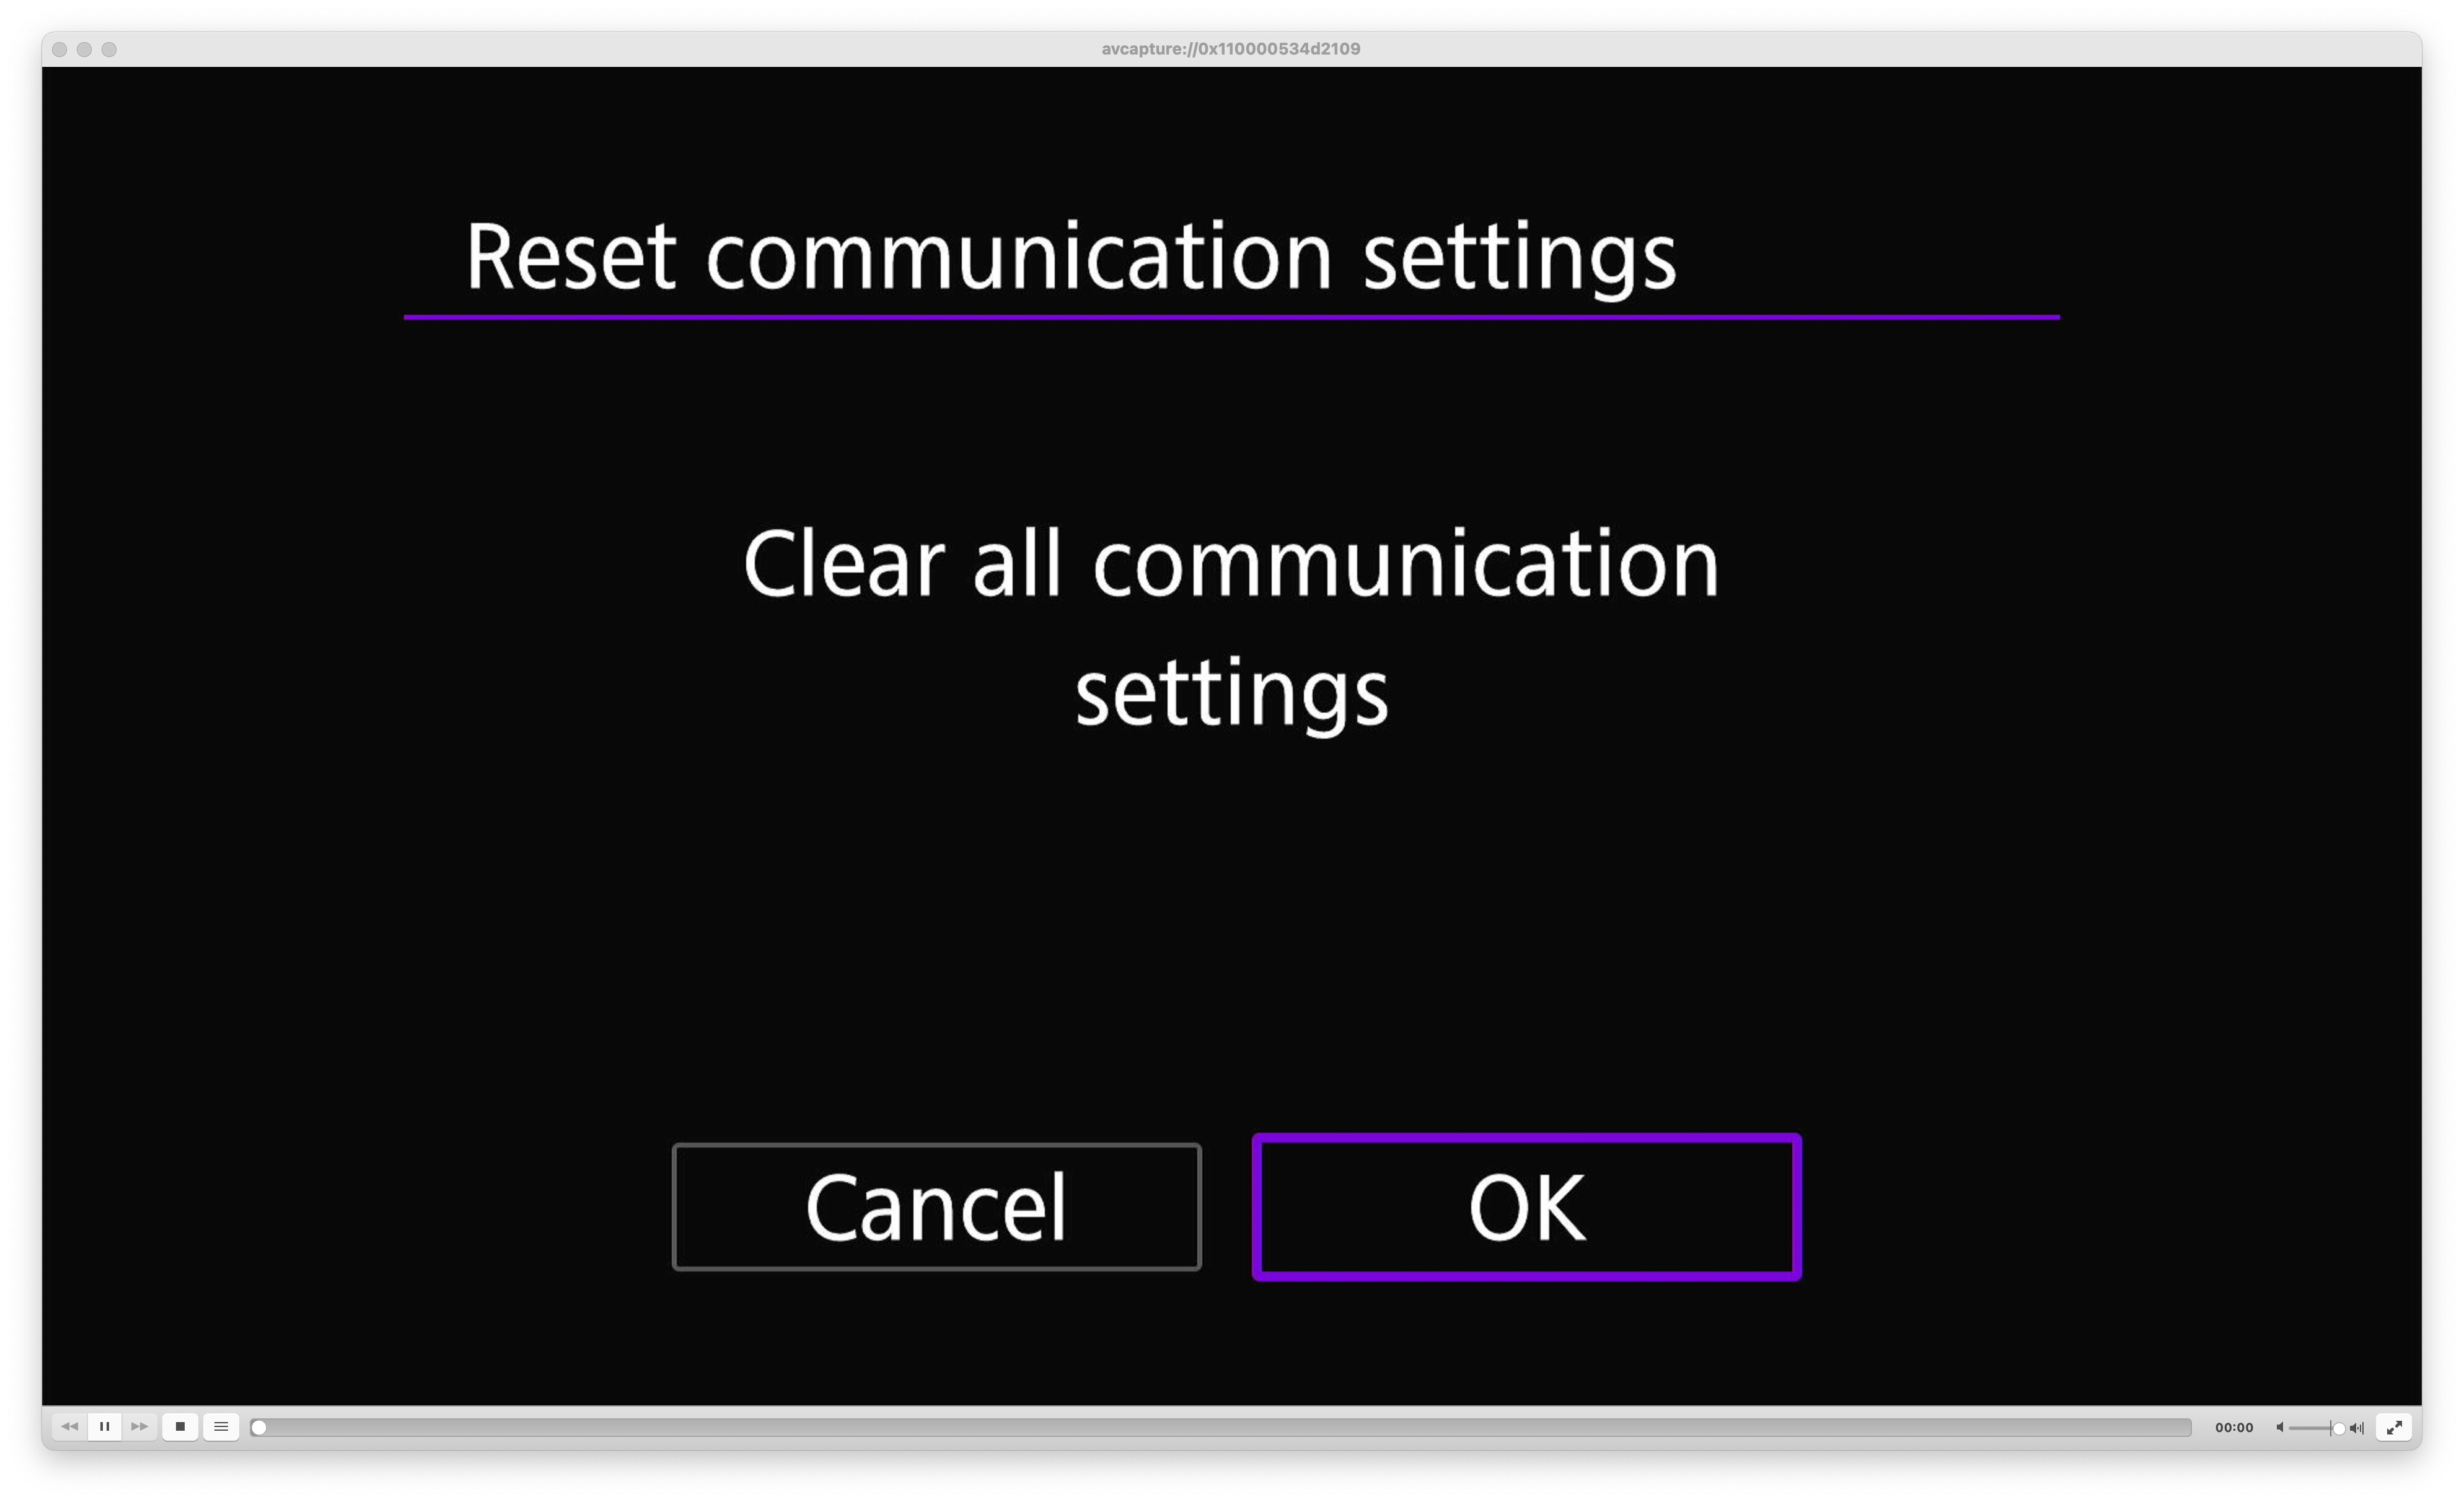
Select OK and the camera will then reset its communications settings.
We are now in a known good state with both the iPhone and camera reset and can proceed with setting up the camera in Camerama.
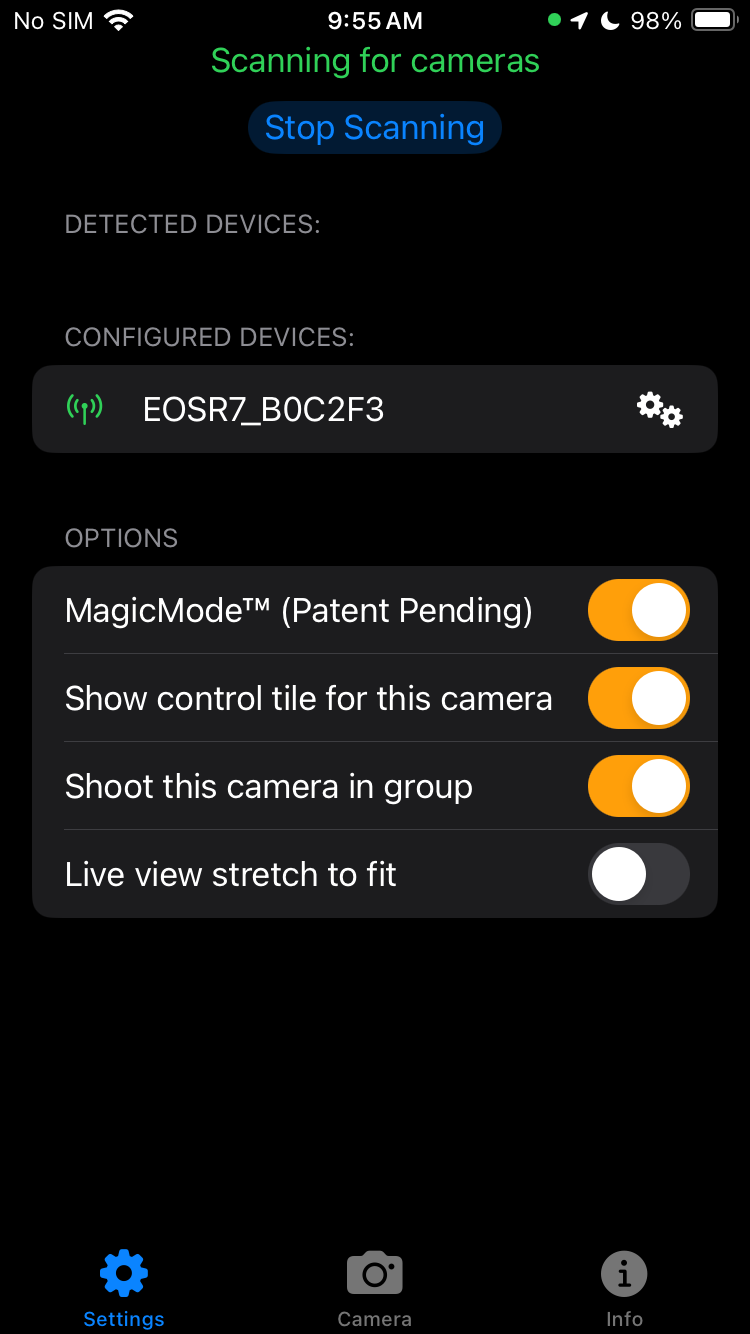
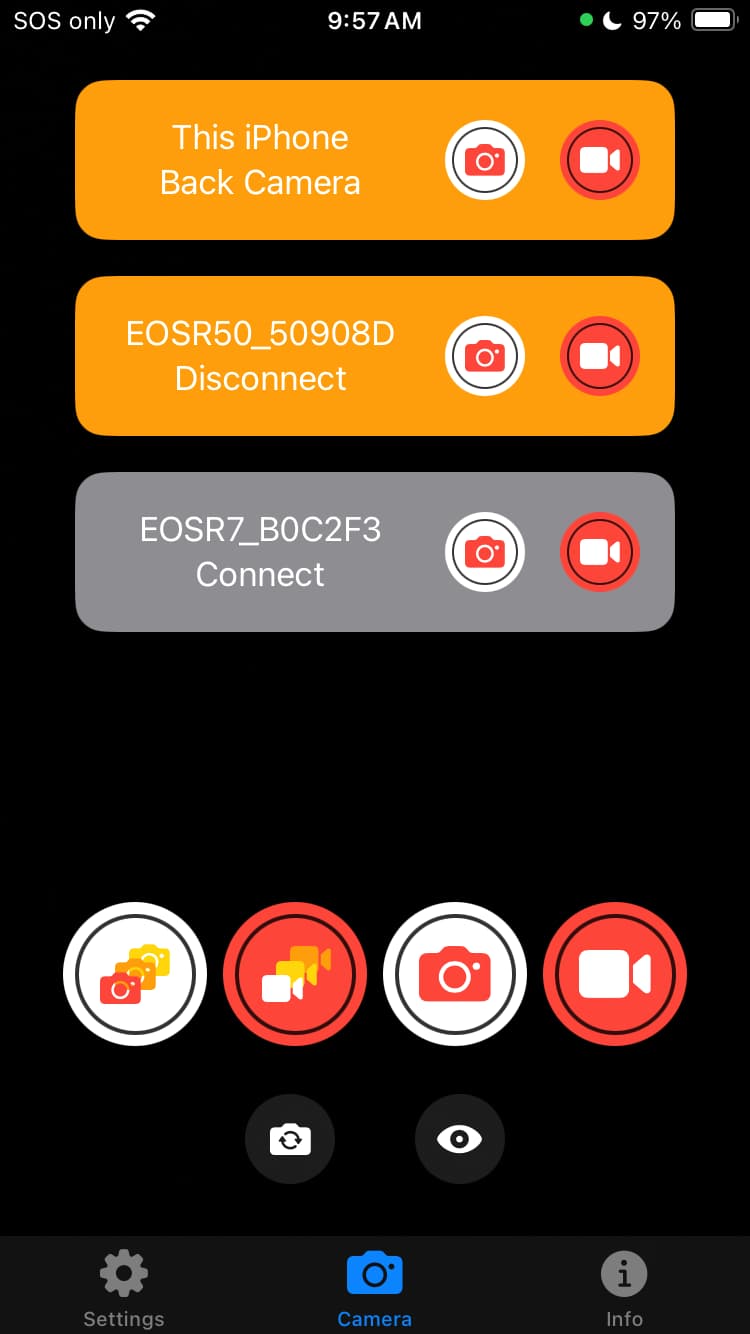
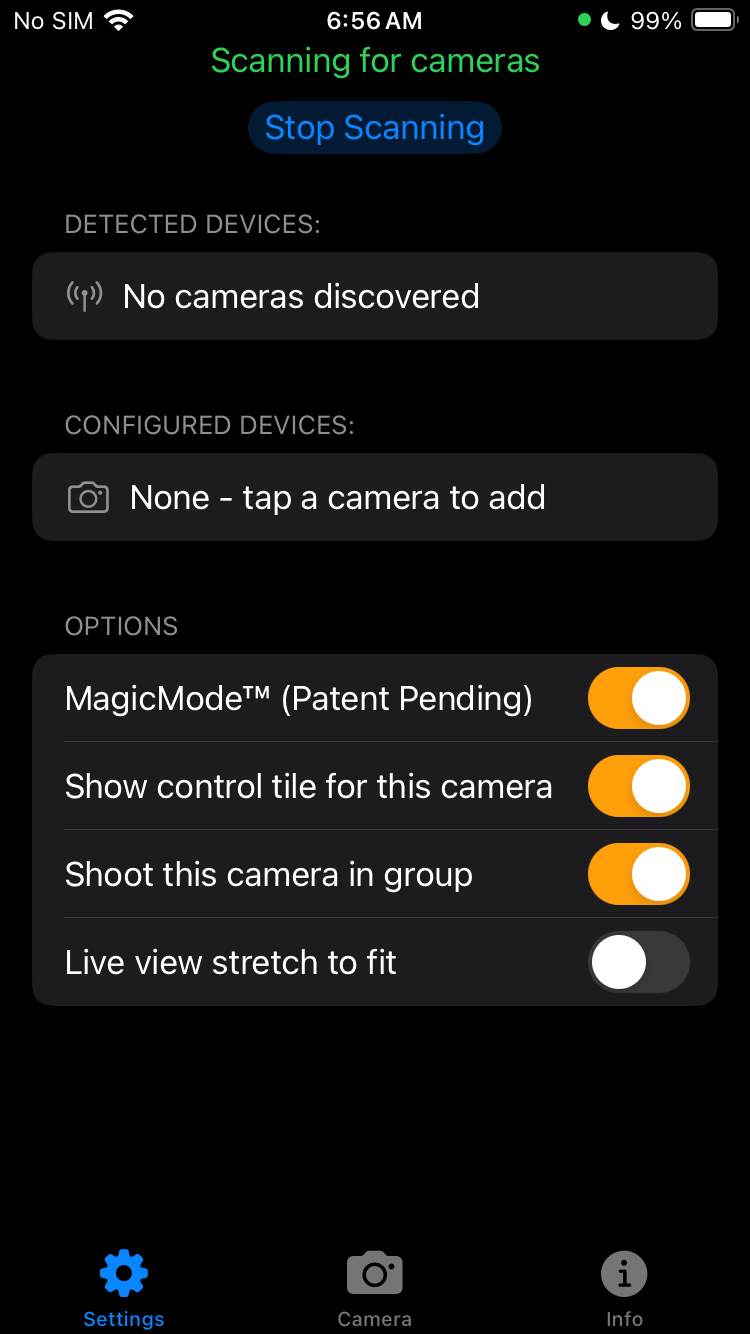
Open the Camerama app on the iPhone. It will open on the Settings tab. At this point, you should not see the camera in either the “Detected Devices” or “Configured Cameras” sections.
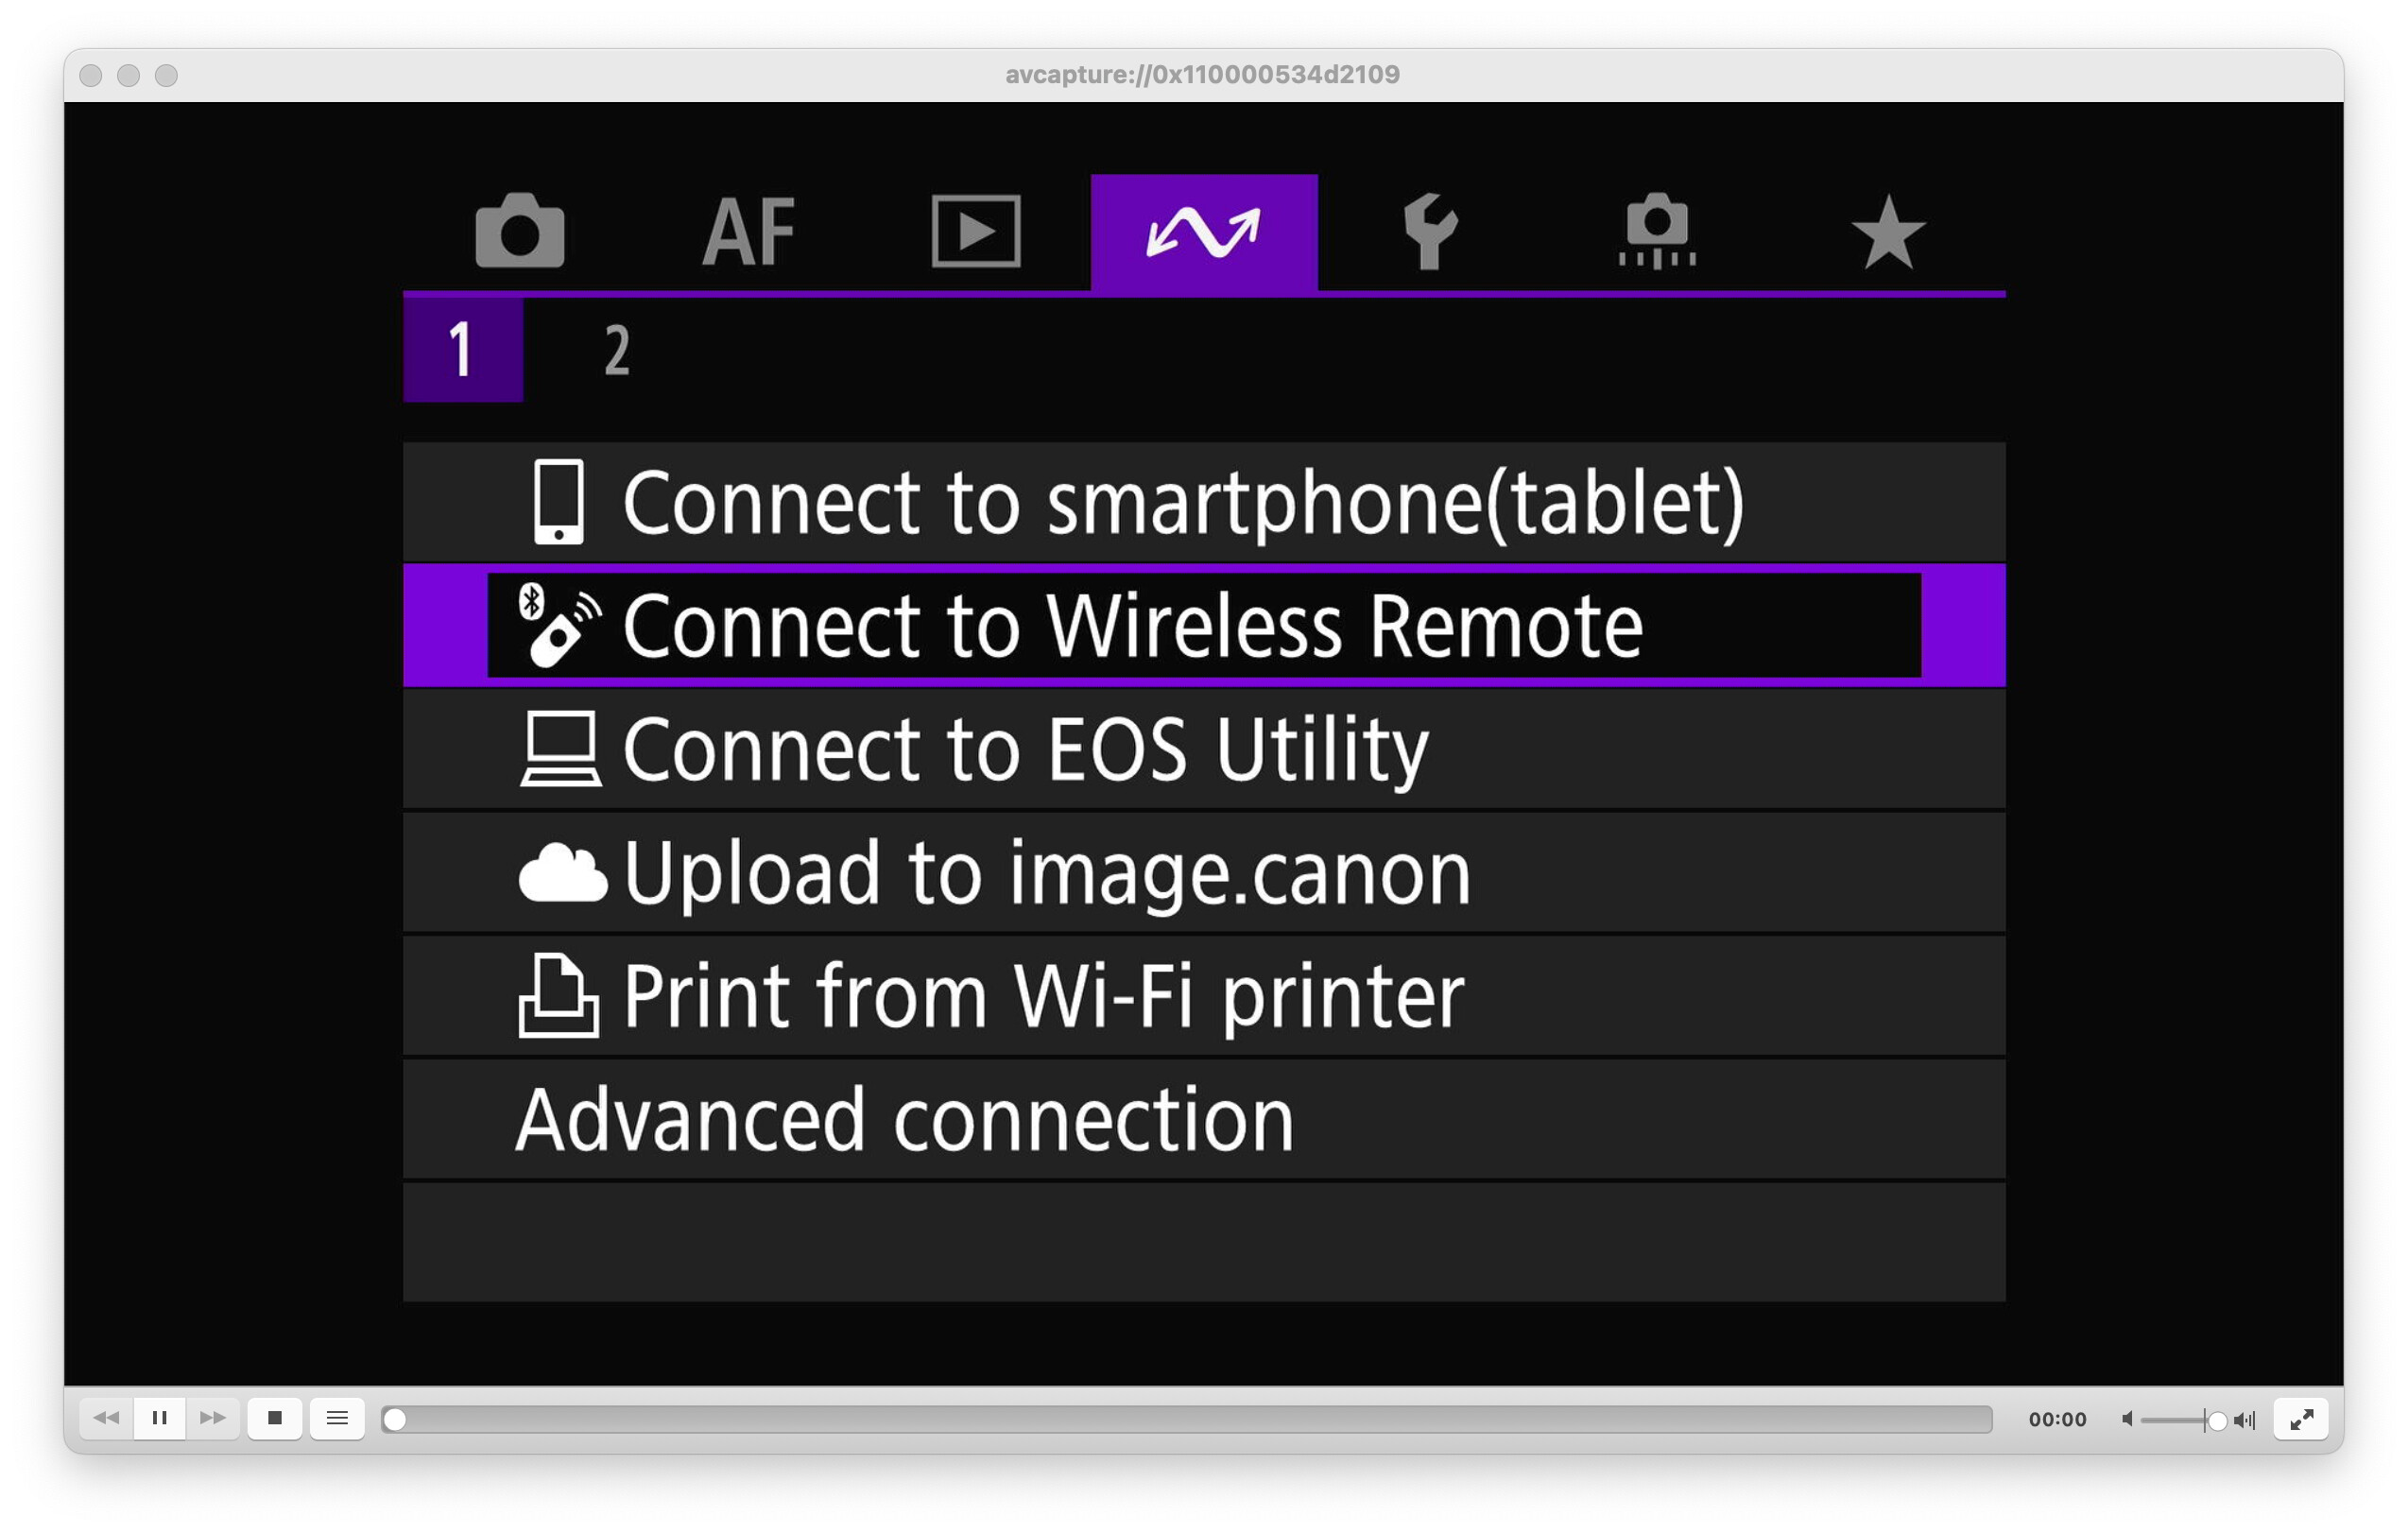
On the camera, select :Wifi/Bluetooth connection”.

Select/tap “Connect to smartphone”.

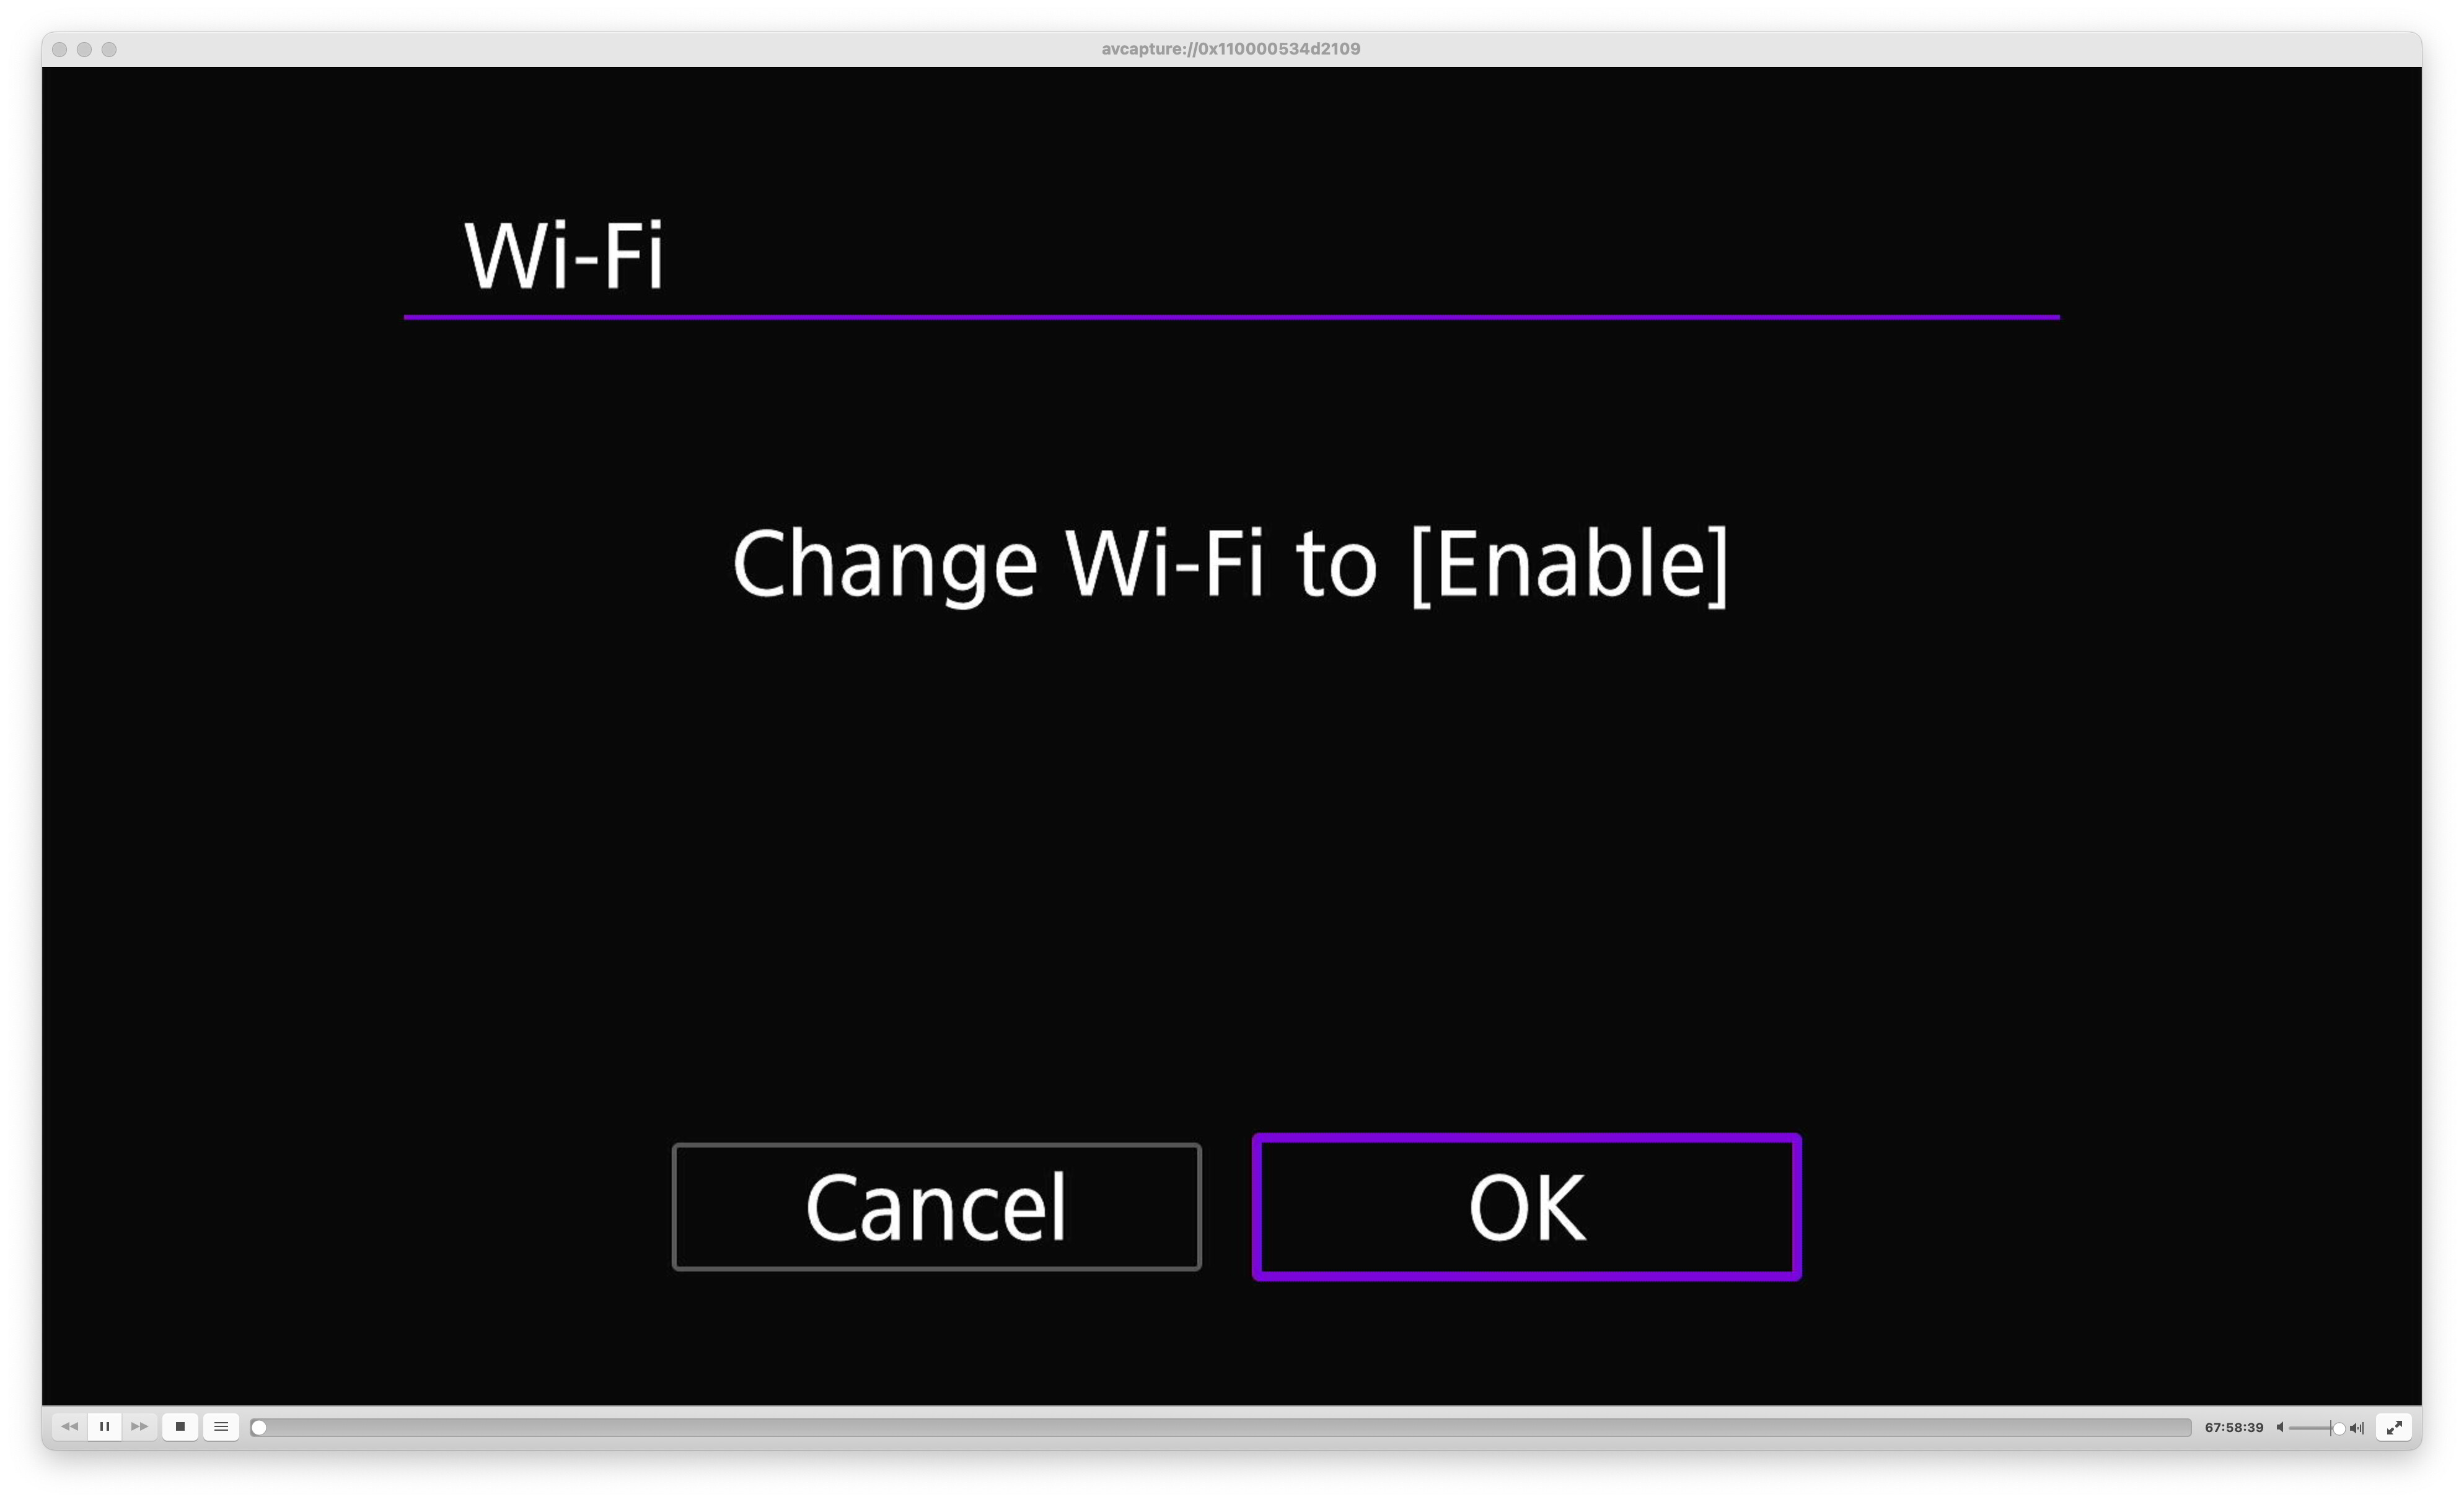
The camera will say “change WiFi to enable”. We are not concerned with Wifi, so select “OK”, but you can disable Wifi later with no effect on Camerama.
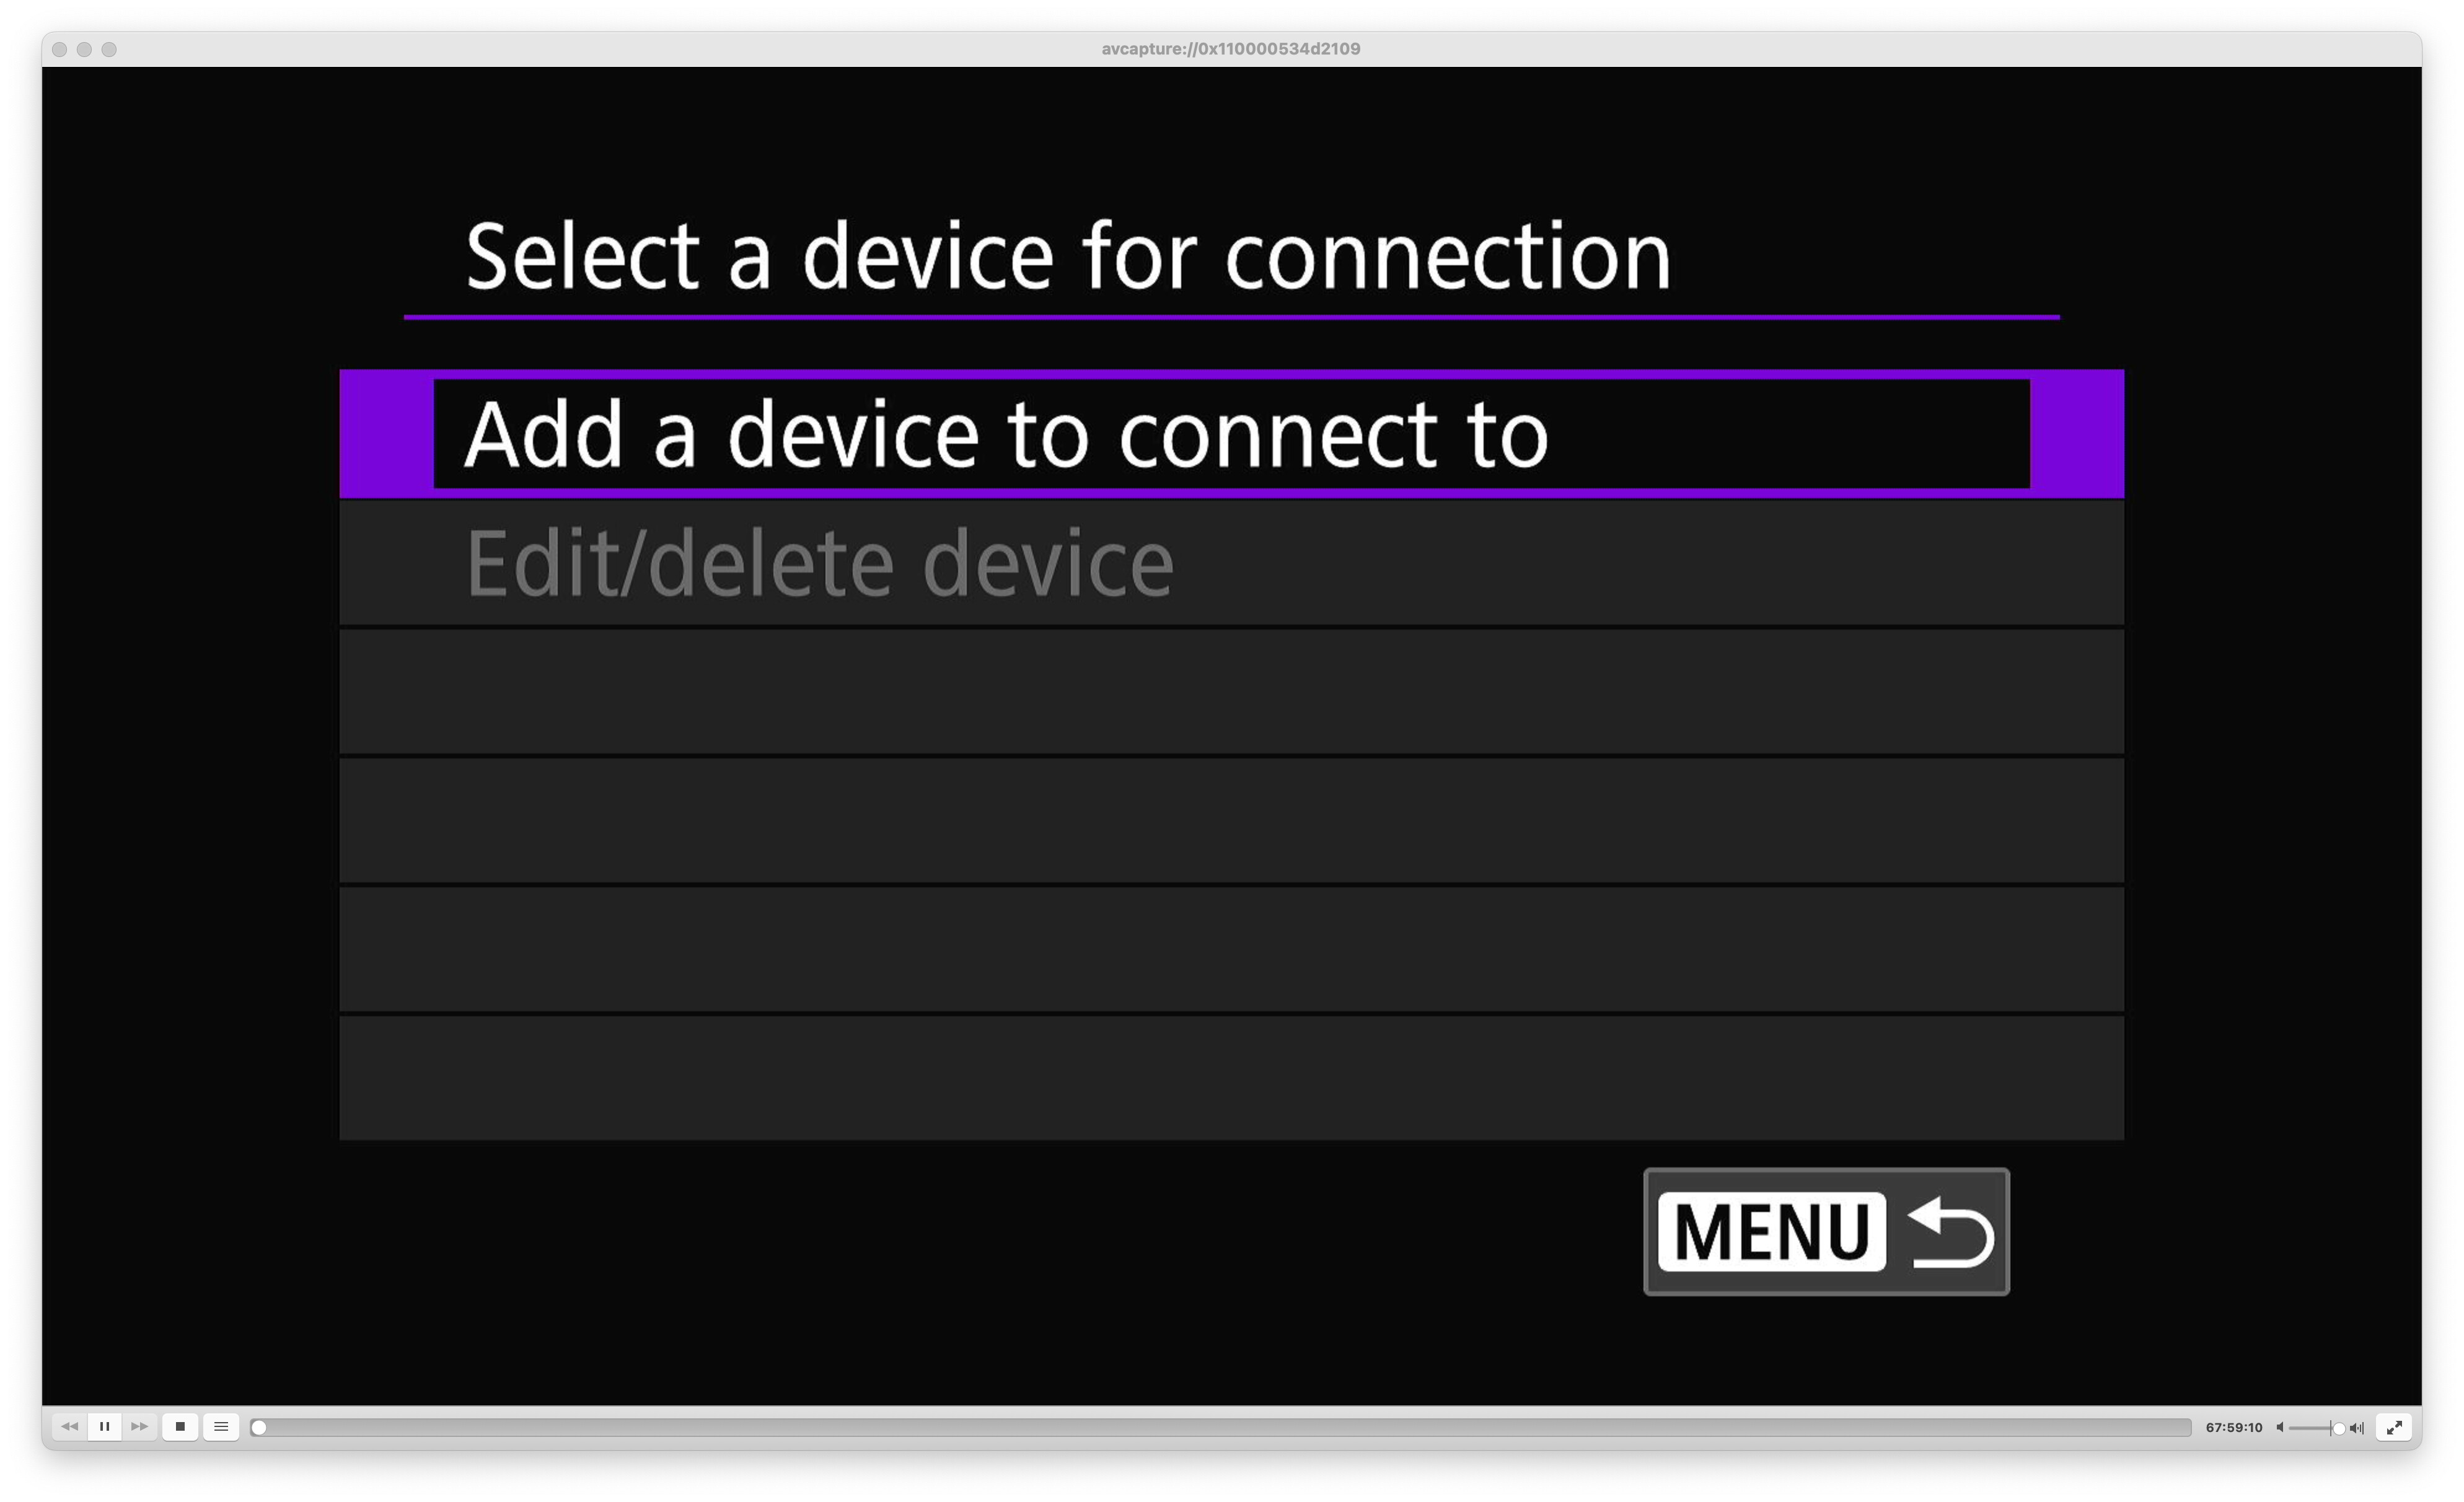
On the next screen, select “Add a device to connect to”.
The camera assumes you will be connecting to Canon’s app, and will prompt you to download it. We can ignore this and select “Do not display”.
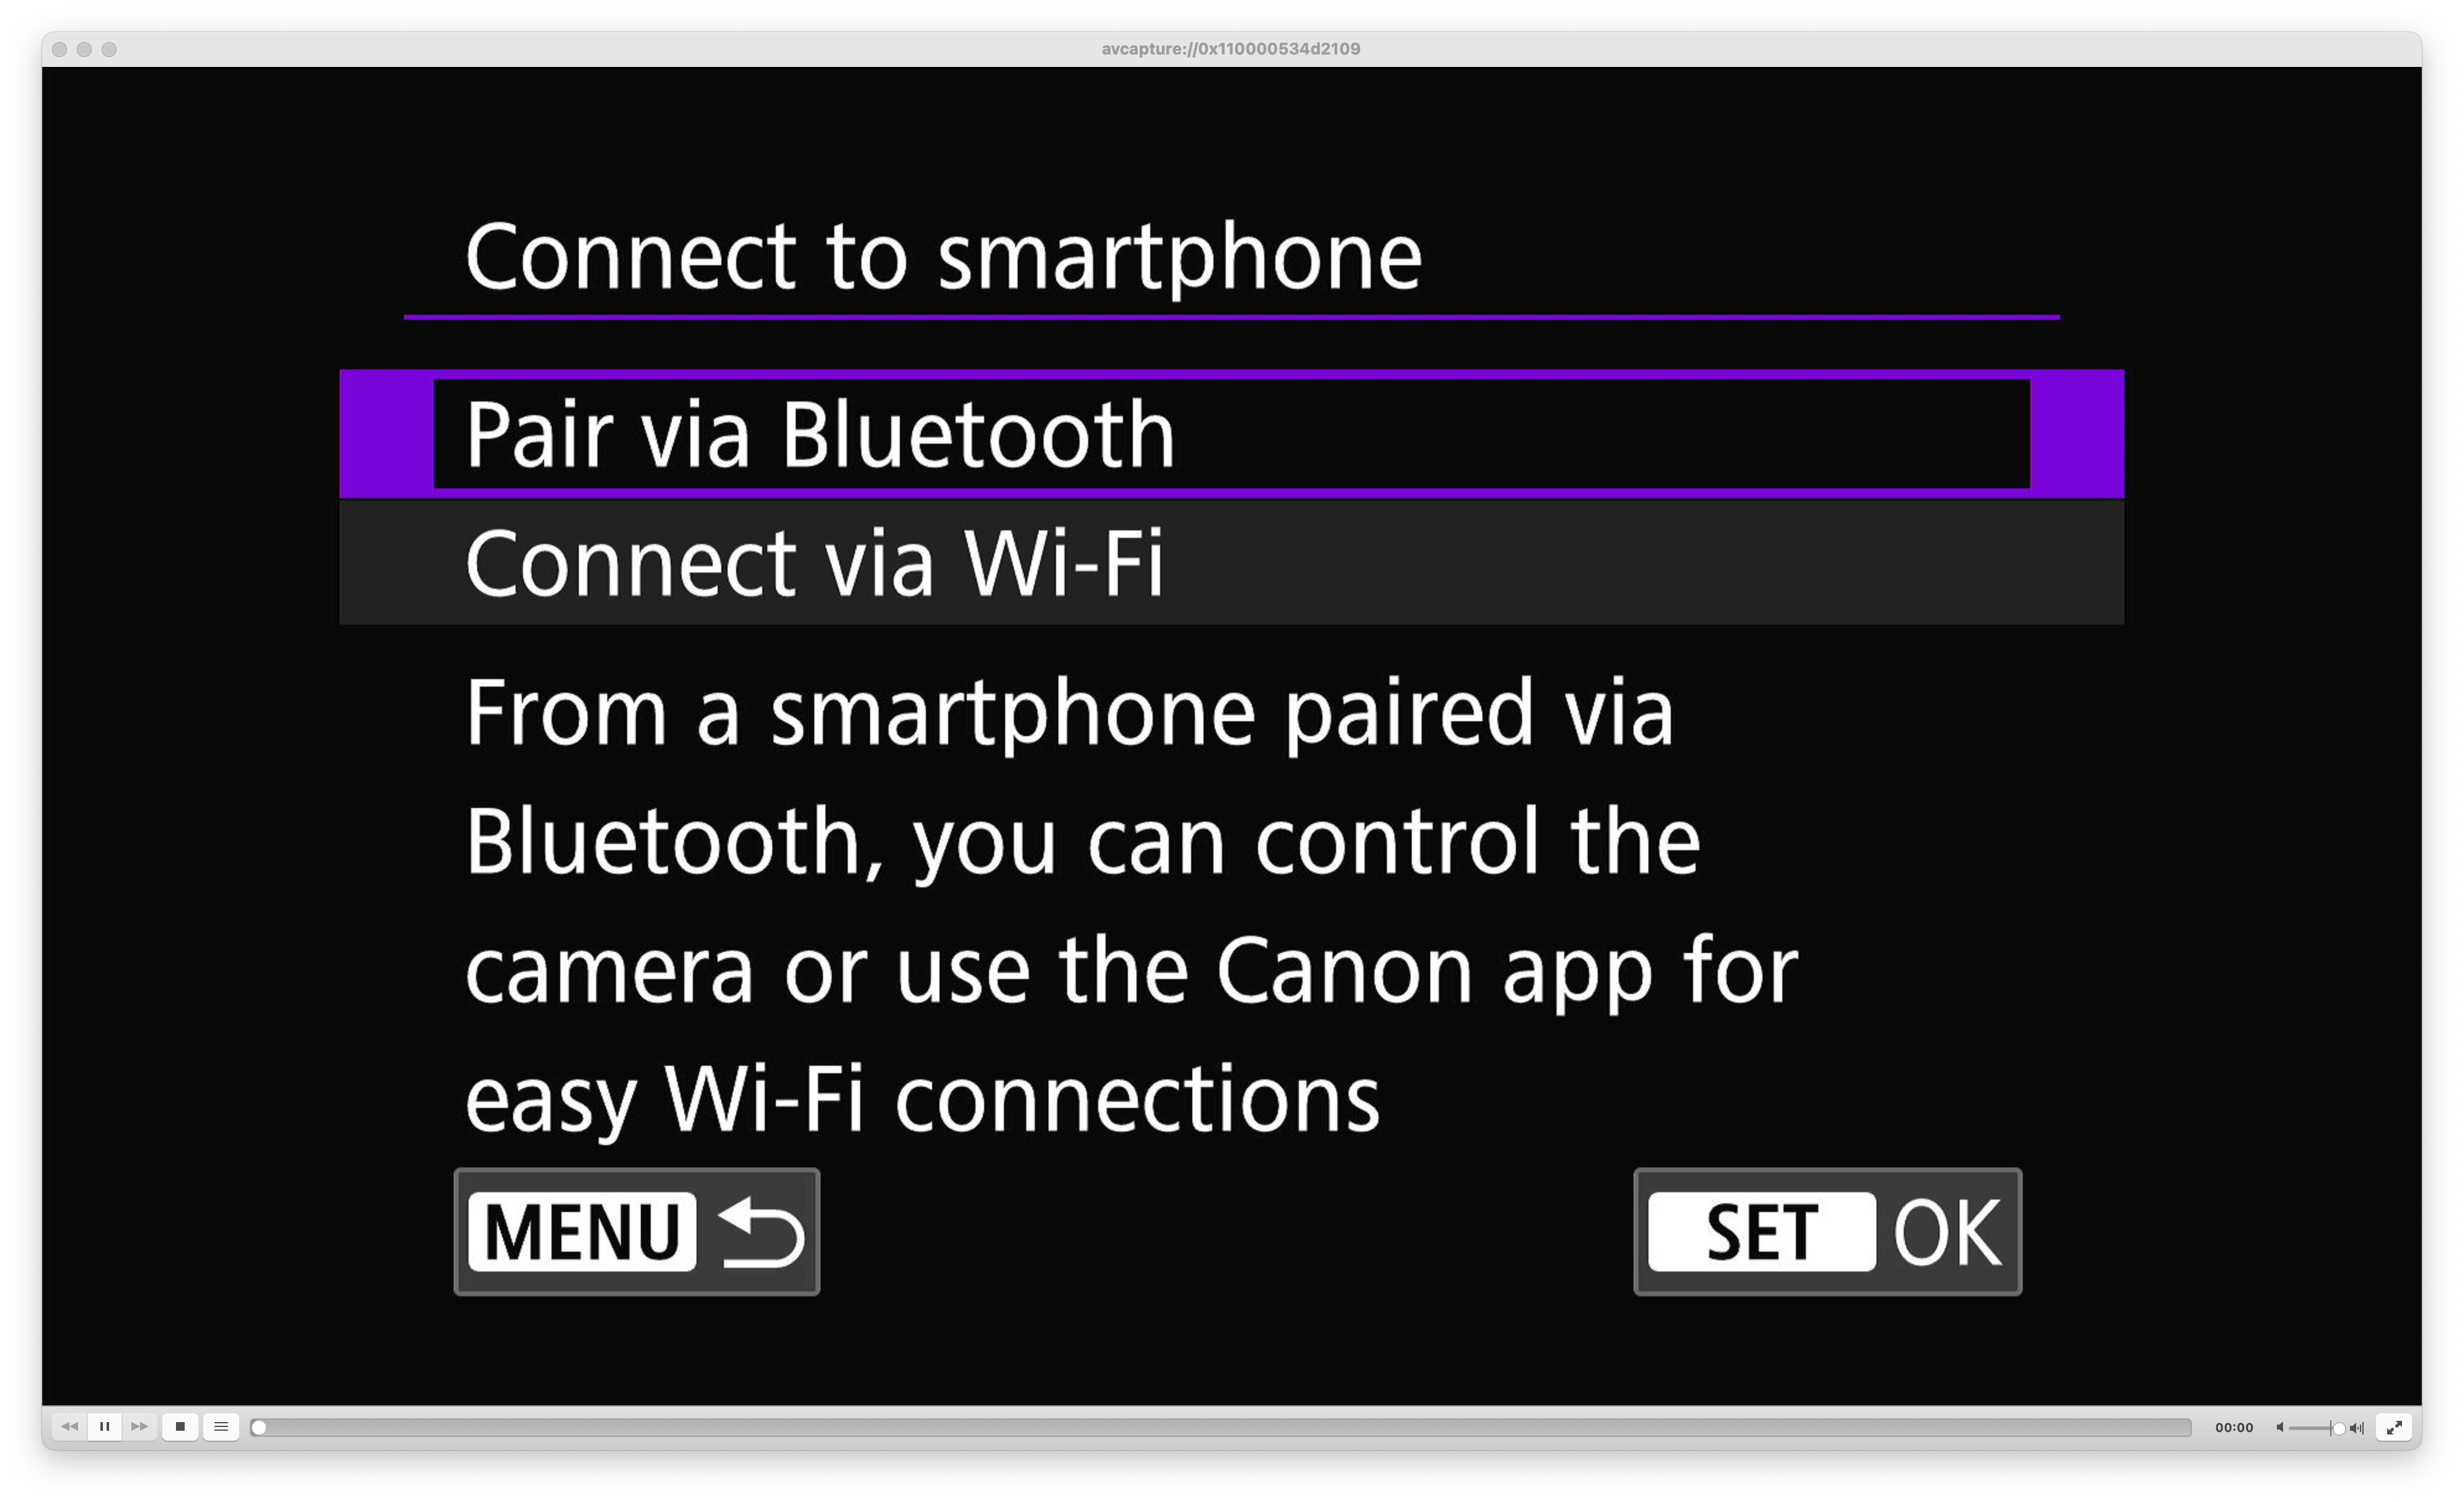
On the next screen, choose “Pair via Bluetooth”.
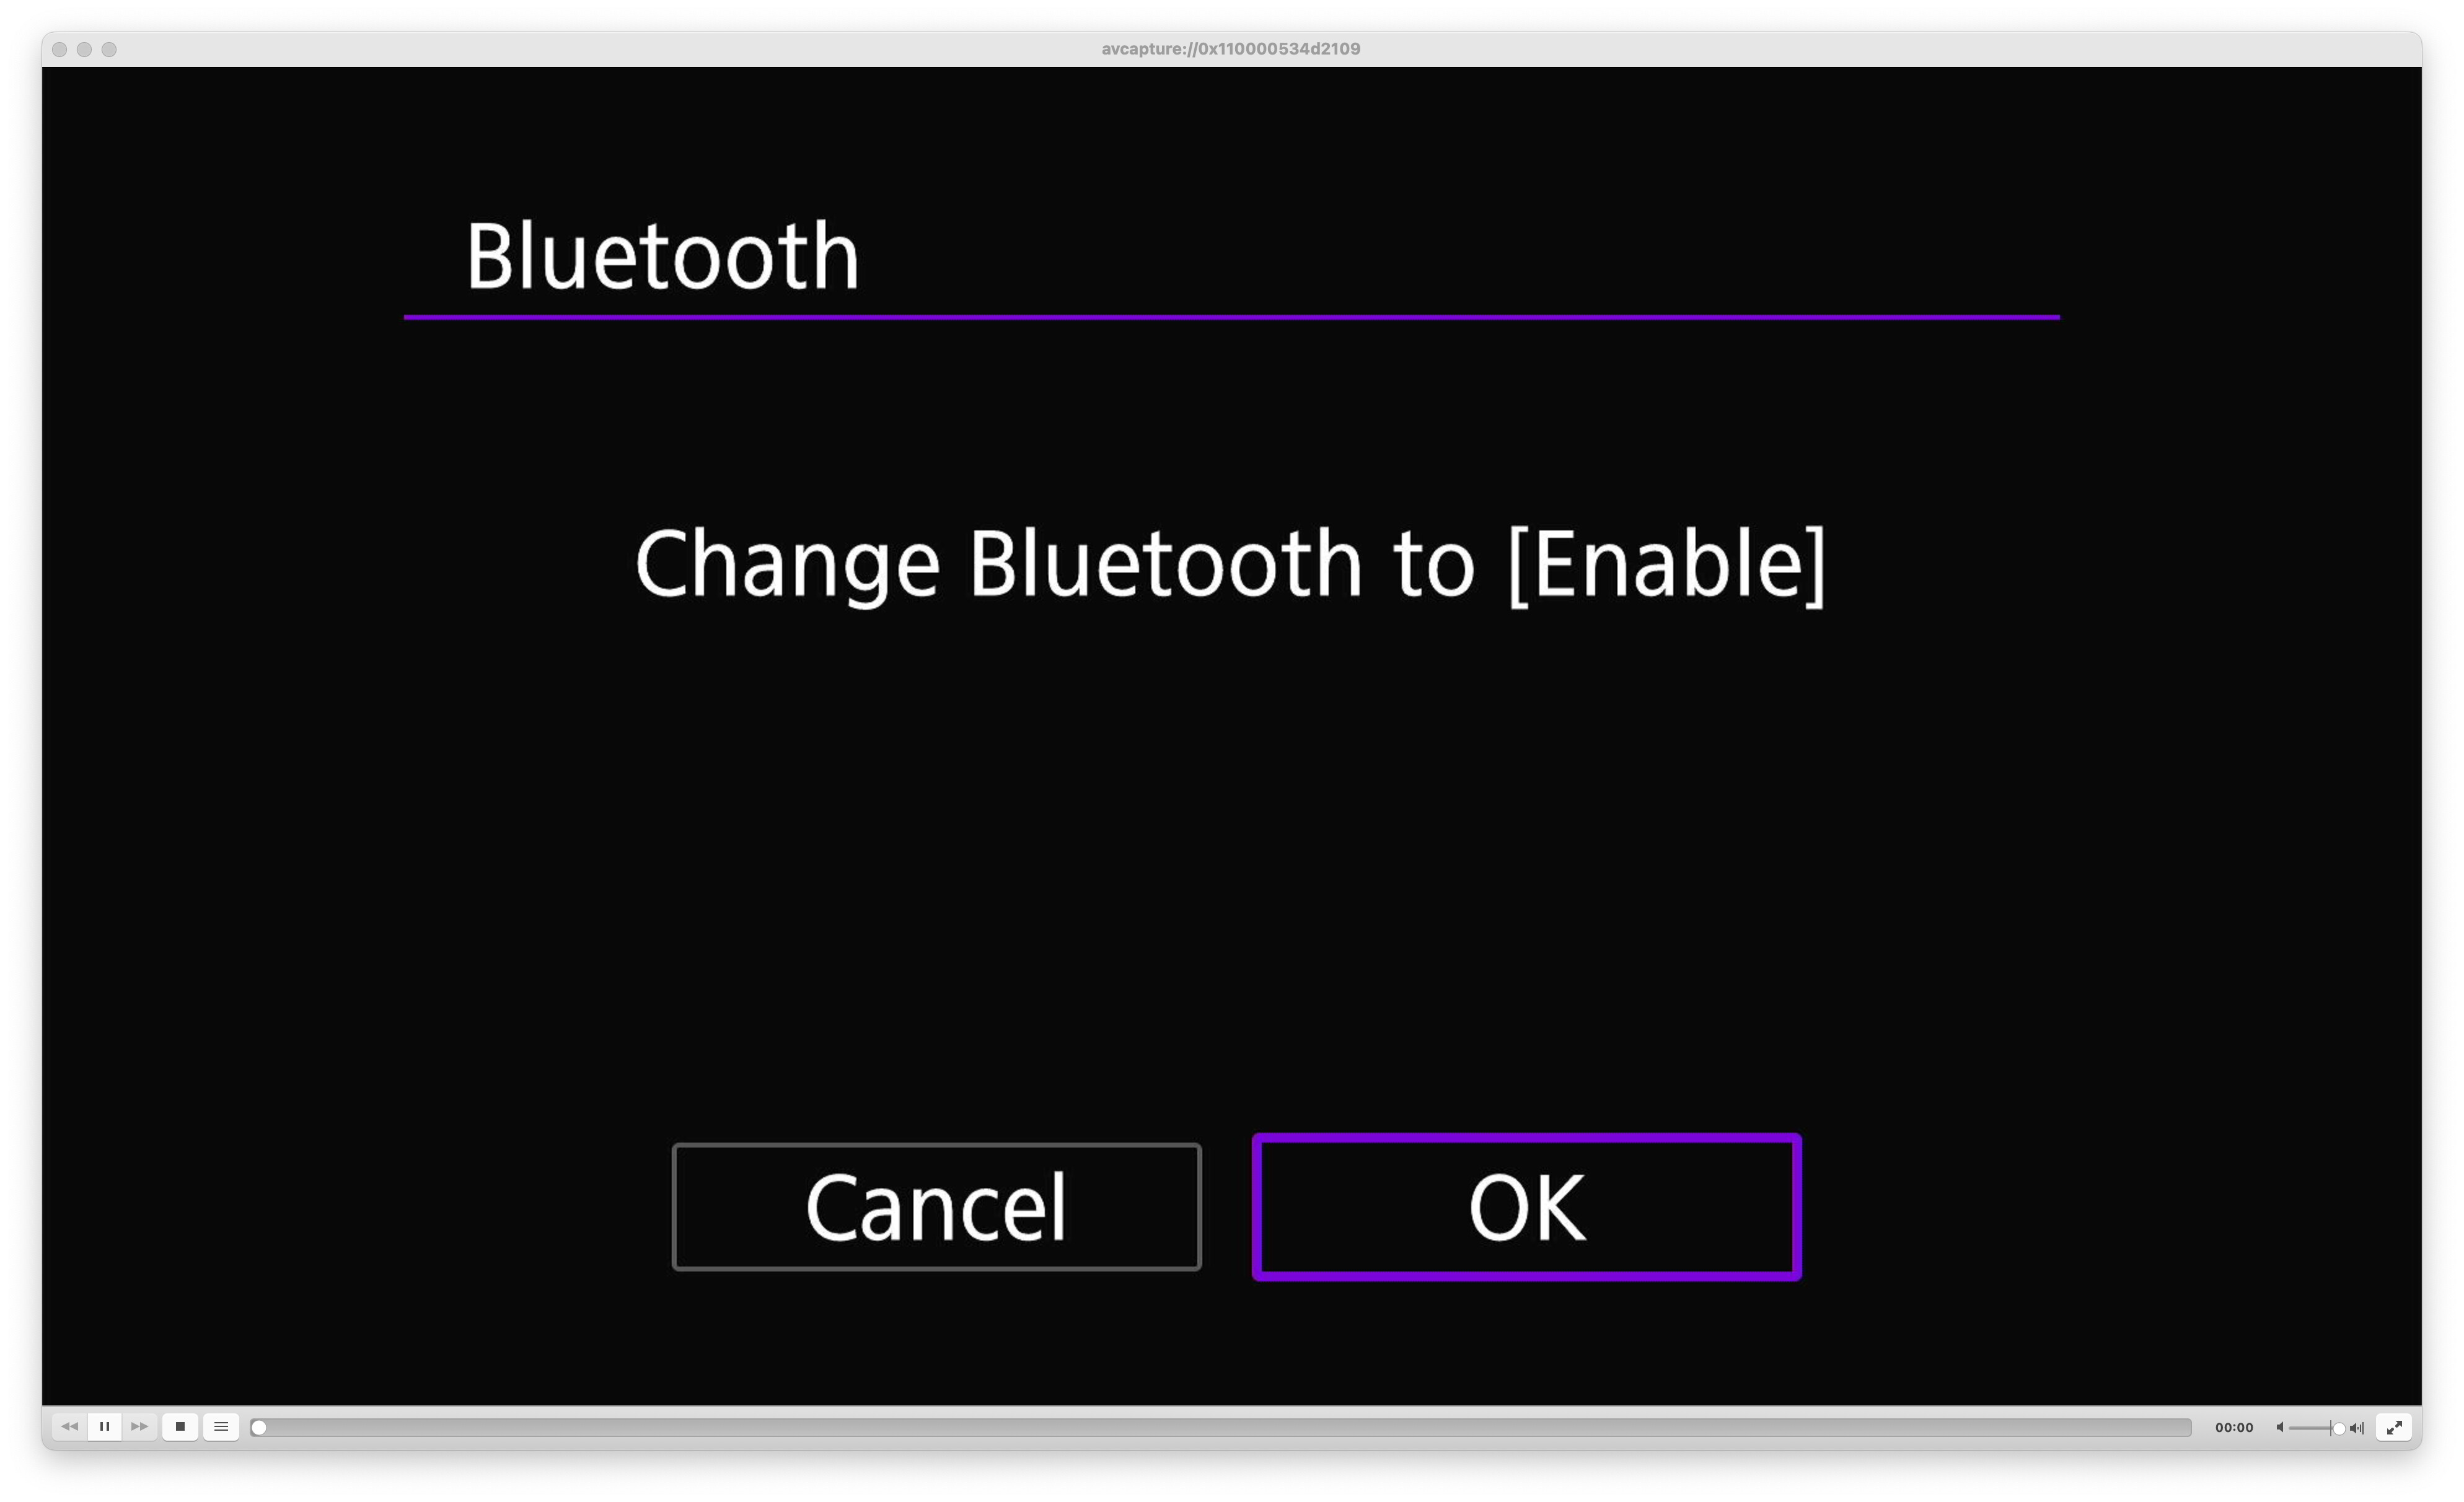
The camera will then prompt to enable bluetooth.
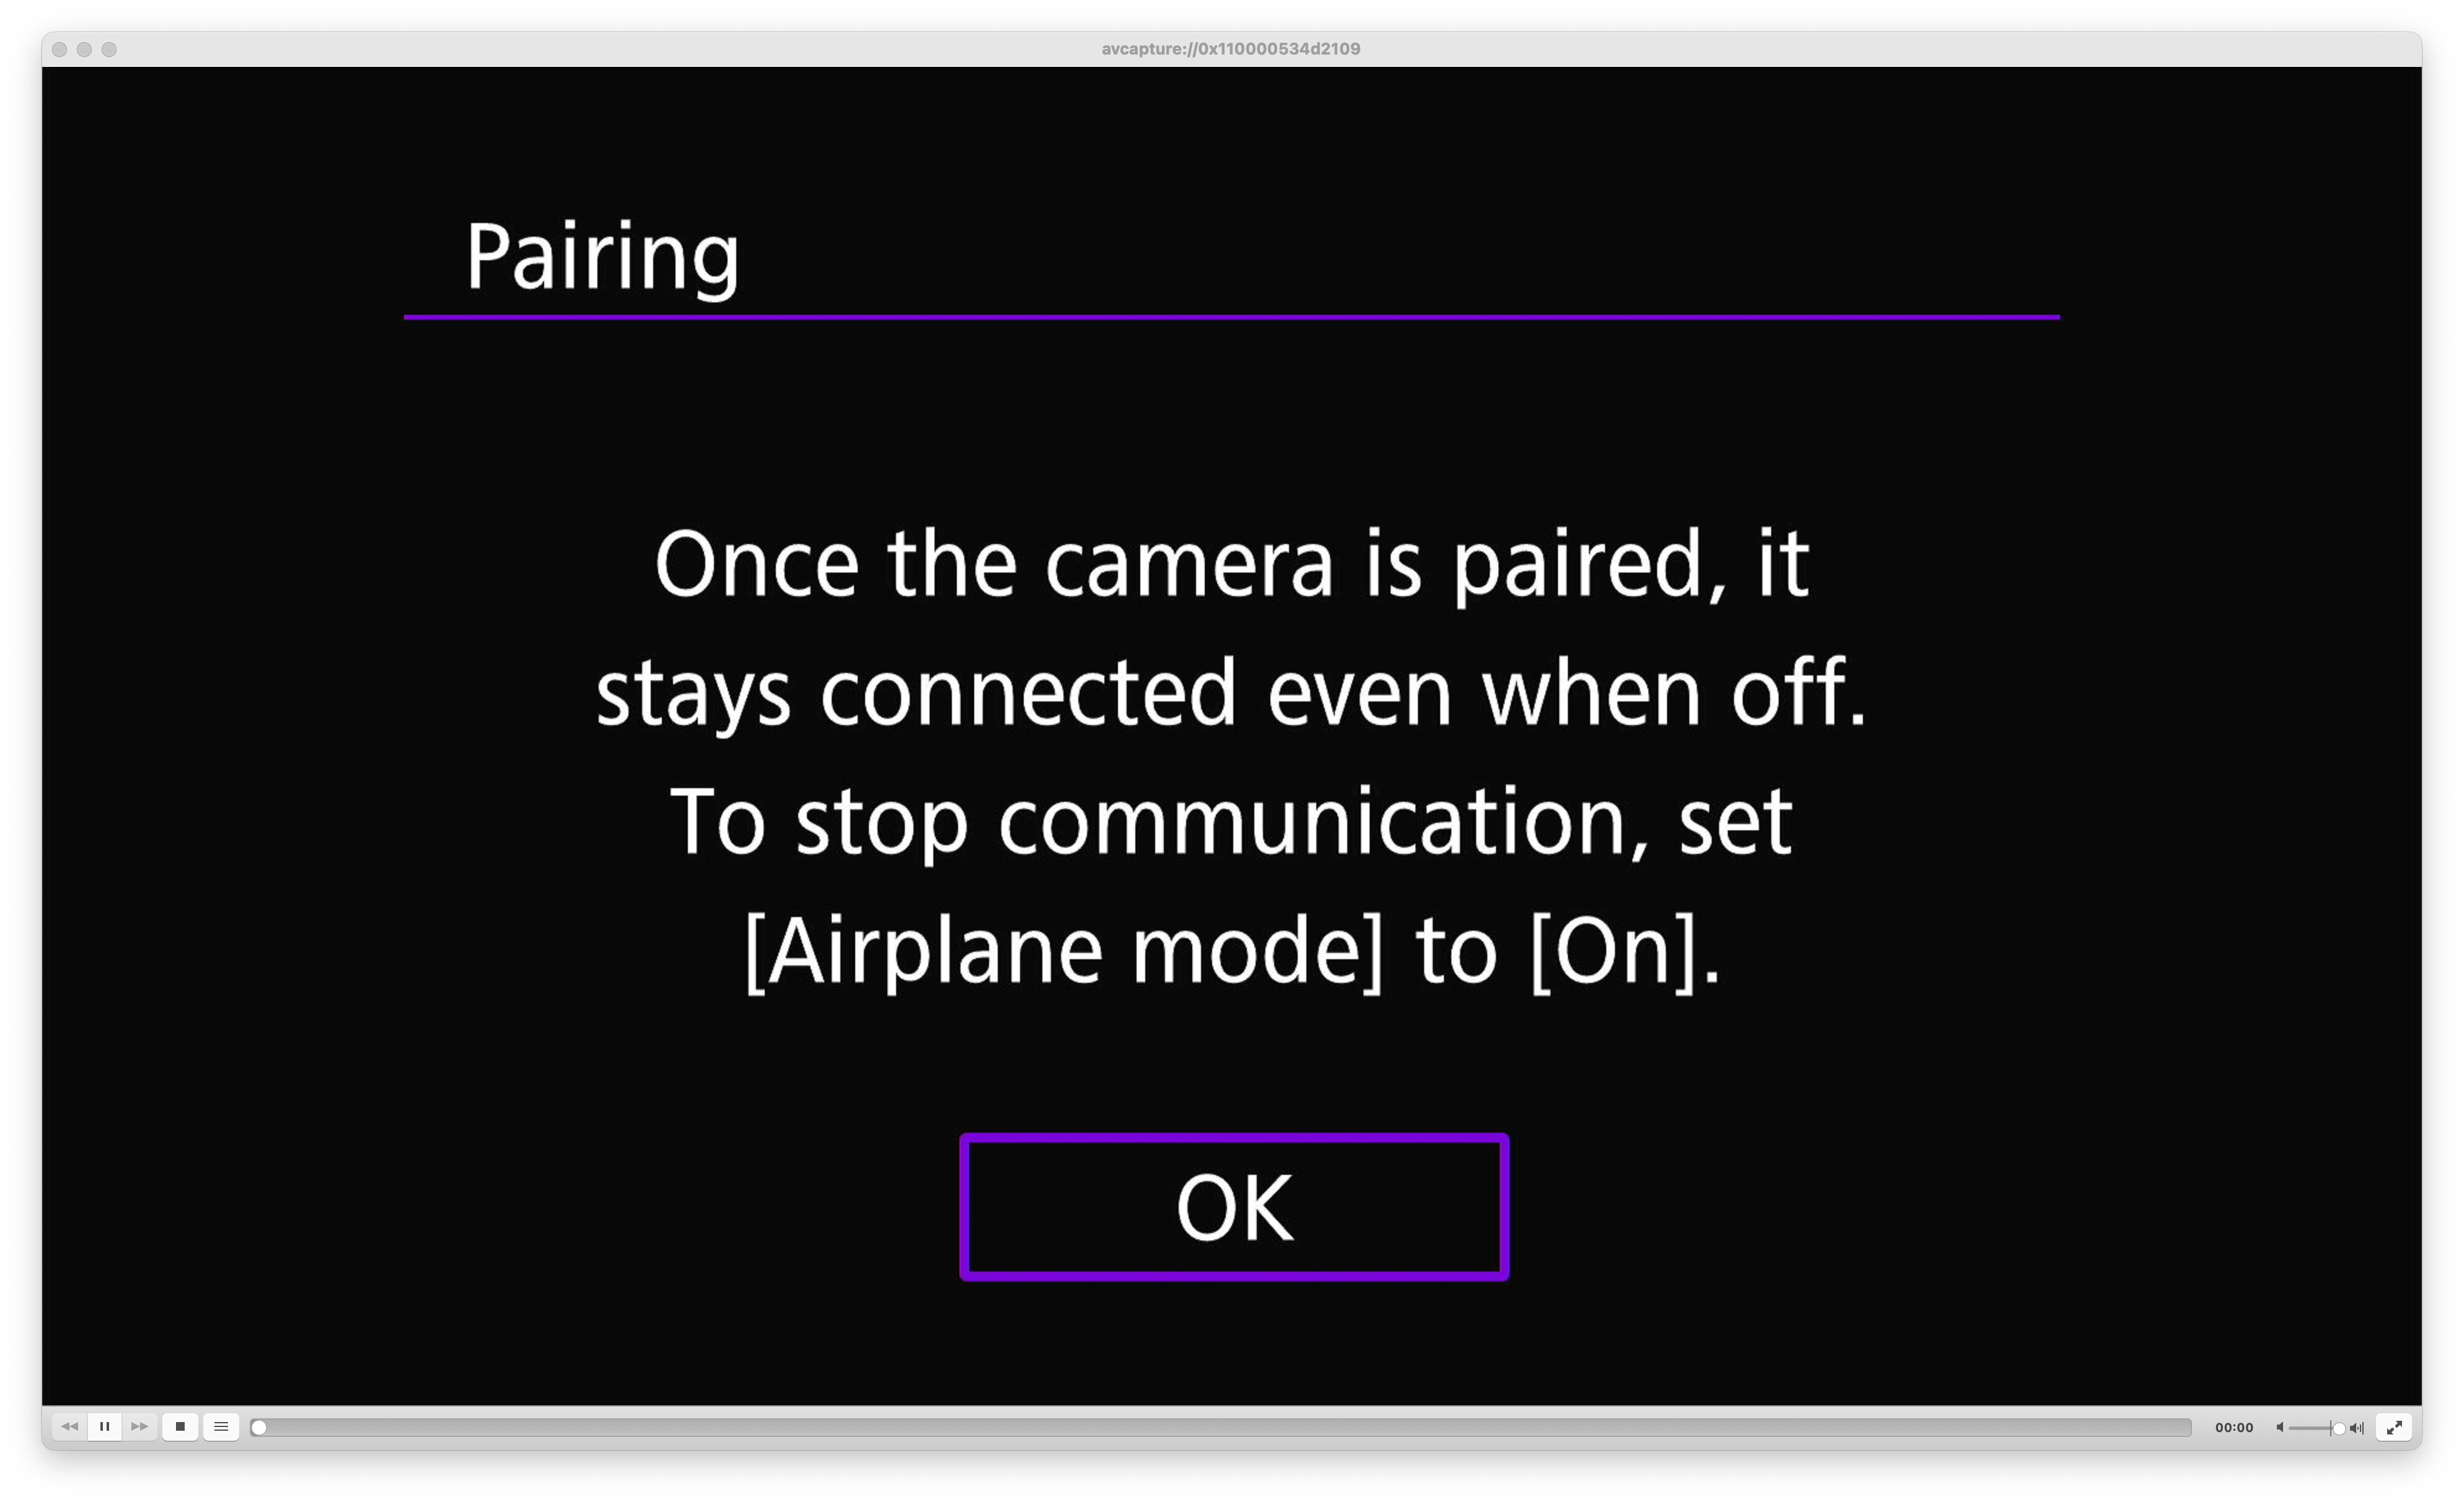
An information dialog is then displayed, indicating that it stays connected even when apparently powered off. Tap “OK”.
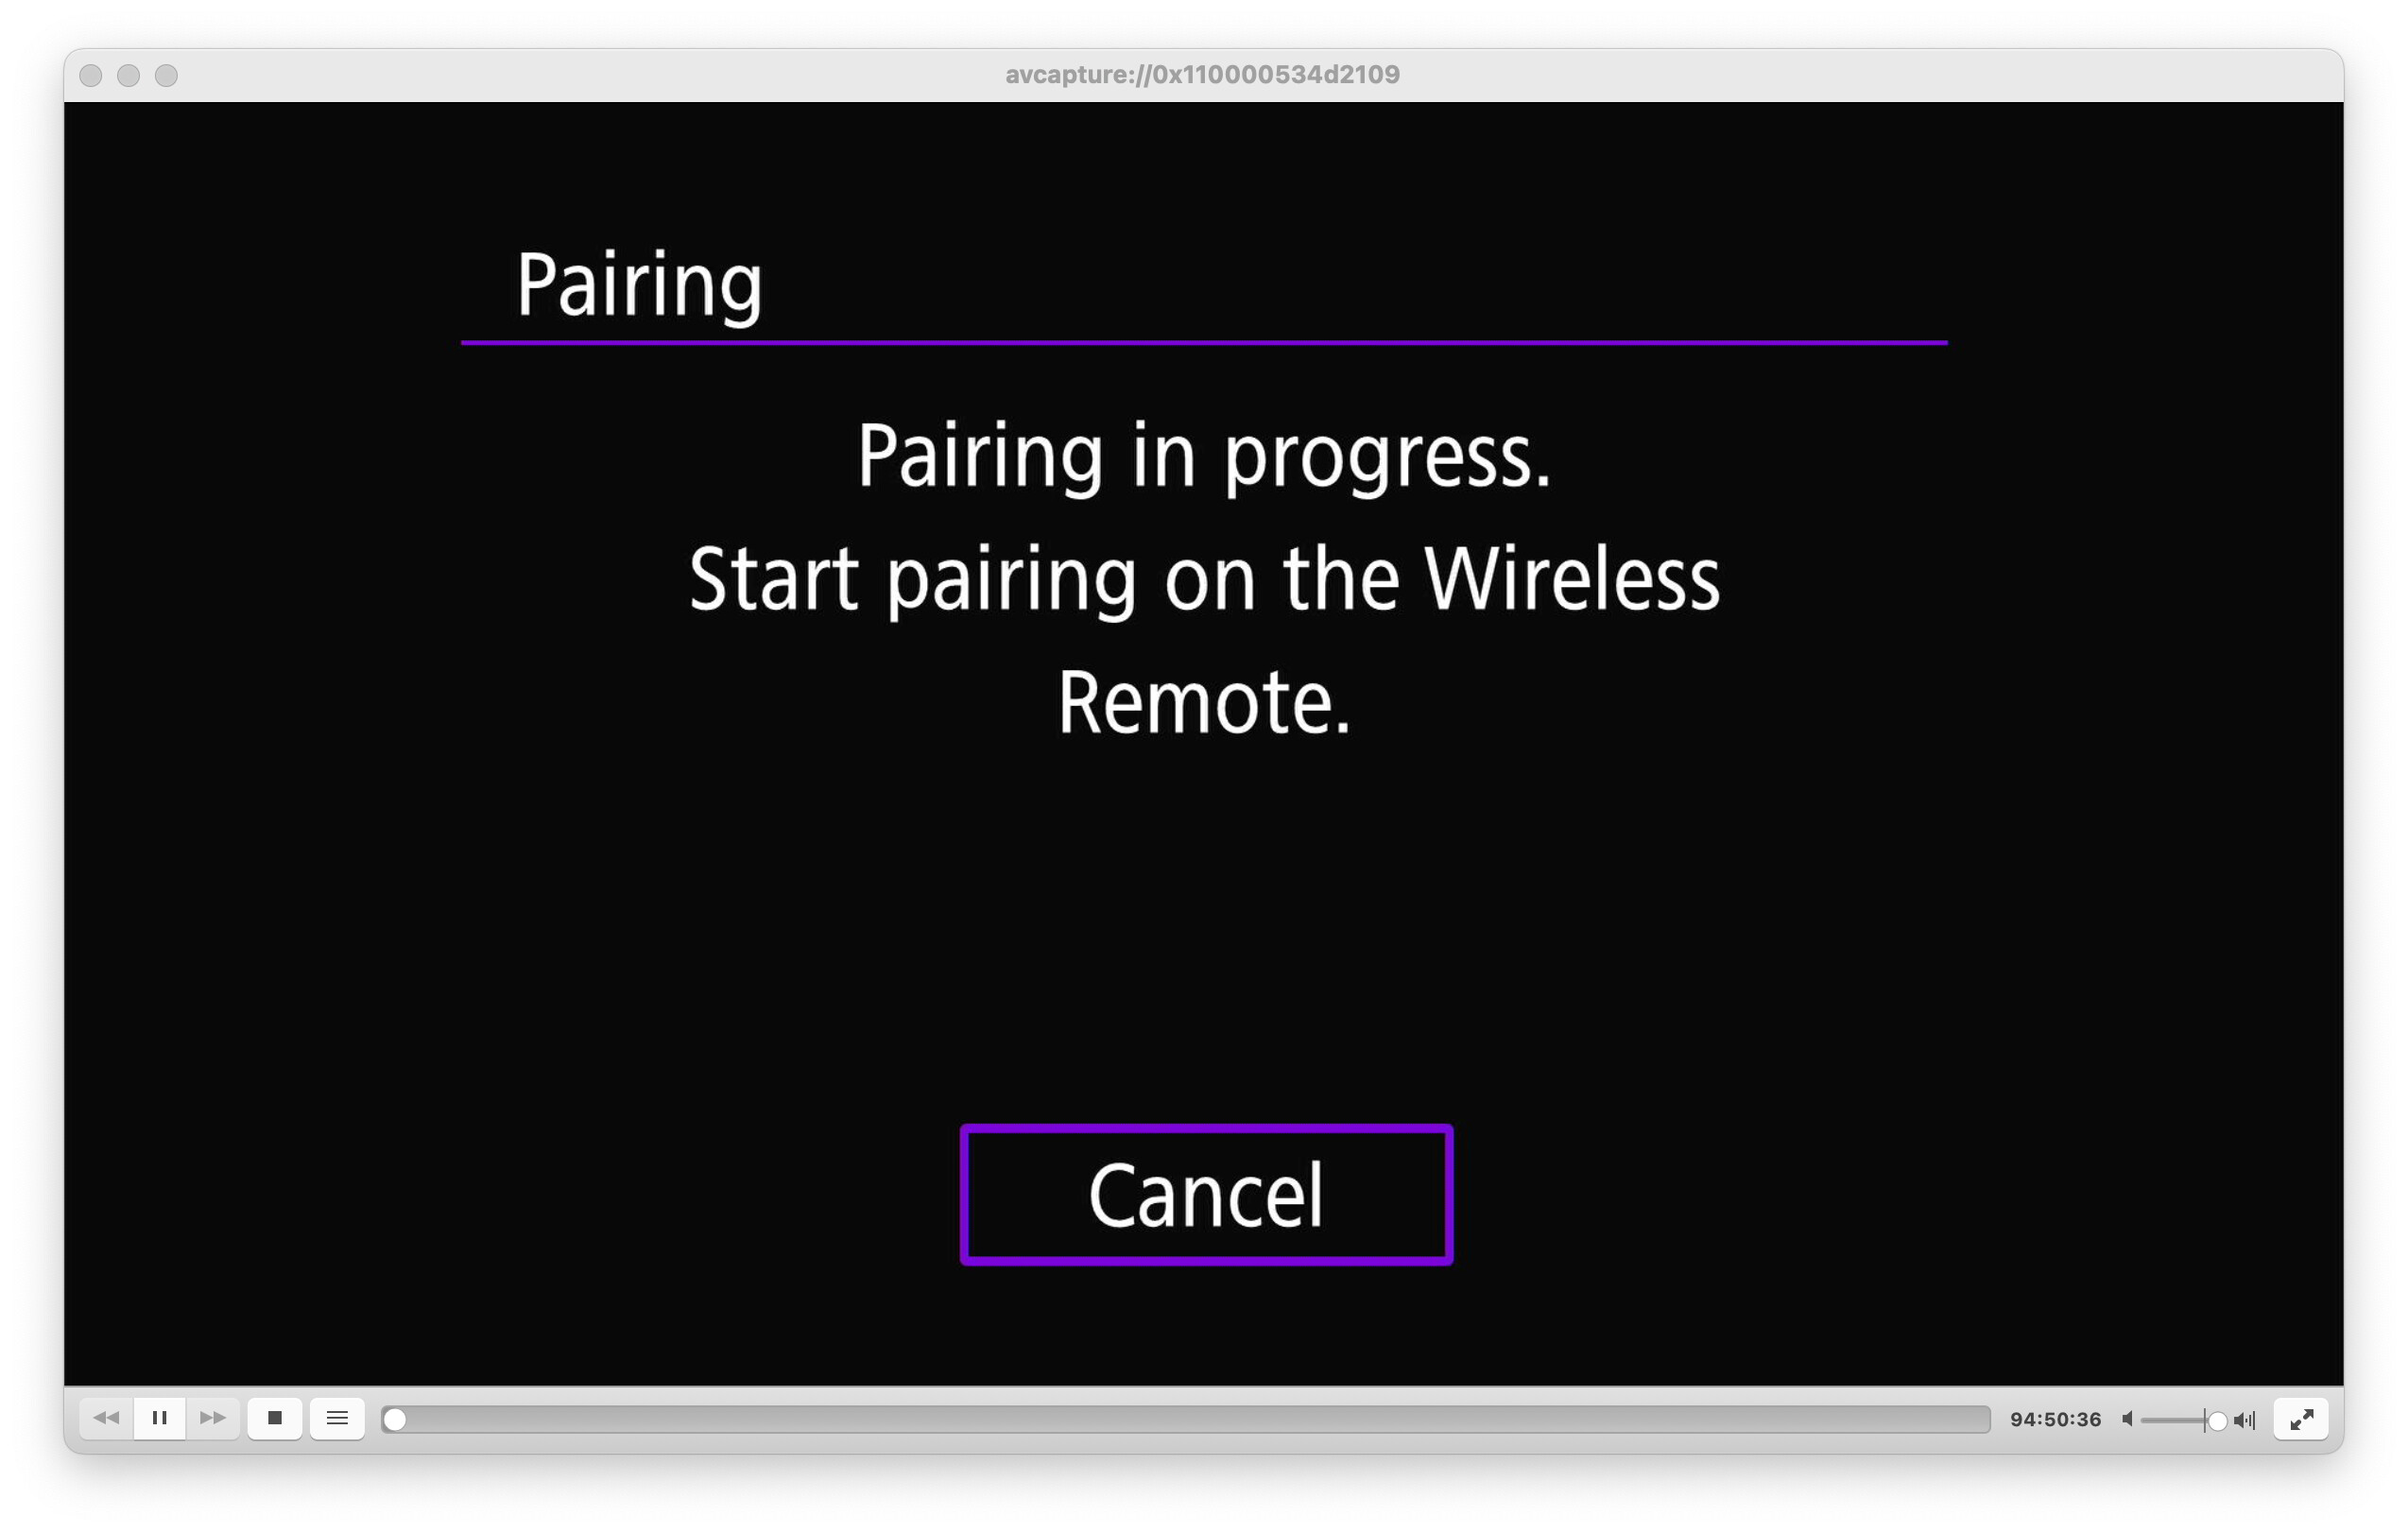
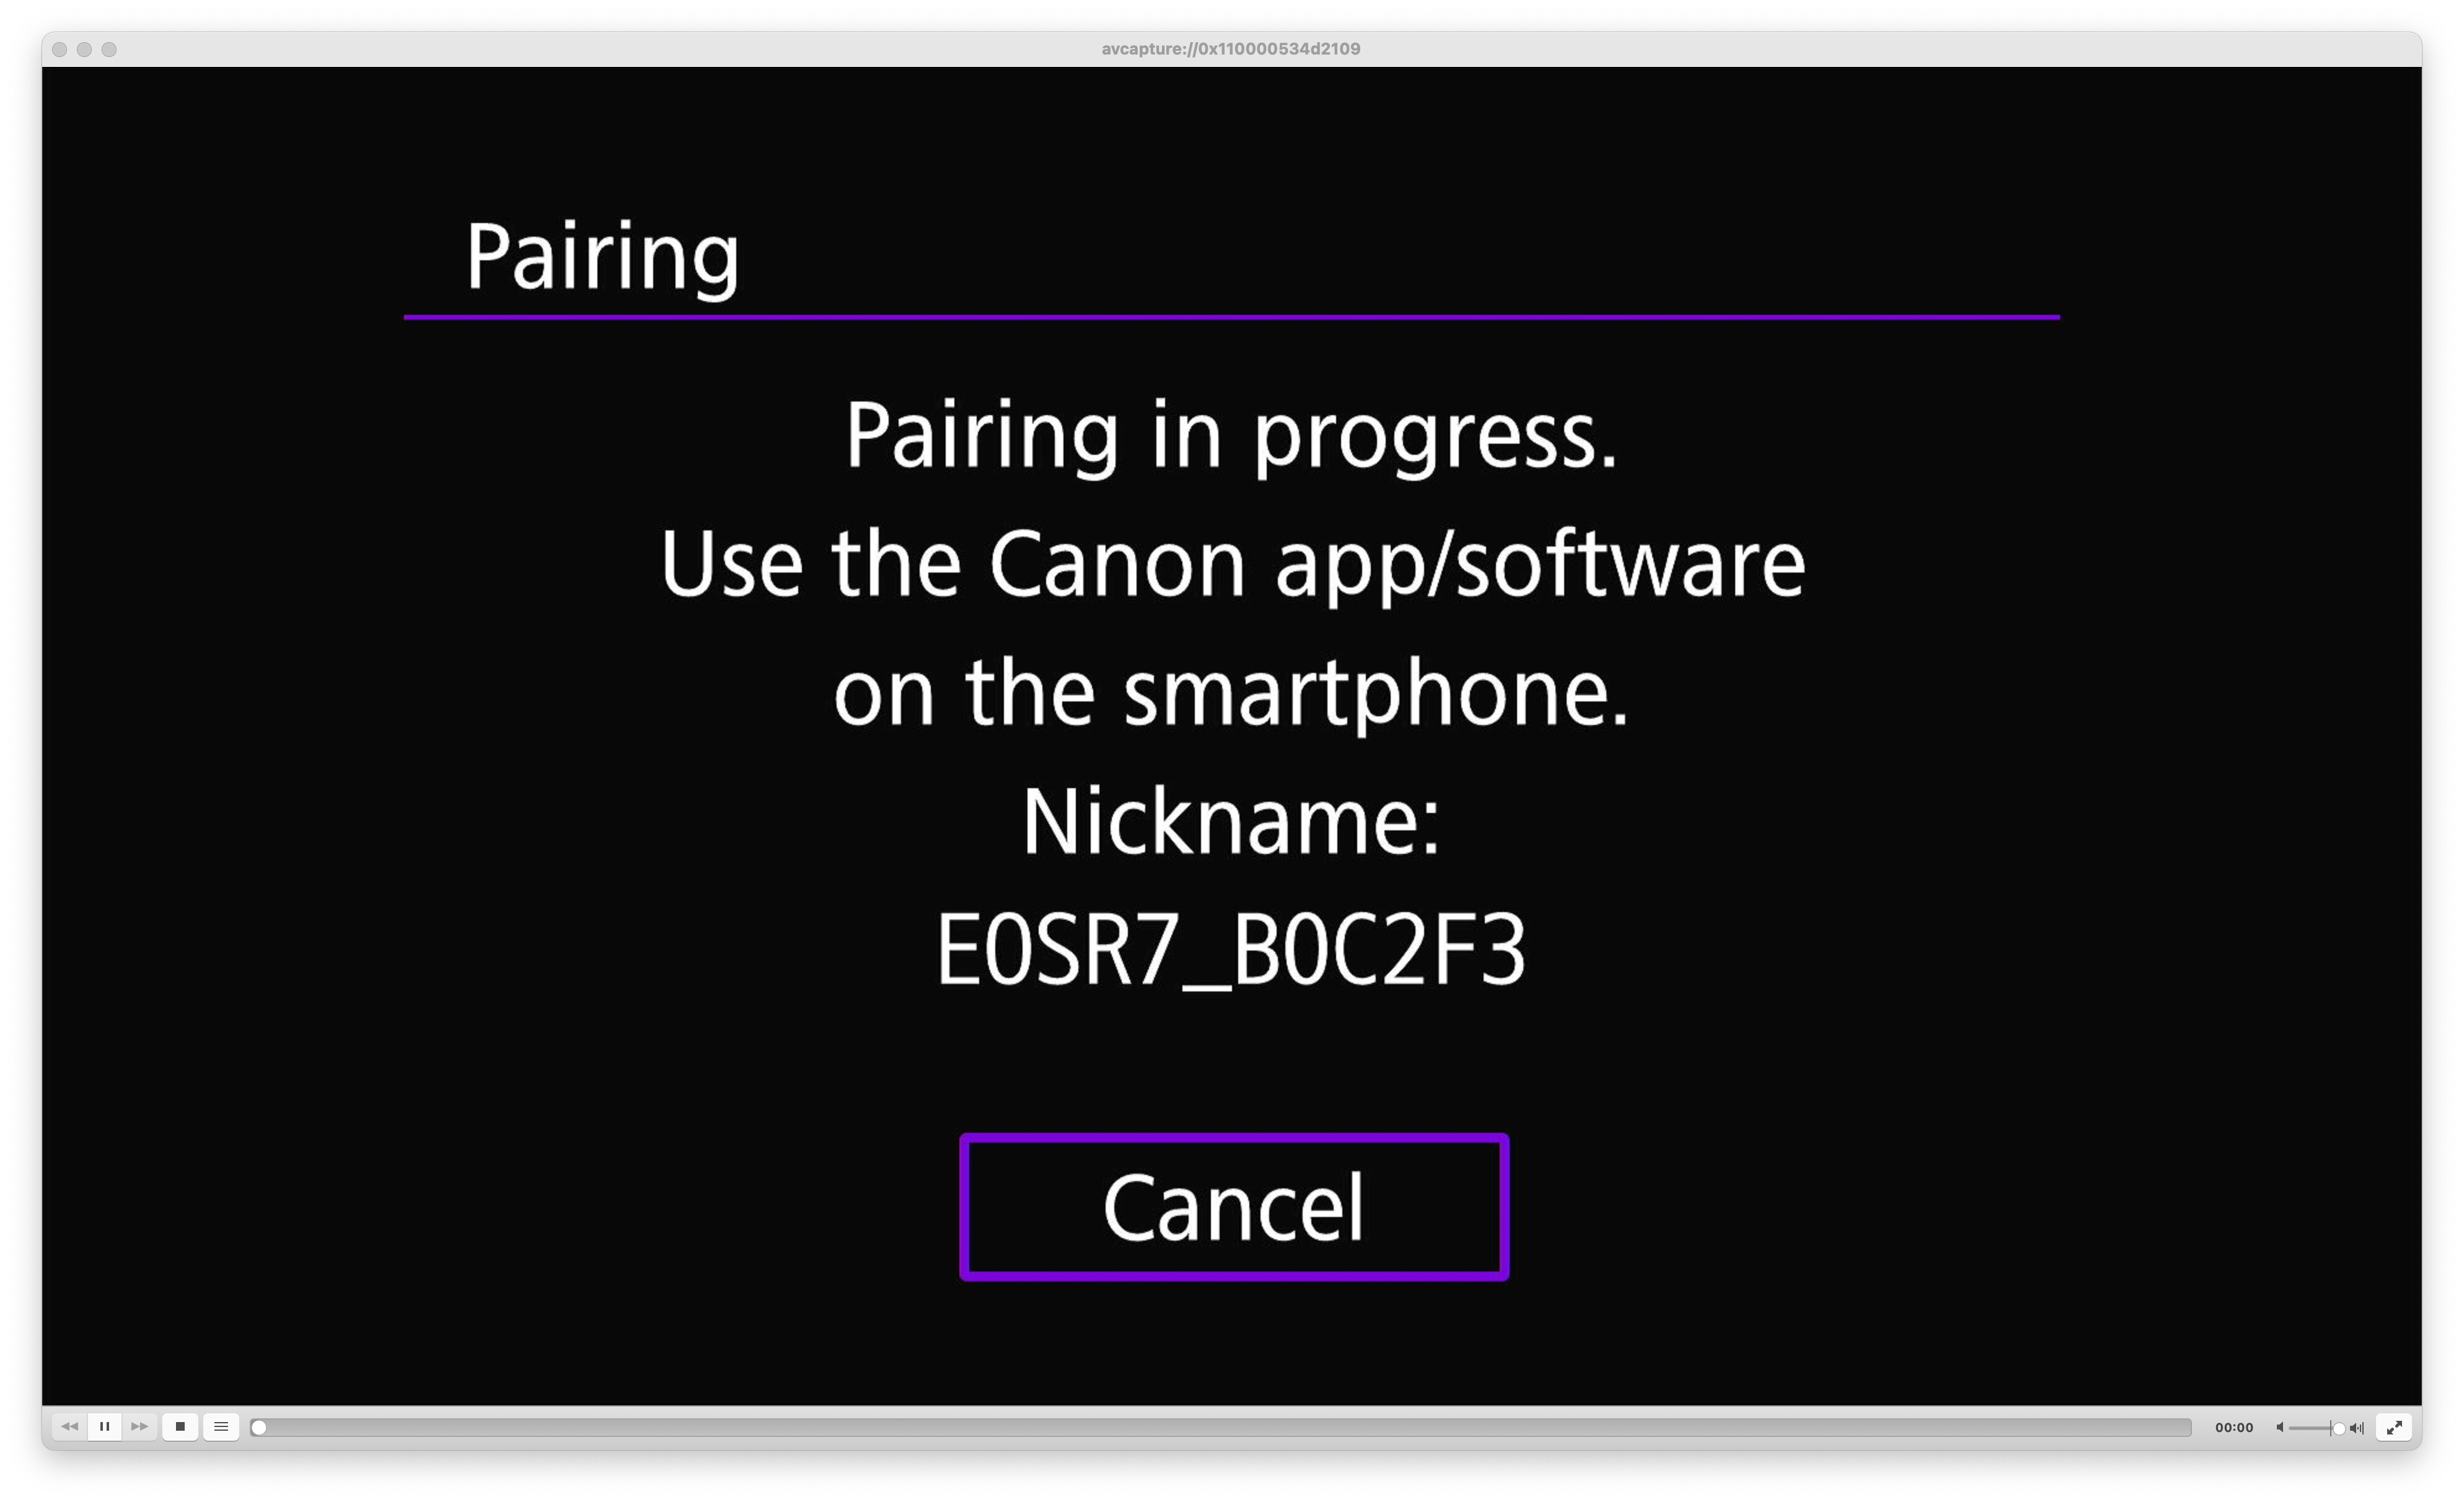
The next screen shows that pairing is in progress.
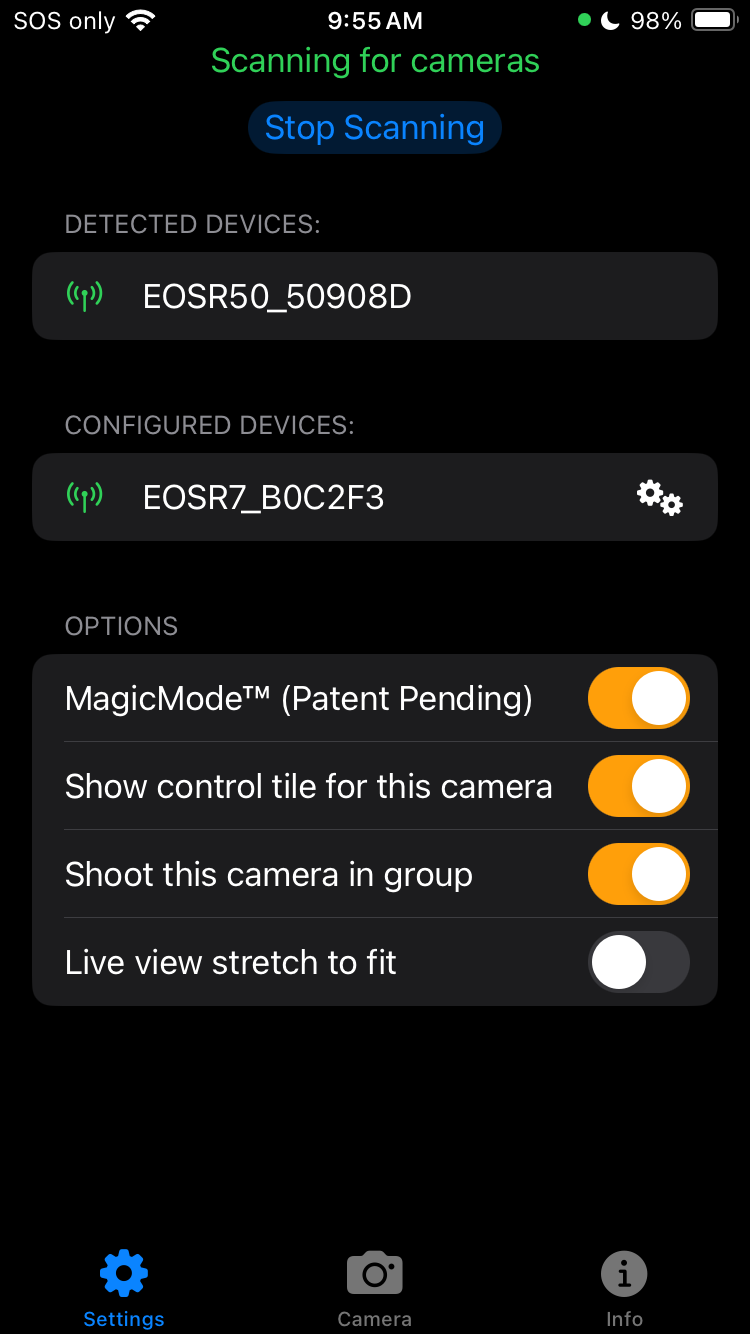
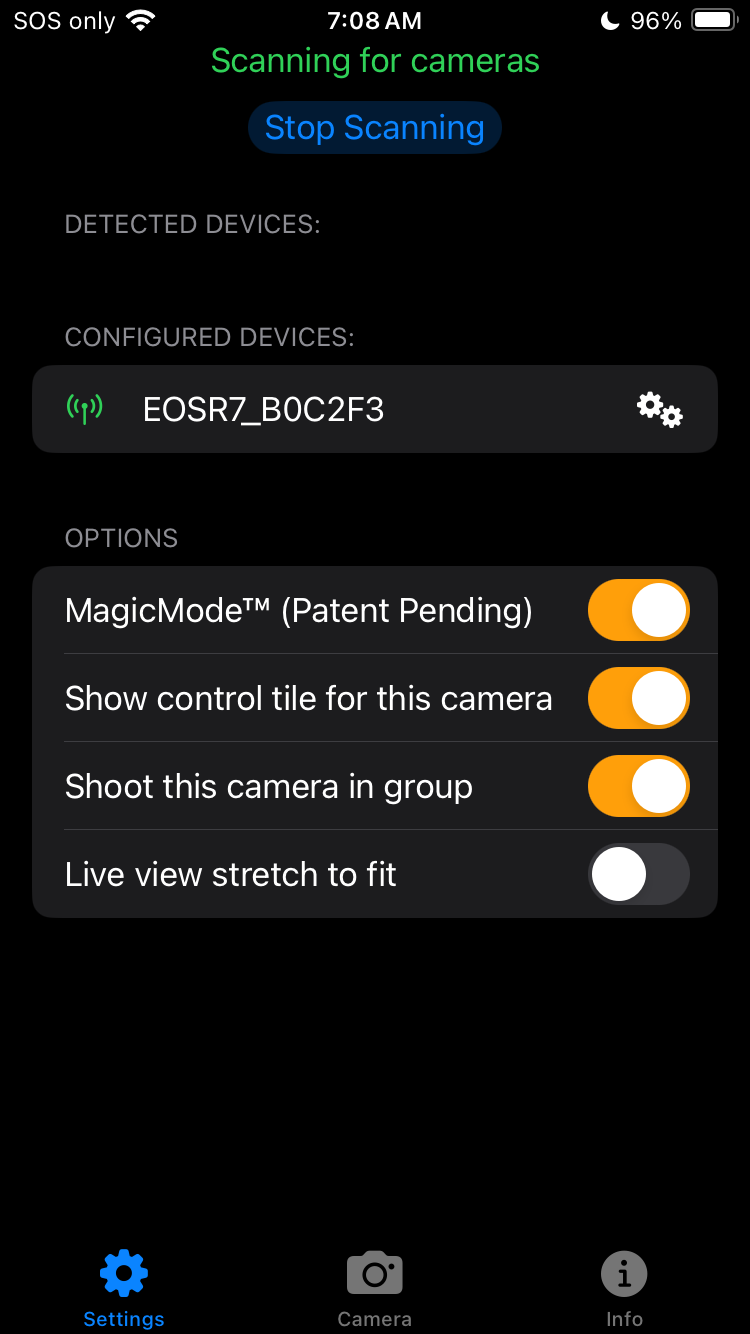
In Camerama, the camera should appear under “Detected devices”.

Tap the Camera’s name and it will move to “Configured devices”.
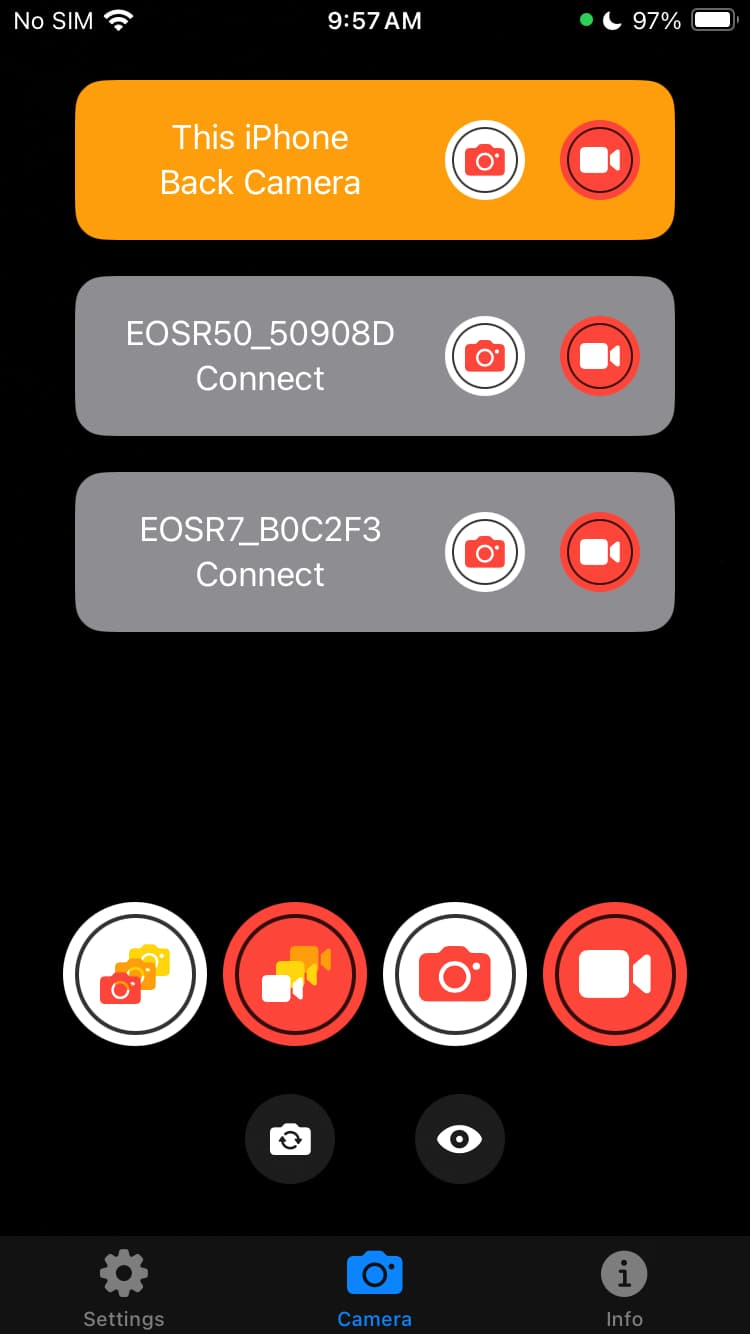
In Camerama, select the Camera tab, and the camera should appear as a tile with a grey background, indicating that it is configured, but not connected.
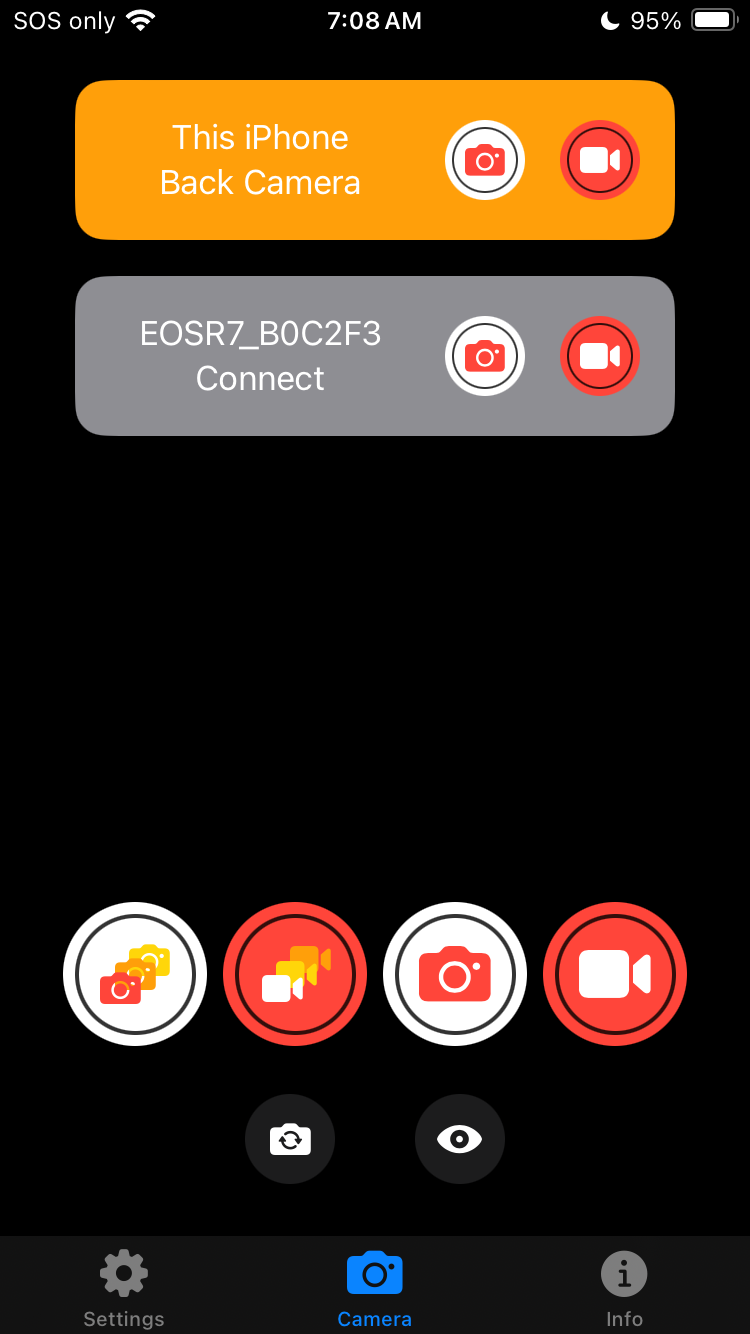
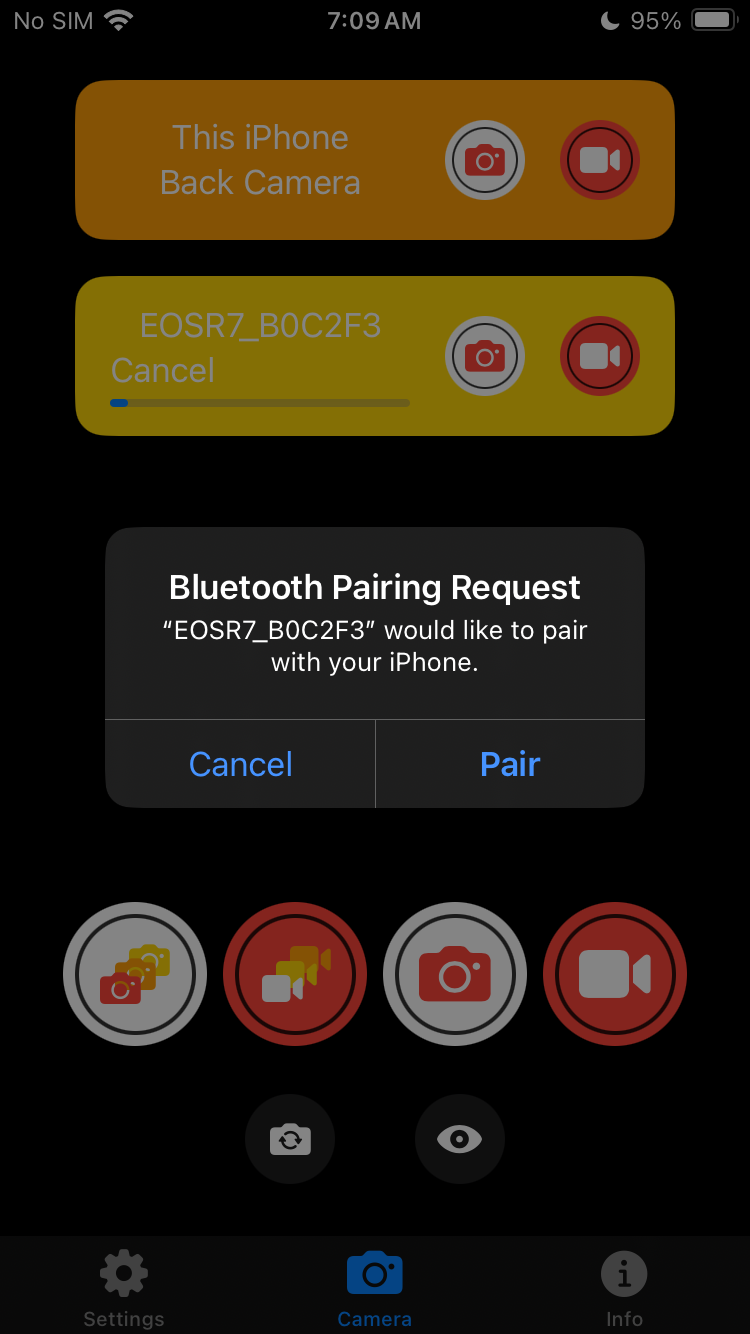
Tap “Connect” on the tile. This will prompt the iPhone to show an alert for the pairing request with the camera. Select “Pair”.
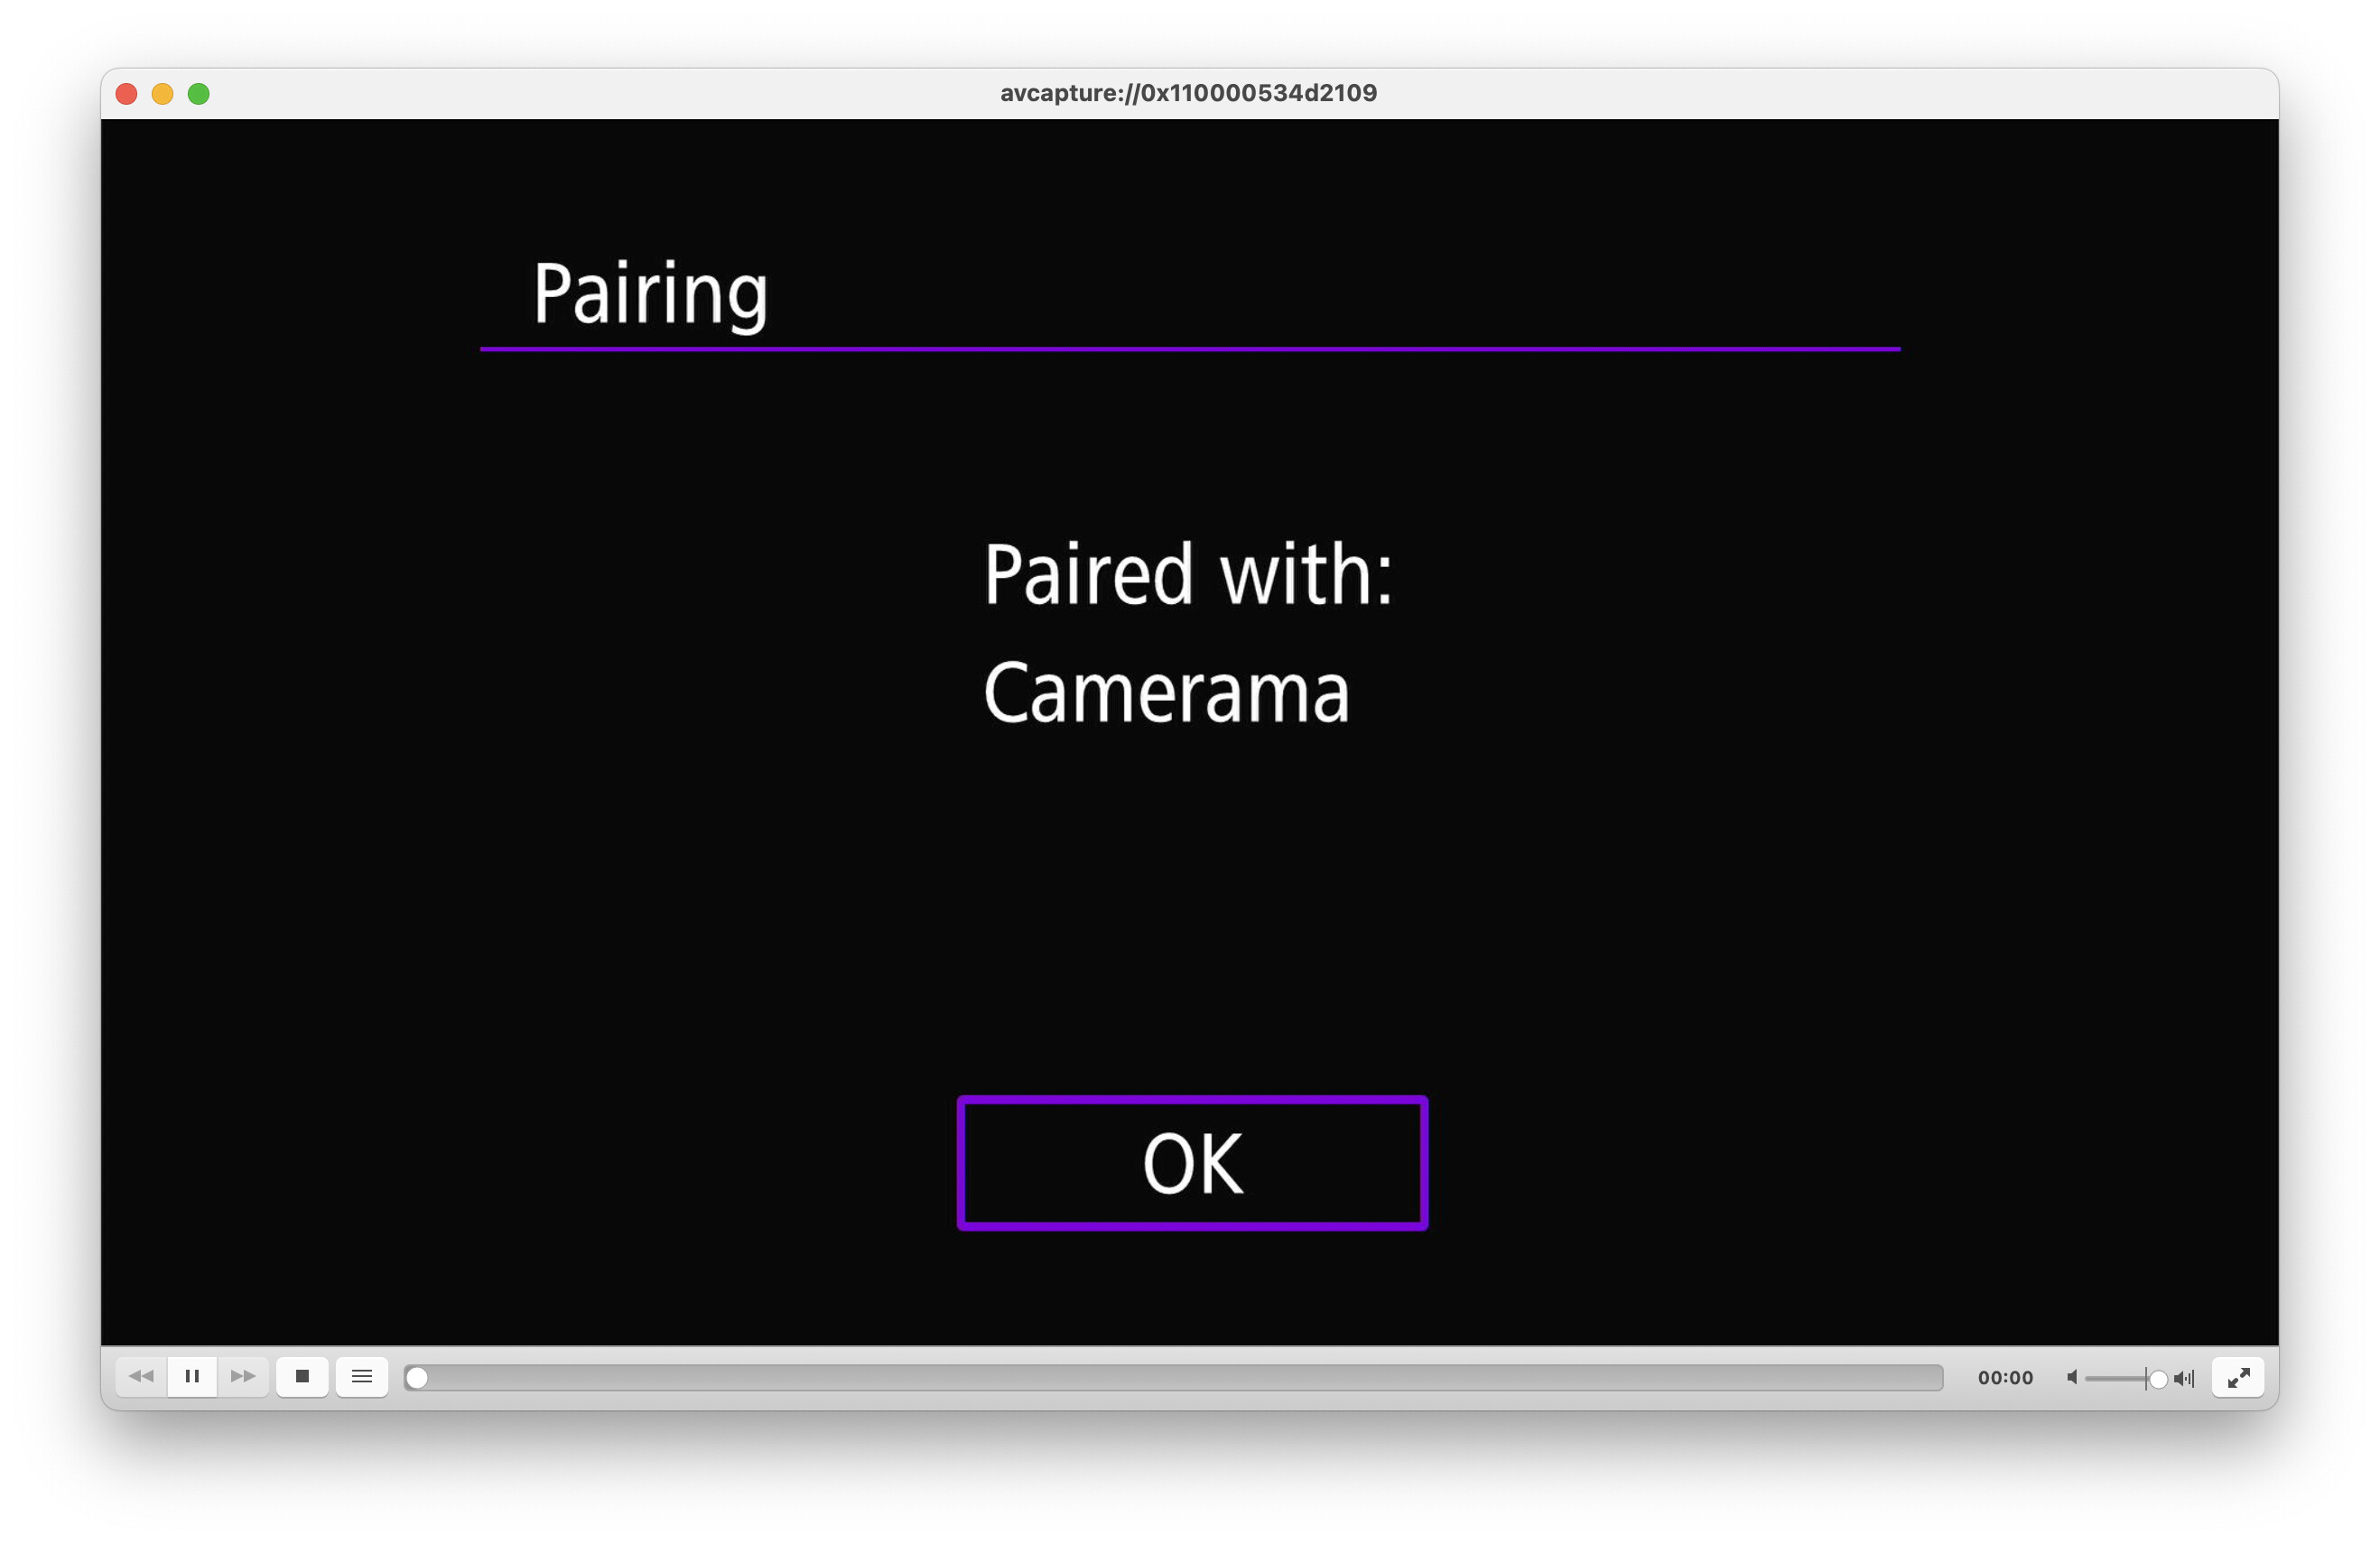
The camera will show a Pairing confirmation dialog. Tap OK to pair.
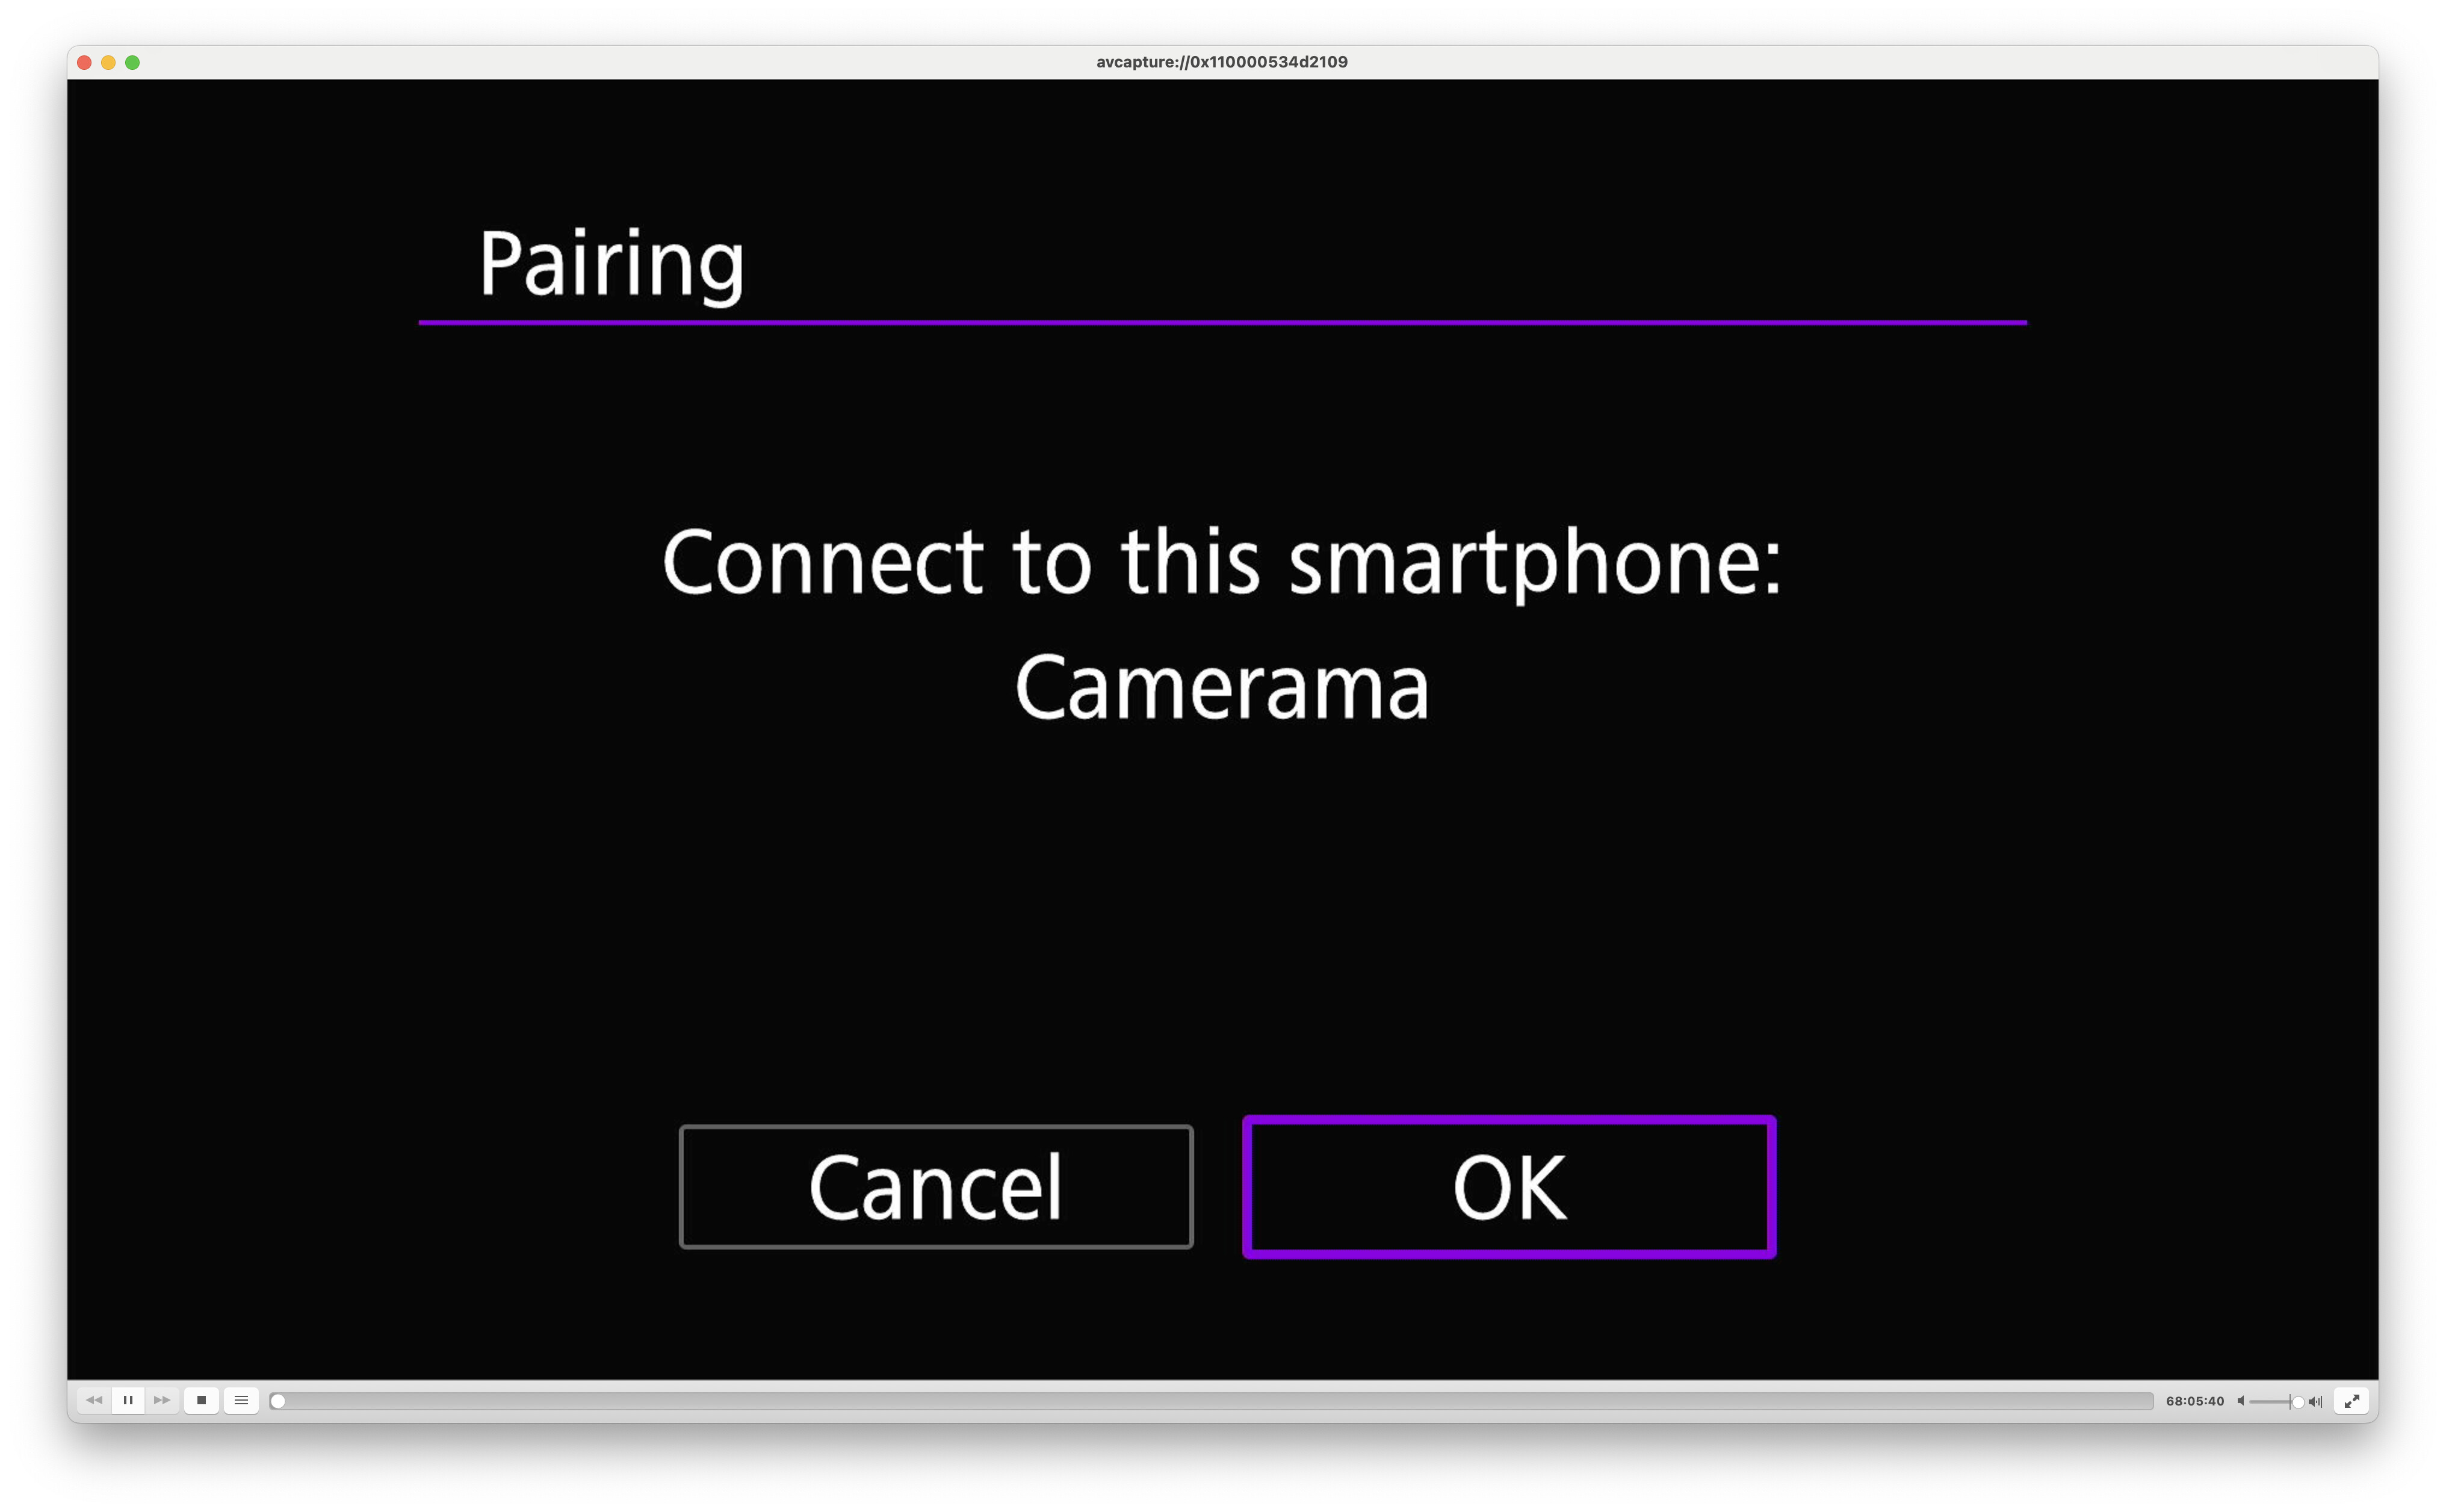
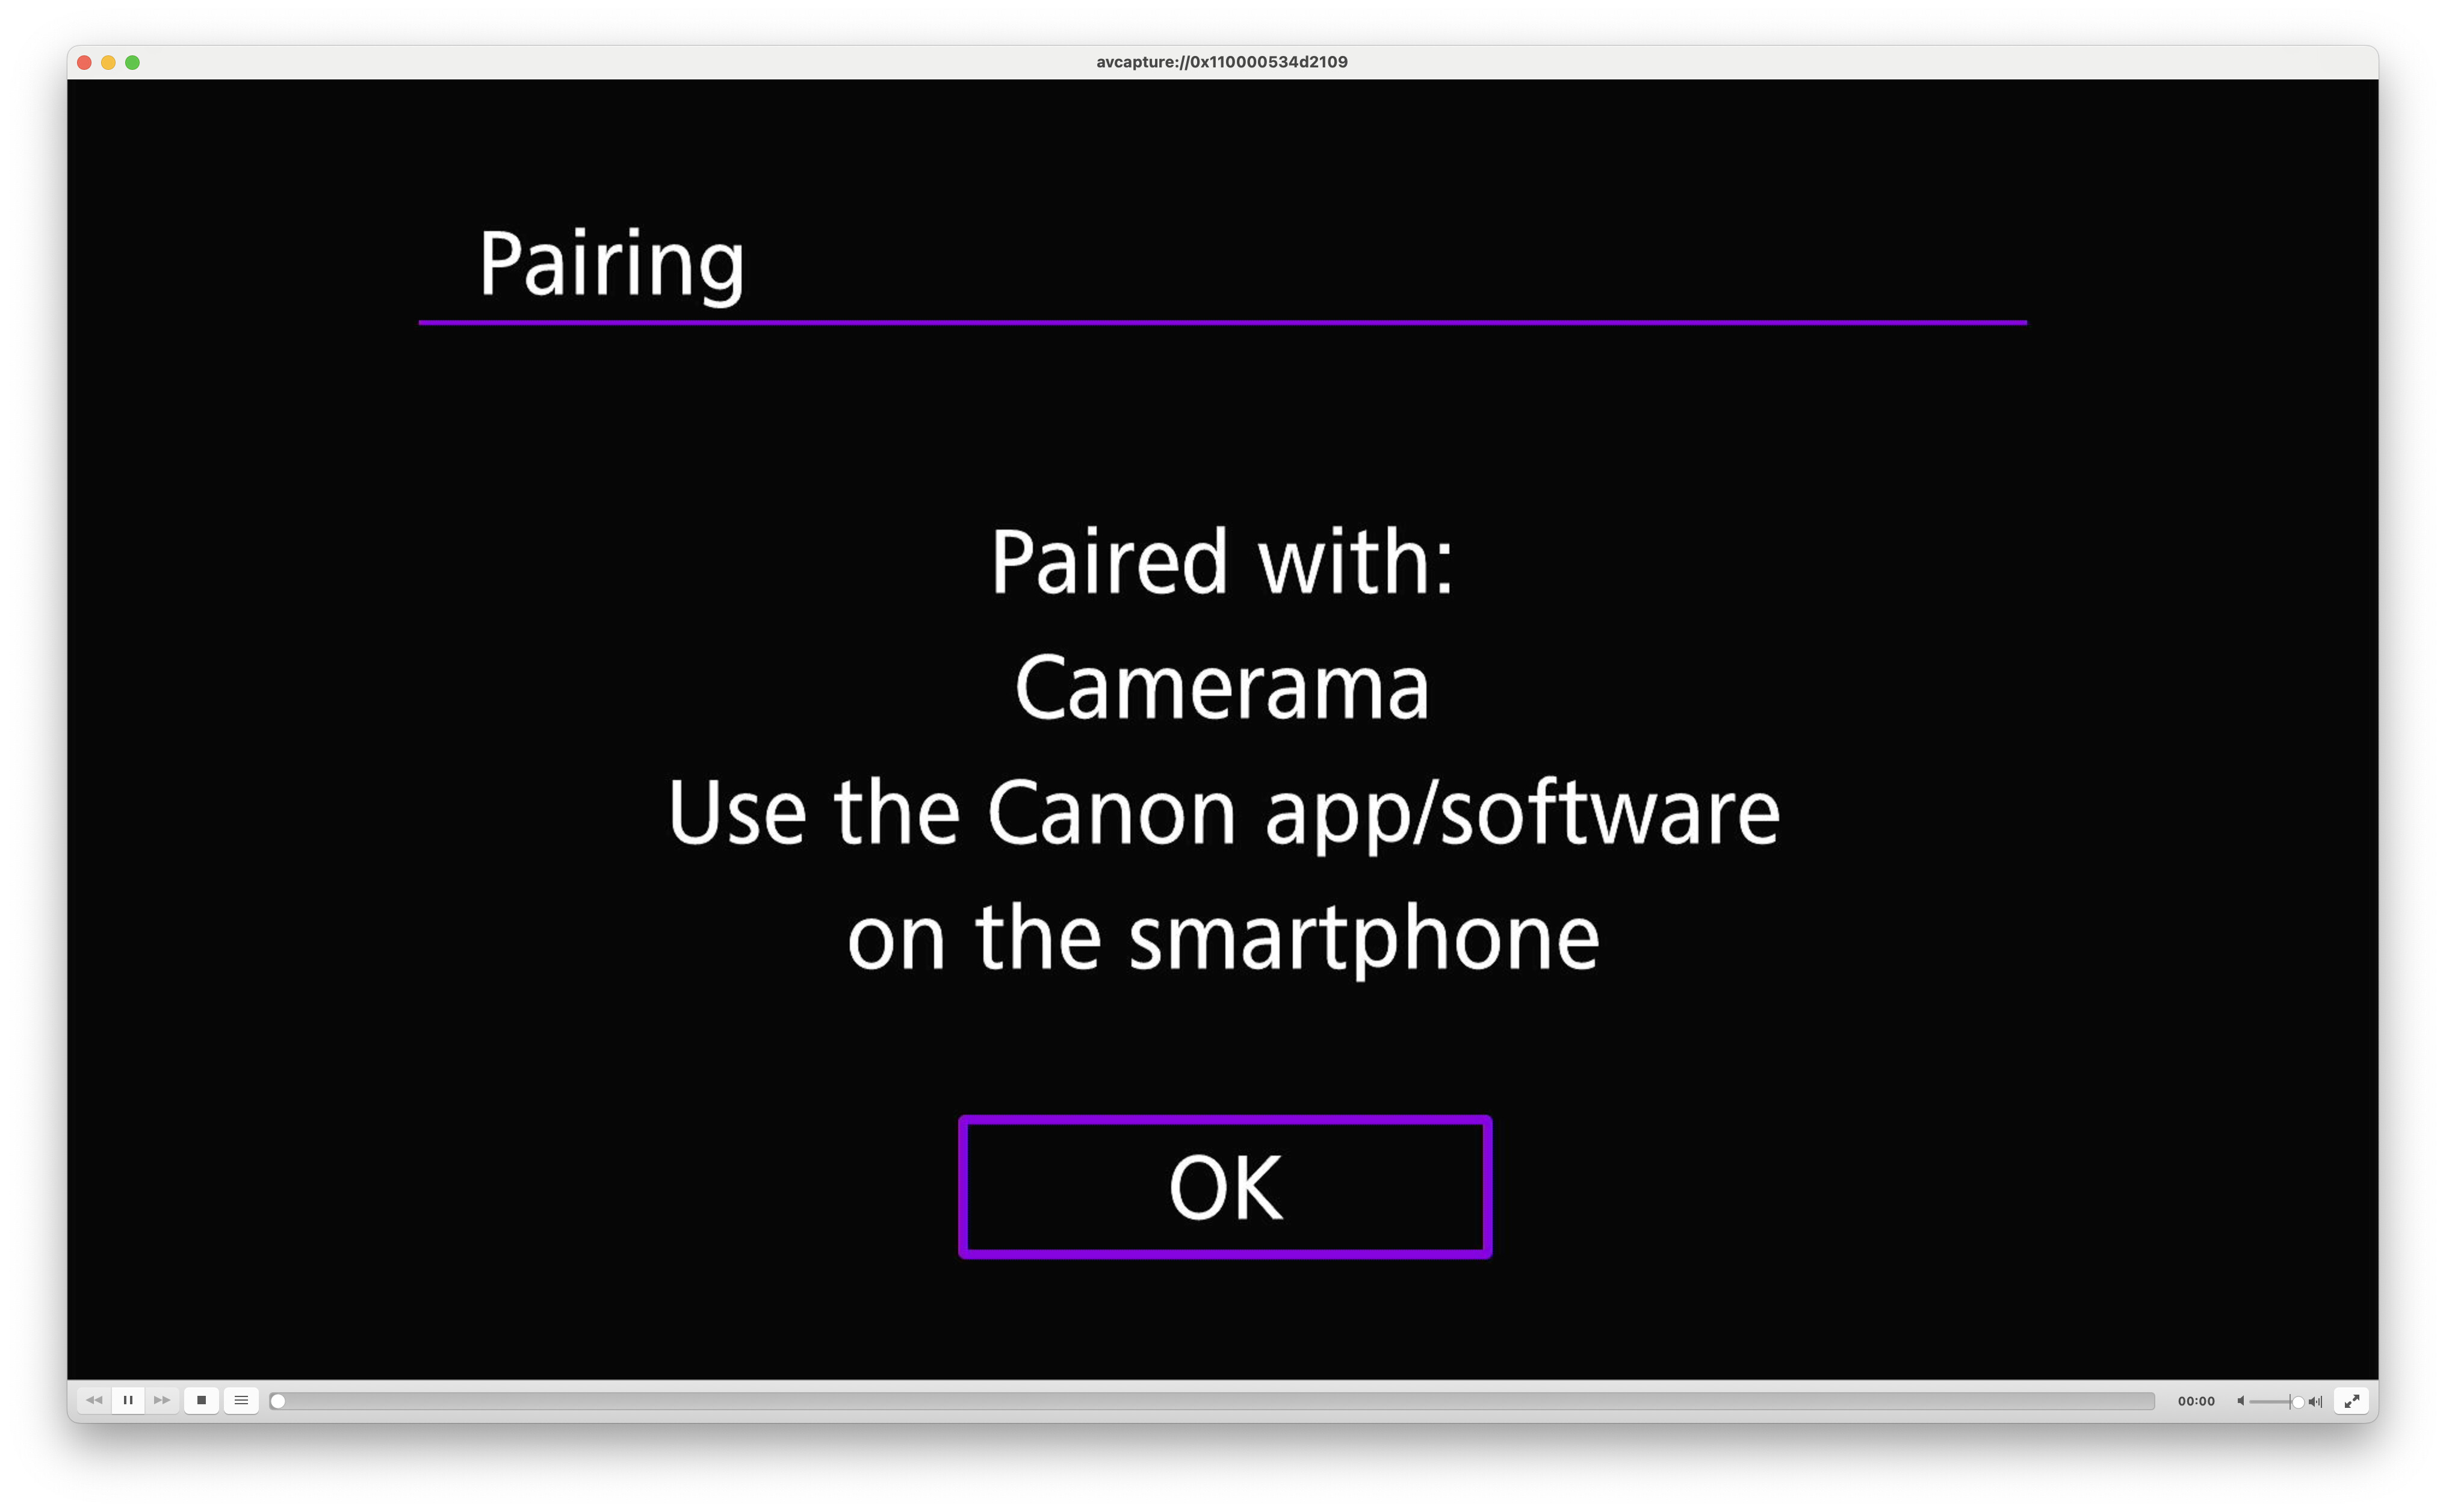
Note that it expects to connect to a Canon app, but it will show the name Camerama, and that’s what we will use to control the camera. Tap OK.
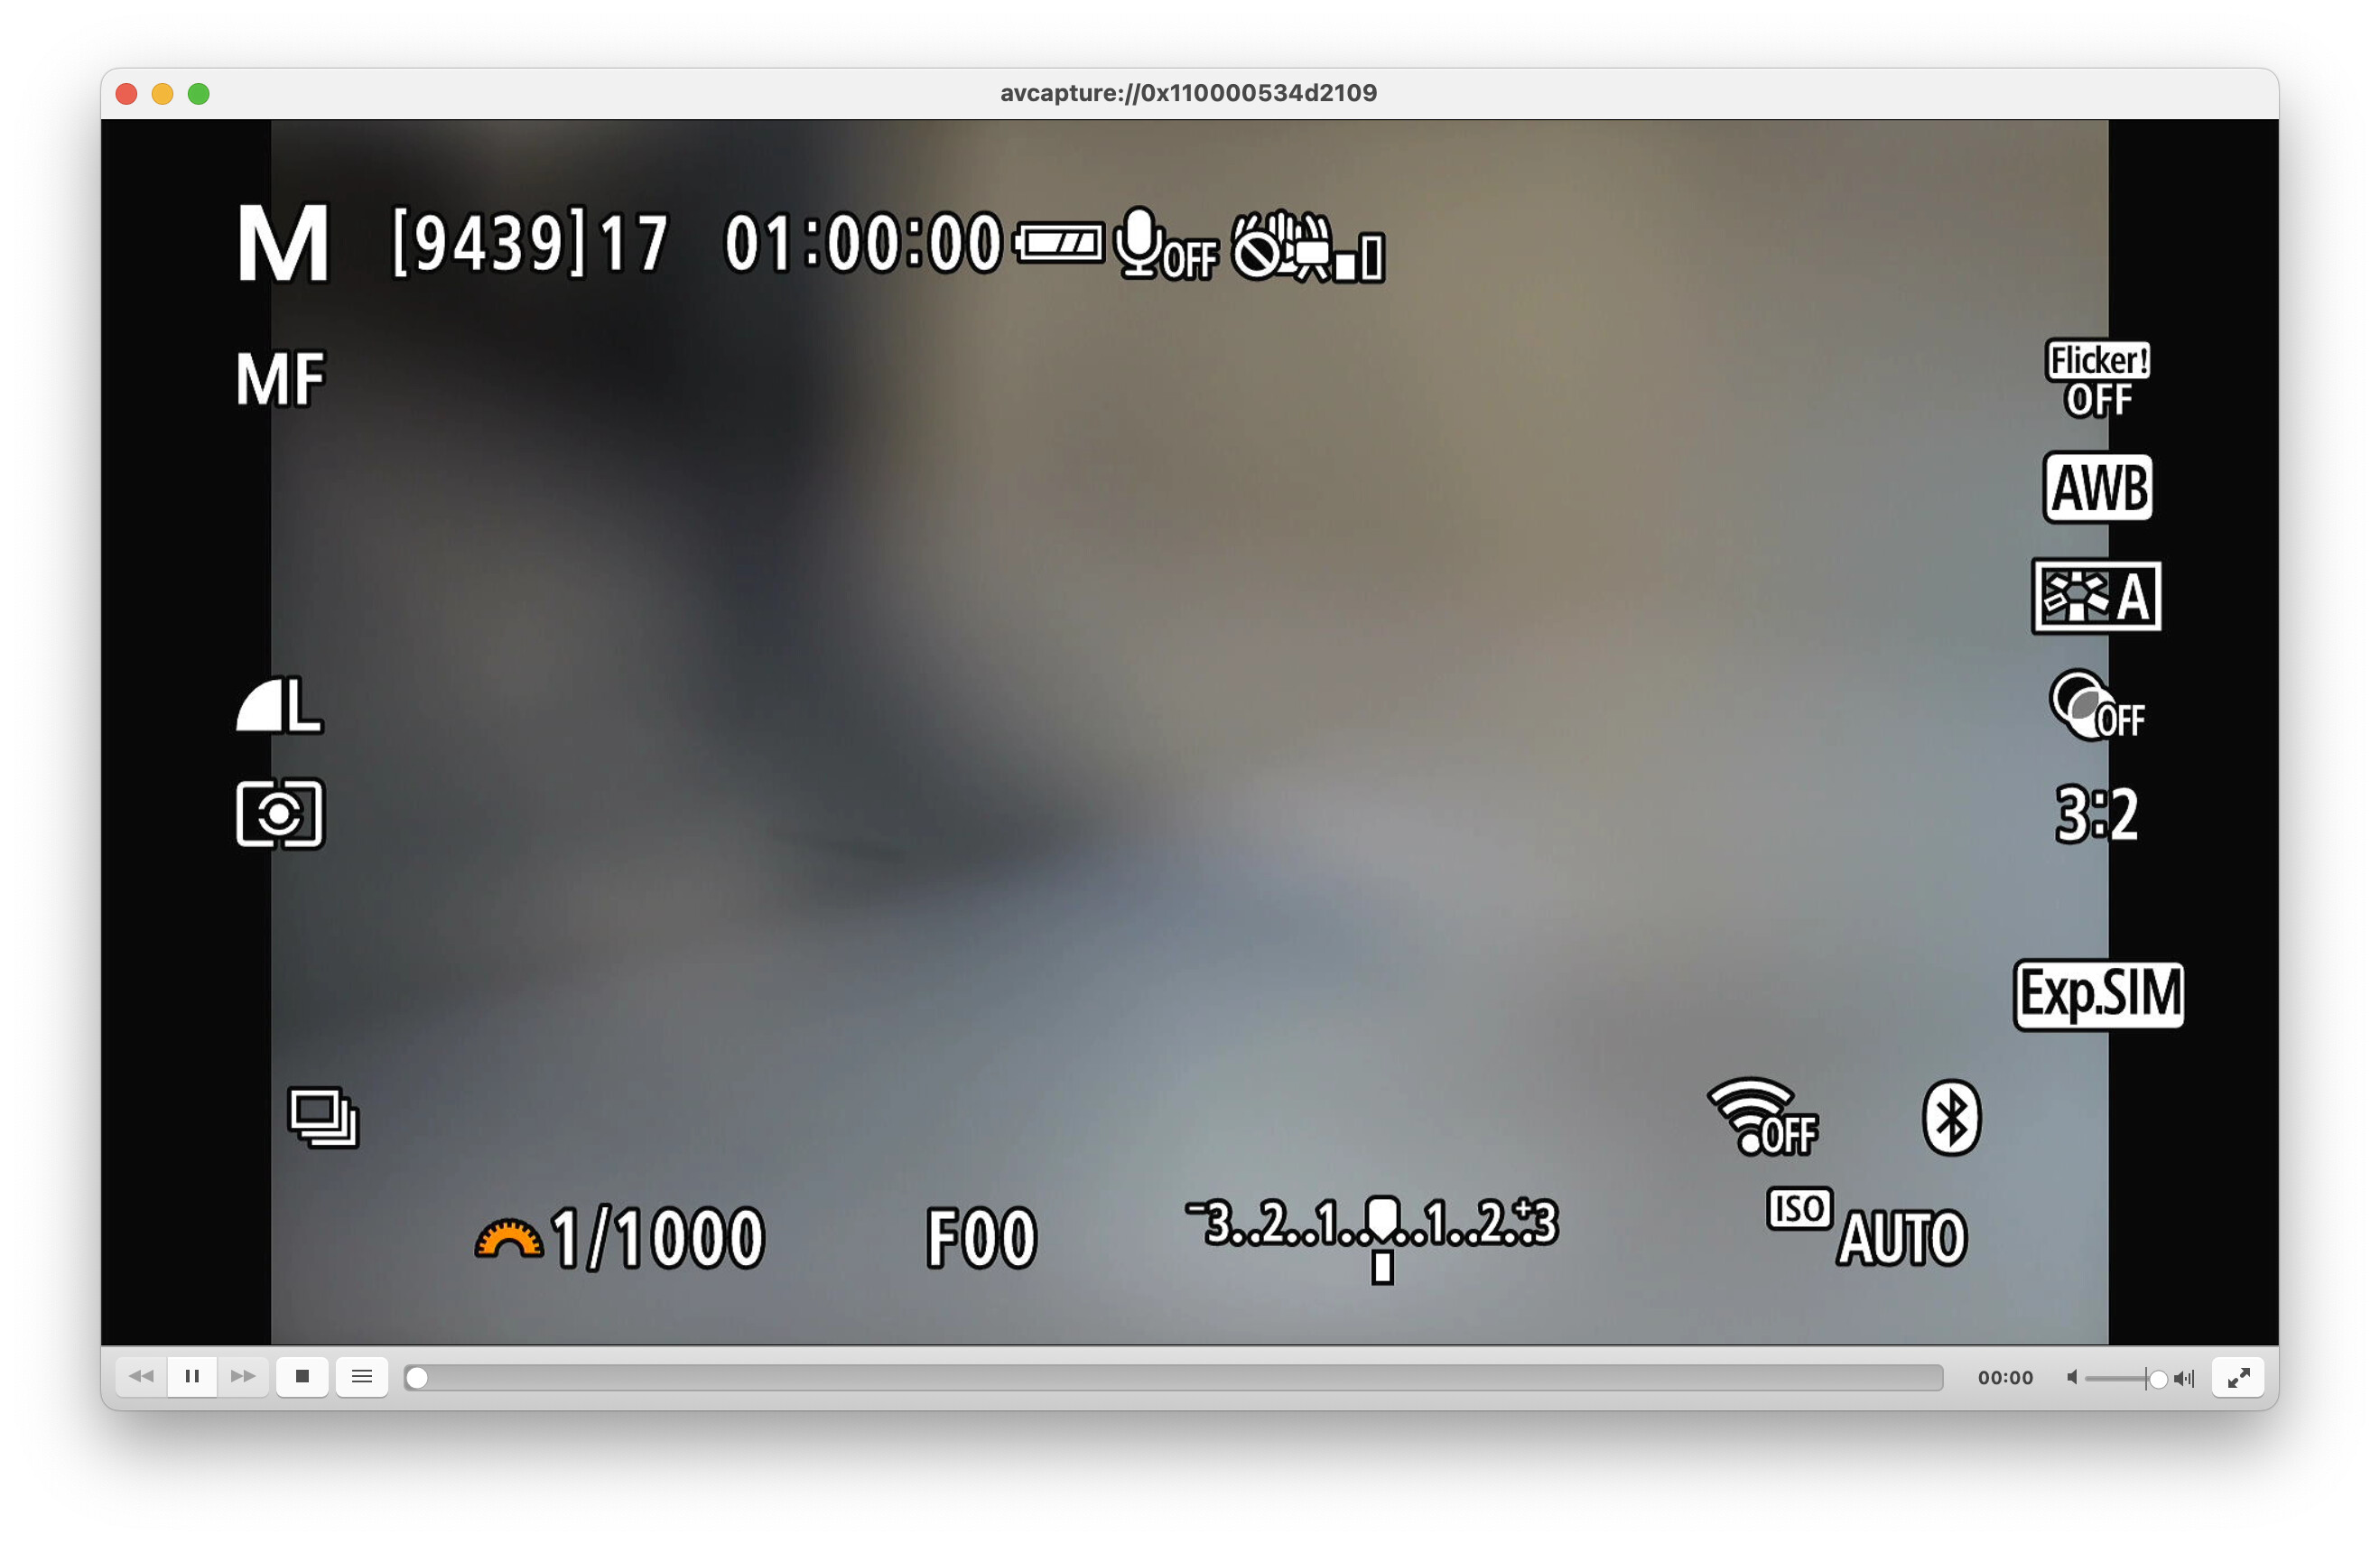
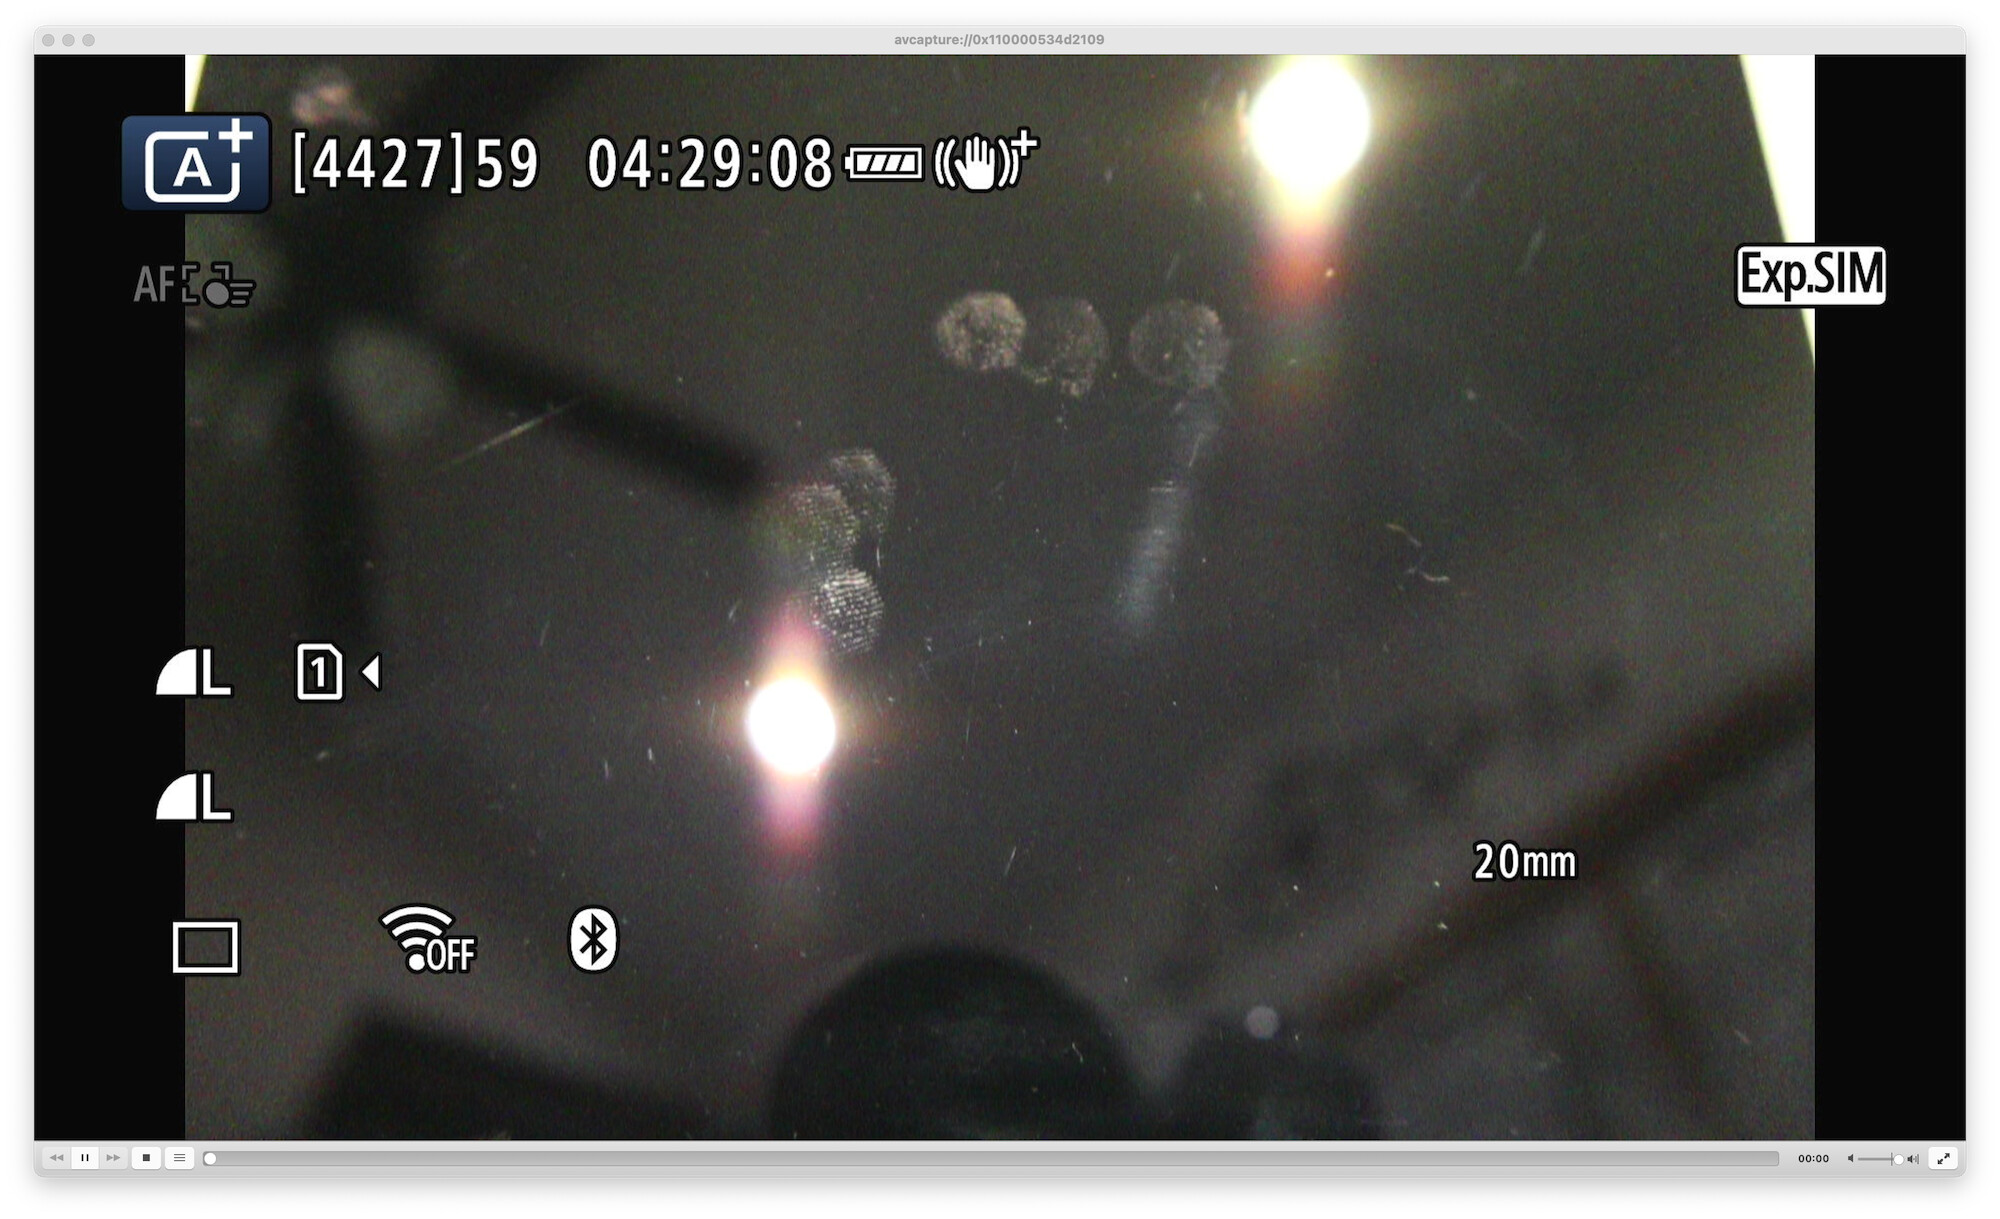
Press the menu button twice to exit the menu and show the viewfinder. The Bluetooth icon on the viewfinder should be lit and indicates that the camera has a connection to a bluetooth remote controller. If there are no icons, or just a few on the viewfinder, you can press the “Info” button to cycle through the available displays until the Bluetooth icon is shown.
If you are shooting stills, then that’s all that needs to be done and you can now shoot the camera by pressing the shutter icons in Camerama.
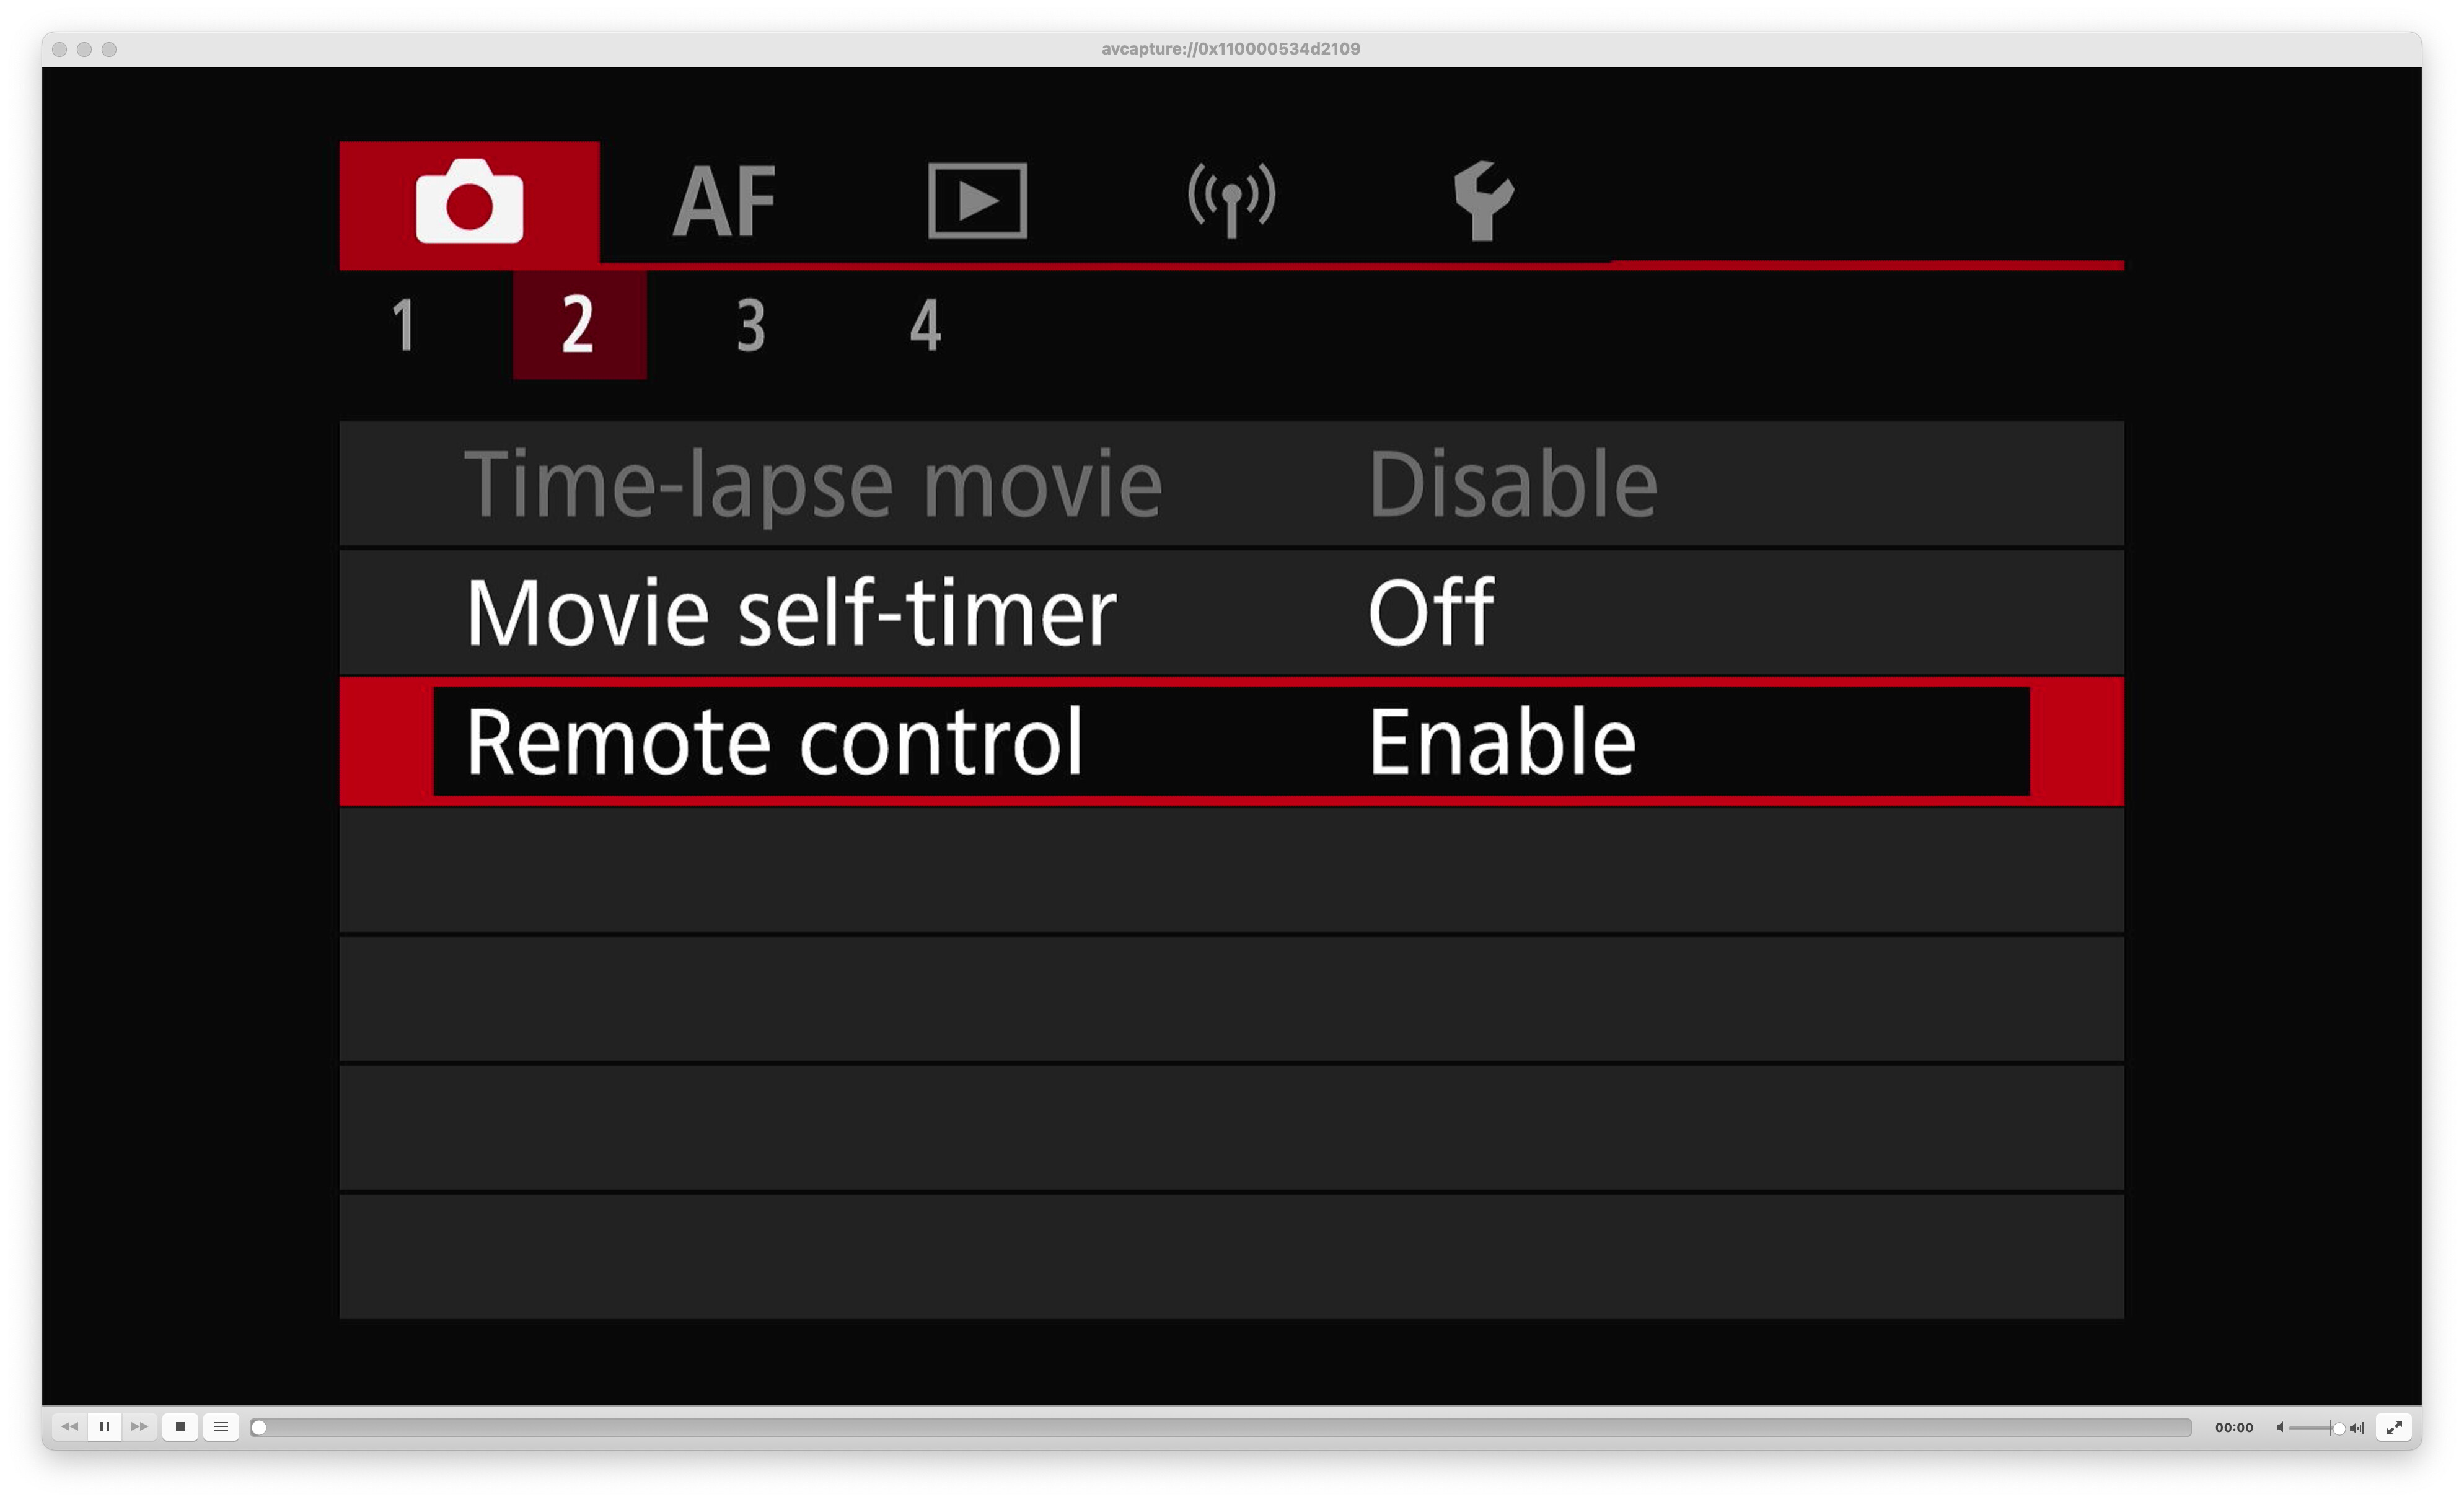
If the camera is set to movie mode however, we need to enable remote control in the menu system. Press the menu button and navigate to page 2 of the shooting menu (red menu page, camera icon at the top), and Enable Remote control.
Success! You can now shoot the camera by pressing the shutter icons in Camerama. Note that you should always set the camera to movie mode if using the movie shutter buttons in Camerama, and set the camera to normal/still mode if using the still shutter buttons in Camerama. Mismatch between modes should be avoided.